

|
|
#1
|
||||
|
||||
|
Well this isn't a new tutorial by any means, I have seen similar shocks made with paper clips and such. When I saw the paper clip ones I wanted to make some myself and so this is what I came up with. Much respect to "bigez" and his tutorial which is where I got my inspiration.
These shocks work very well, but are not an improvement over the stock shocks. They work great and are solid and are mainly a replacement to the originals for appearance only. Sooooo don't expect a difference in performance with this mod... but rather expect your truck to look hot. Let's go... Tools needed: -9/64" drill bit w/ drill -Xmod drill driver. Small -Pliers w/ side cutters -Scissors -pencil -exacto knife -dremel w/ attachment in photo -flat head screw driver -Super glue 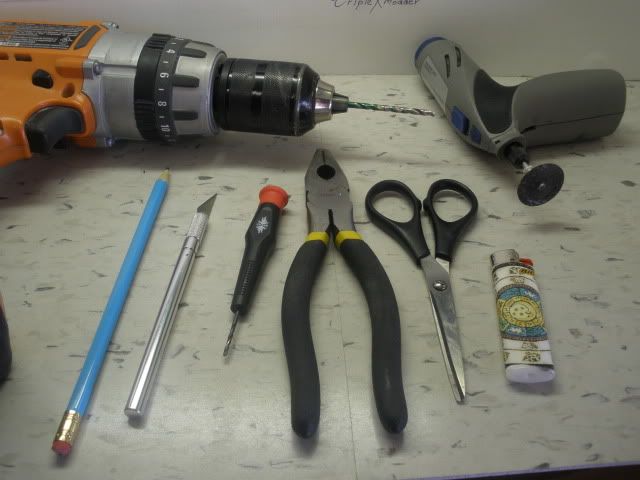 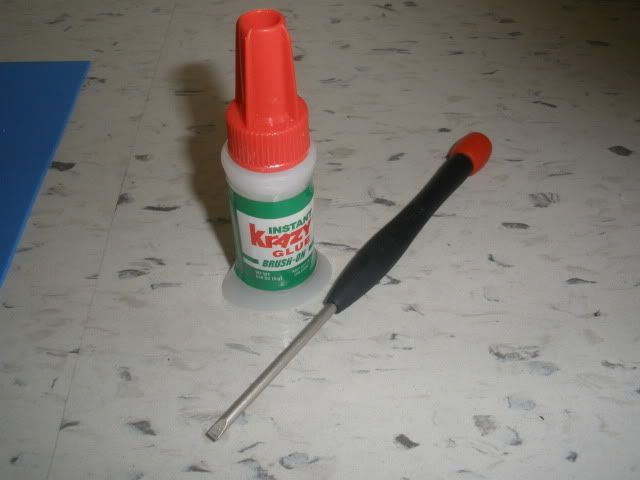 Materials needed: -styrene tubing. 3mm -aluminum rod tubing. #103. 5/32 x .014 -or heat shrink color of your choice. -Radio Shack 2.56 nuts (4) -Radio Shack 2/56 screw pack (4 long, 4 medium) -4 small Xmod screws w/ large head -4 X-Truck Springs -X-Truck Shock mounts. rear/front 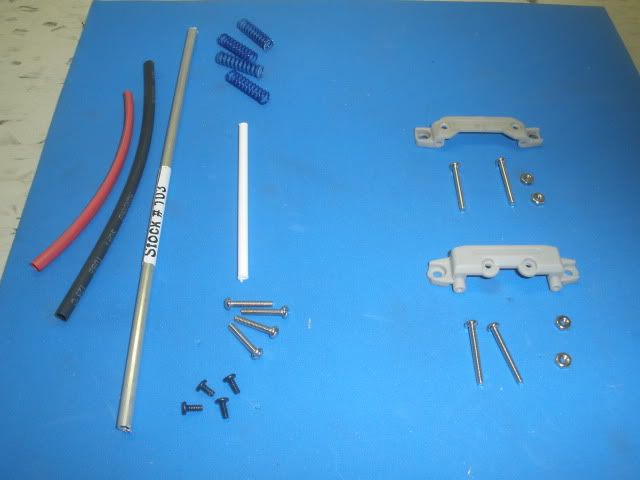 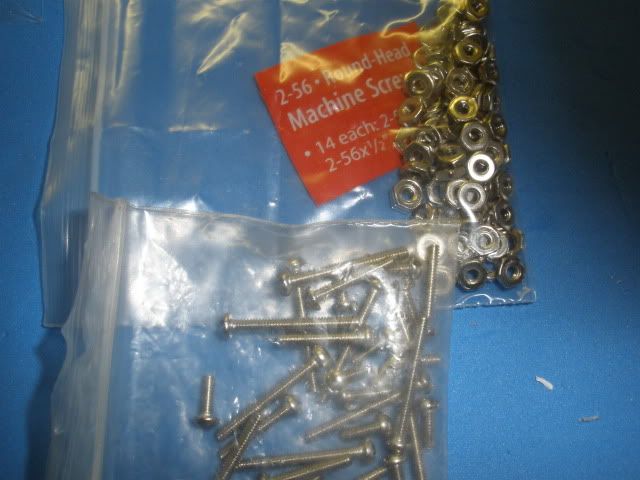 Step 1: Drill the 2 holes on each shock mount out with the 9/64" drill bit. 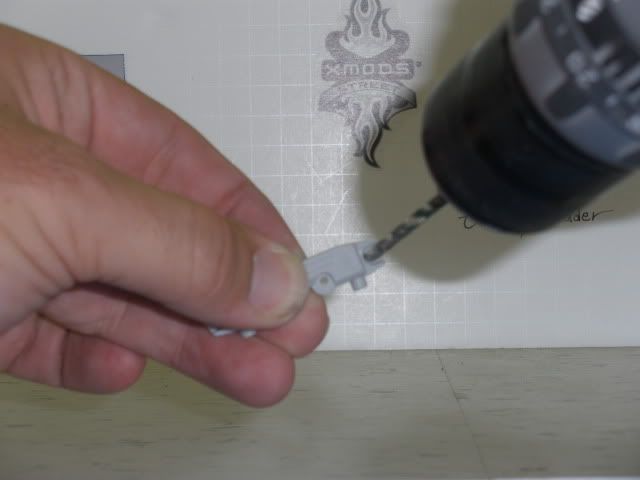 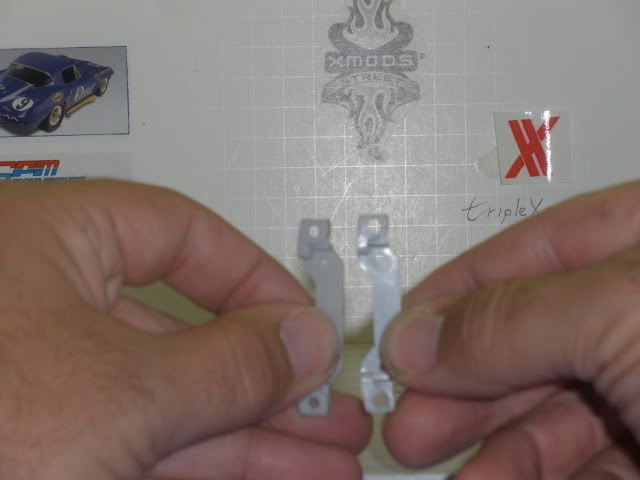 Step 2: Put 2 of the long RS 2/56" screws in each of the mounts and spin on a hex nut. Do not tighten the nuts yet. 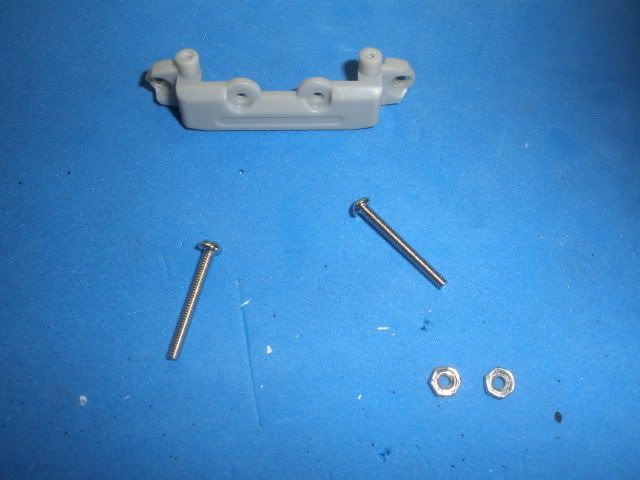 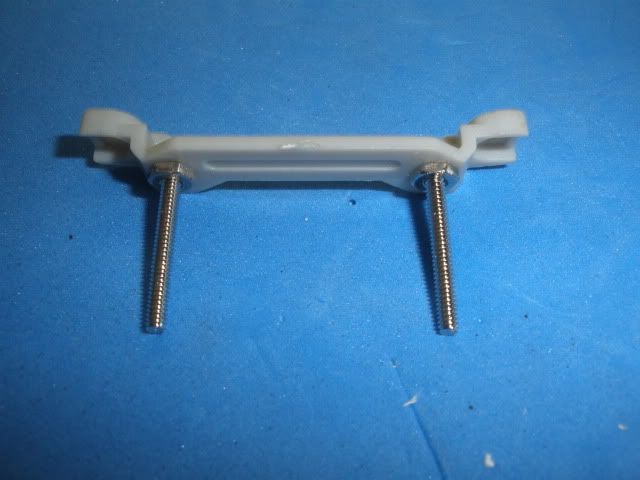 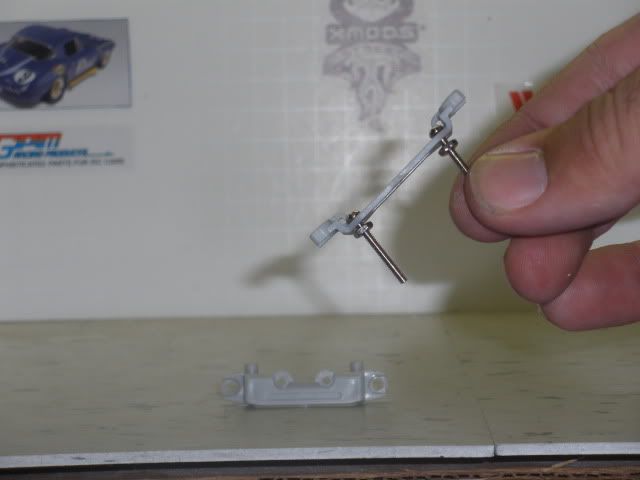 Step 3: Screw the mounts onto the chassis. Rear and front. Make sure you screw it in enough to hold tight and make sure the mount is level. Then tighten the hex nuts to the bottom of the mount. 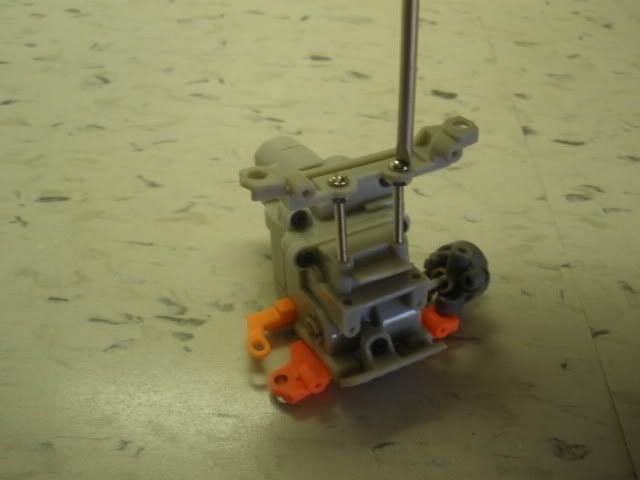 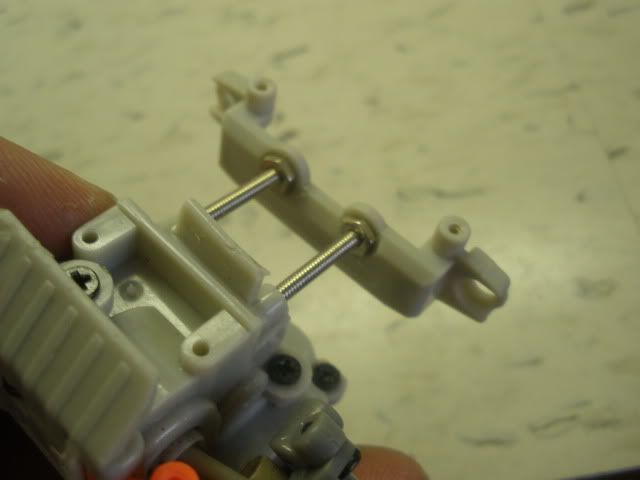 Note: For extra strength... If you like you can cut some tubing to go over the screws, and or cover with putty. Not required but the extra strength is always good. 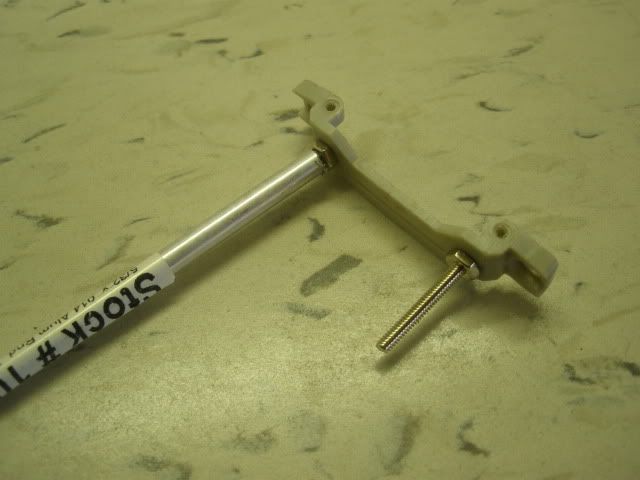 Step 4: Cut your tubing to the desired length. if you hold your chassis and bring the knuckles to there lowest position.. measure from the top of the knuckle where the screw use to go in, to the top of the shock mount. Cut the tubing to this length. 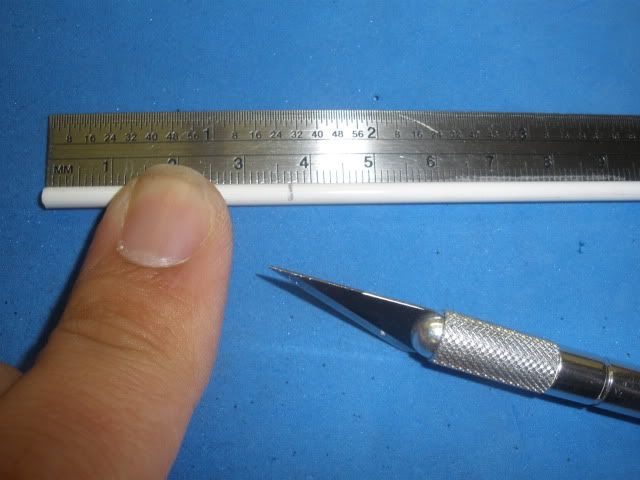 Step 5: On one end of the tube ream it SLIGHTLY with your exacto knife. On the other end drill out with your Xmod small drill driver. Go in about 1/2". 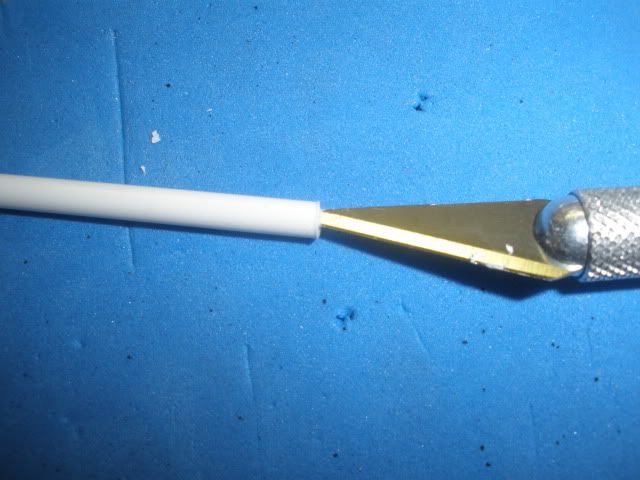 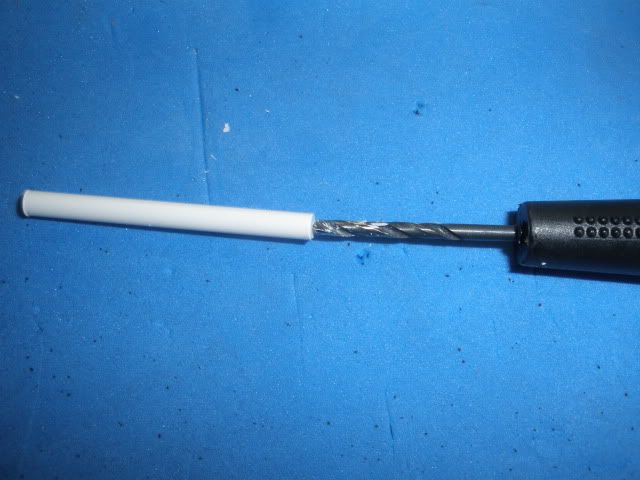 Step 6: Use the side cutters on your pliers and cut the head off of all 4 medium RS 2/56" screws. 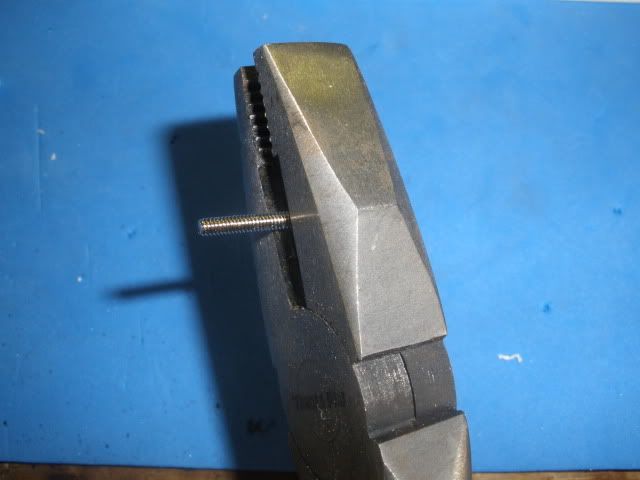 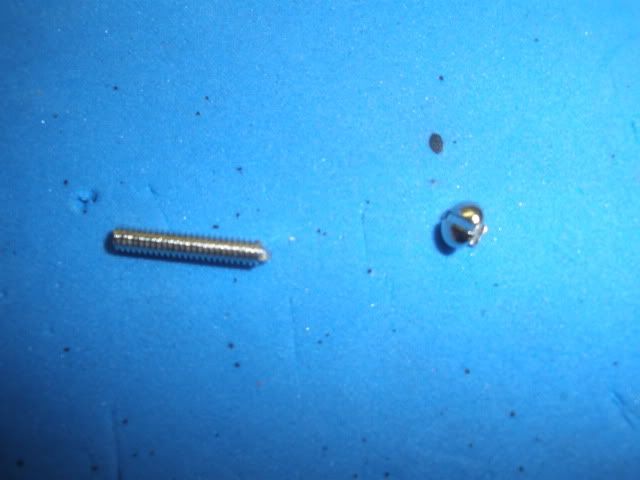 Step 7: Drop some super glue in the end that you drilled. Blow in the hole and add some more... to fill it up. 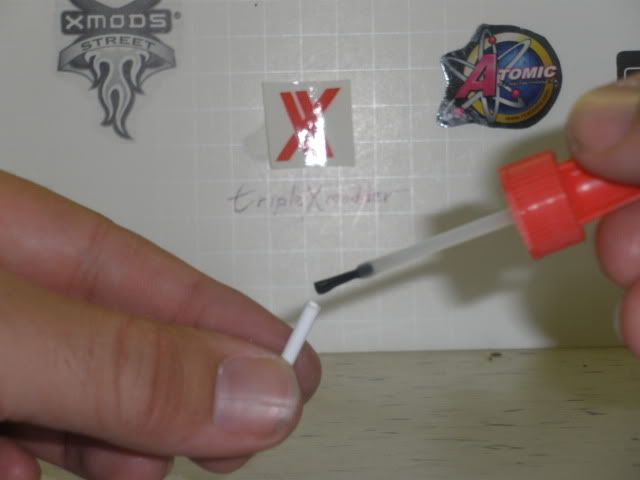 Step 8: Using your pliers LIGHTLY hold the headless medium screw and screw the tube onto the screw. Let it sit for a couple of minutes to let the super glue set around the screw.  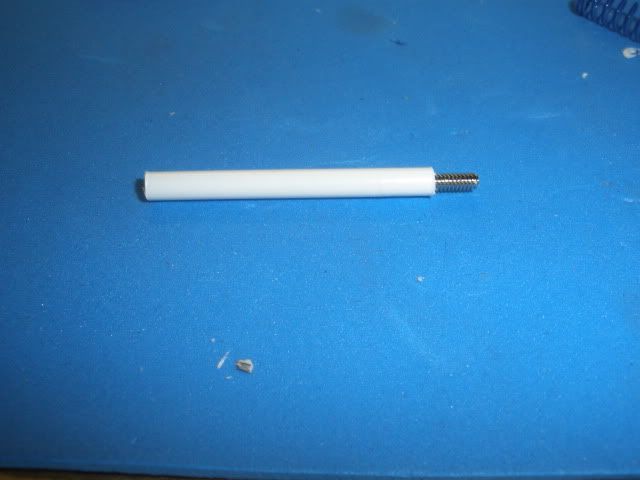 TIP: hold the screw in the pliers with some paper around it to aid in not stripping the screw. Step 9: Using your dremel cut your metal tubing, or use scissors to cut your heat shrink. It is a preference here and depends on the look you want. The tubing is silver...looks good and has added strength. The heat shrink gives you a variety of colors to choose from and is strong enough for your shock.... you decide. 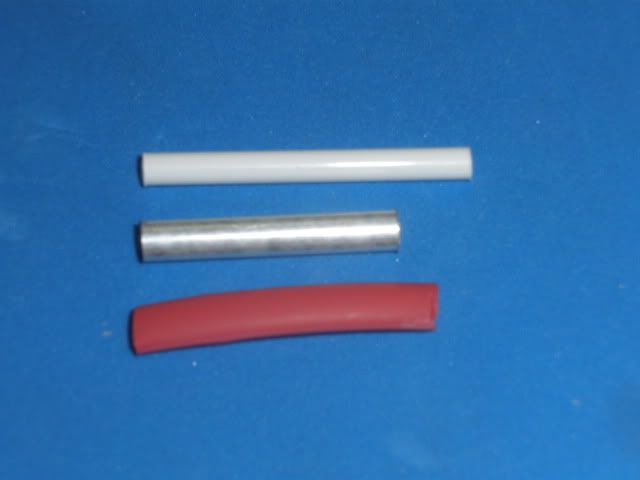 NOTE: Look at the original screw that went into the shock mount and screwed into the knuckle. Your tubing should be shorter then your styrene by the length of the smooth unthreaded part on the screw. You can make it a little shorter then that length for some more suspension travel but don't go to far...maybe a few extra mm's. Step 10: Slide the tubing over the styrene tube all the way down to the end with the screw in it. If using heat shrink, do the same and then heat it to tighten it around the styrene. 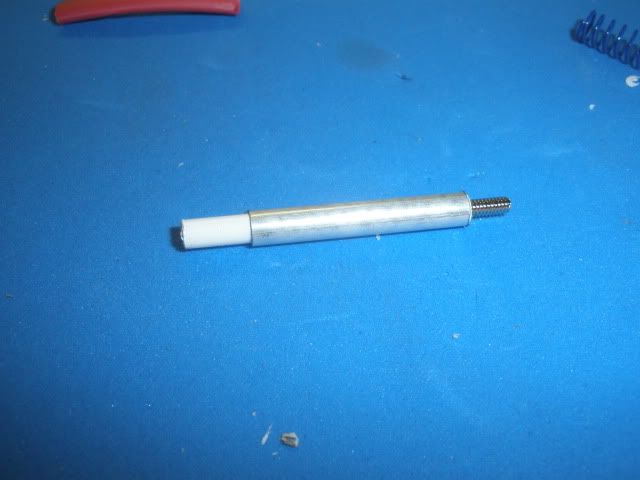 Step 11: Now grab your spring and strench it a bit. Should be the length of the styrene tube. Be sure to stretch it evenly and straight. 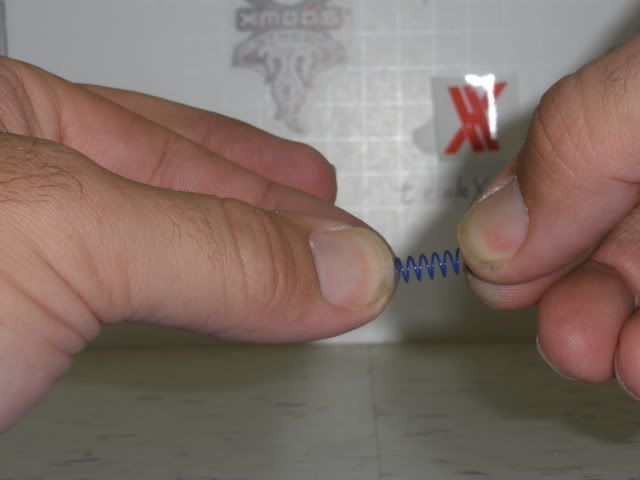 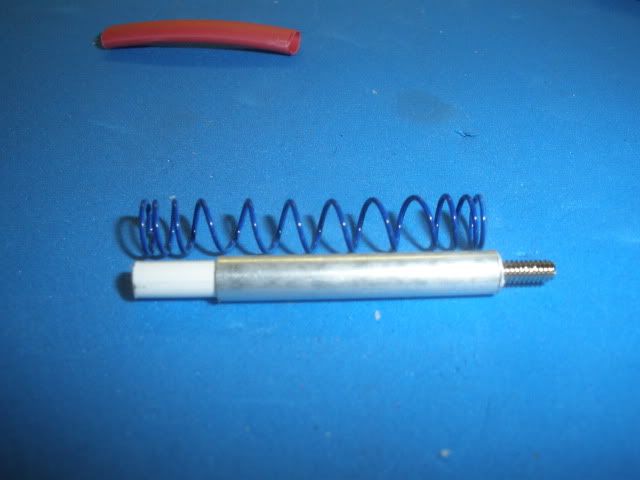 Step 12: Put it on the shock. Here is a photo of a complete shock. DO NOT put the Xmod screw in yet. 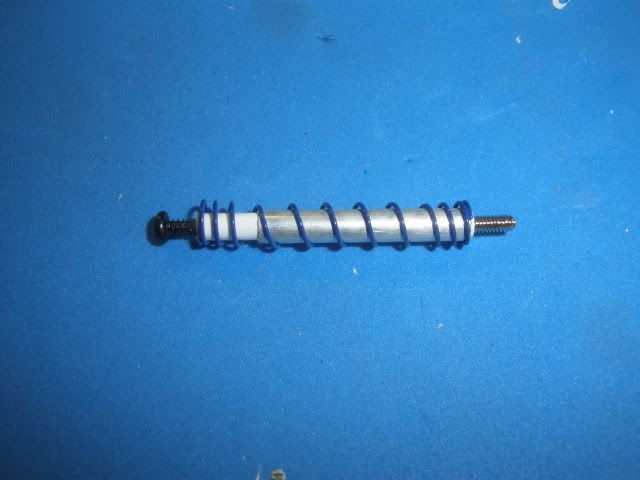 Step 13: Ok, now to the chassis. Using your small drill enlarge the top hole in the knuckle. Remember if you want to ever go back to the original shocks you will need to get new knuckles. 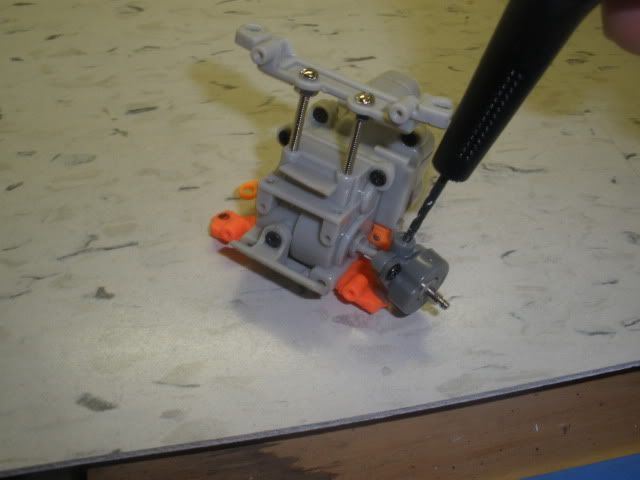 Step 14: Put the RS screw on the hole you just drilled and snap the top of the shock in place. 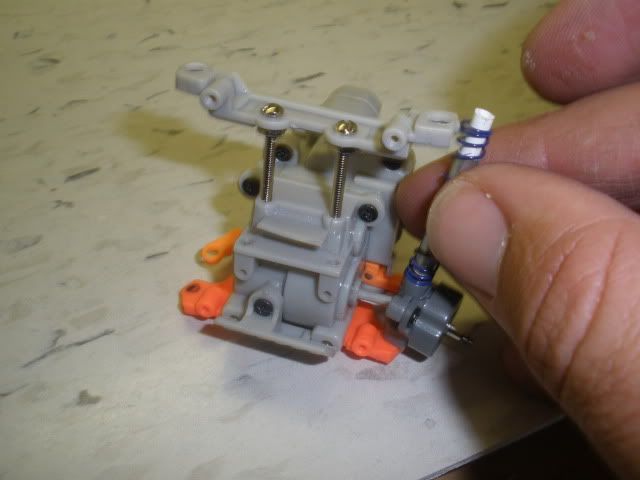 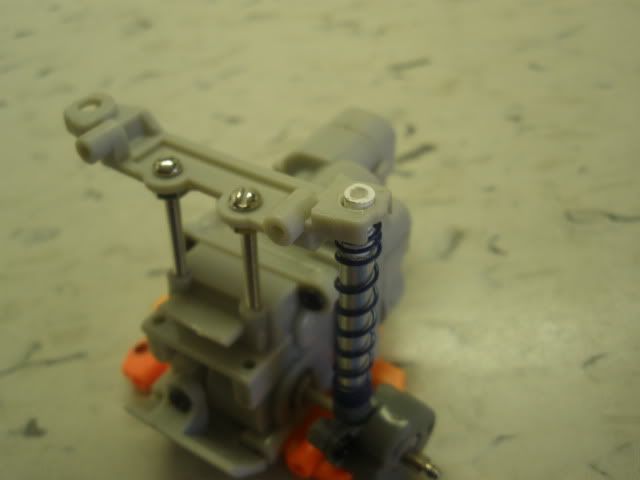 Step 15: Use your Xmod phillips screw driver (Which I forgot to add to the tools at top) SLOWLY screw the Xmod screw in the top. If you do it correctly, it will spin the entire shock and screw the RS screw into the knuckle first and then tight the Xmod screw on top. Don't over screw. 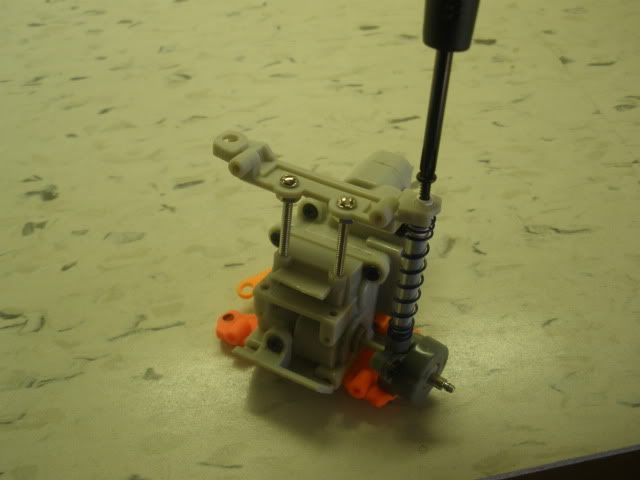 And BAM..... do that 3 more times. 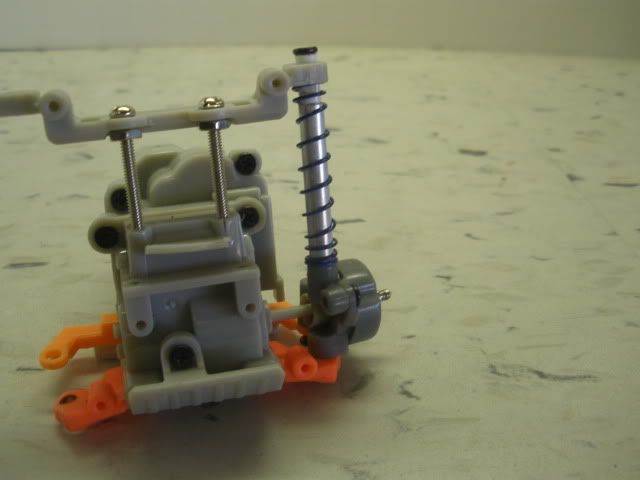 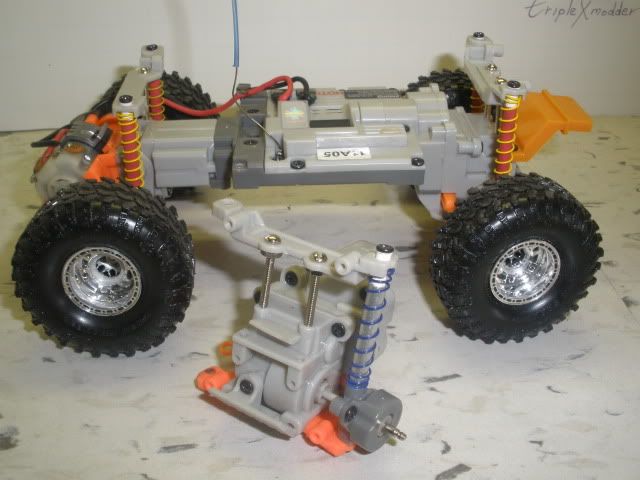 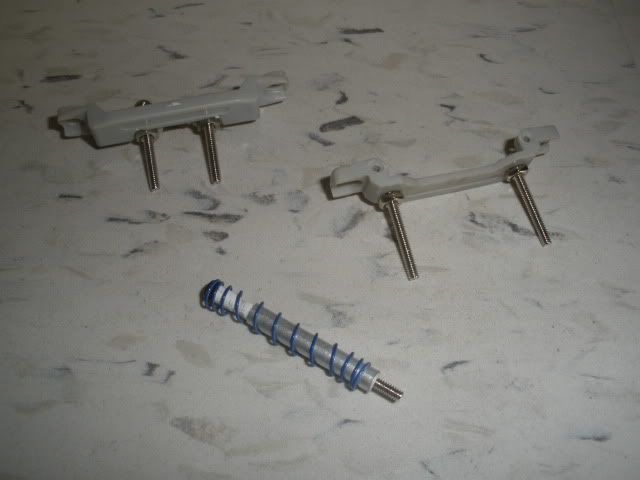 Down... 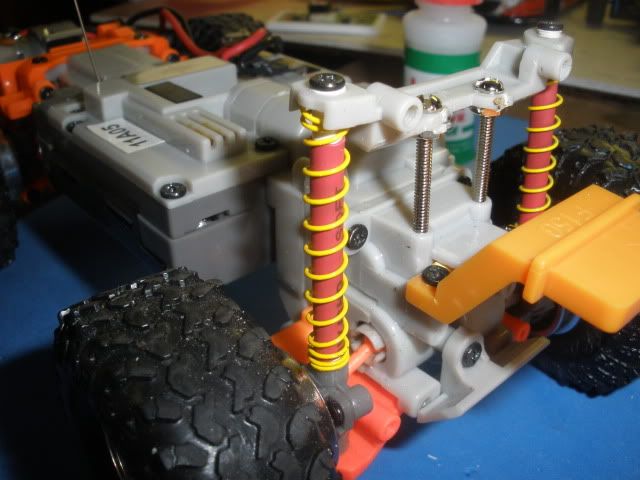 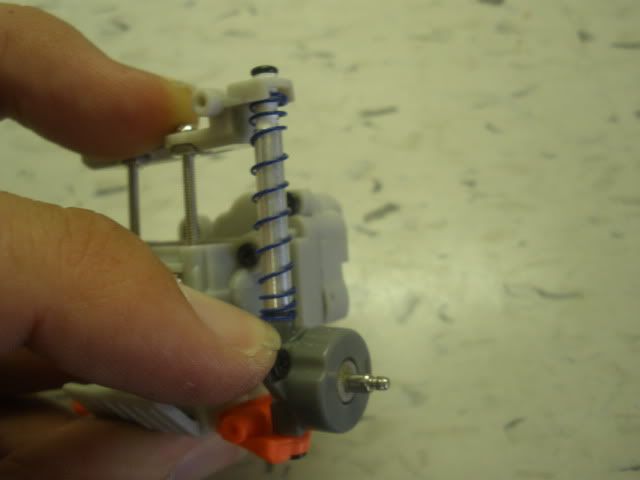 UP... 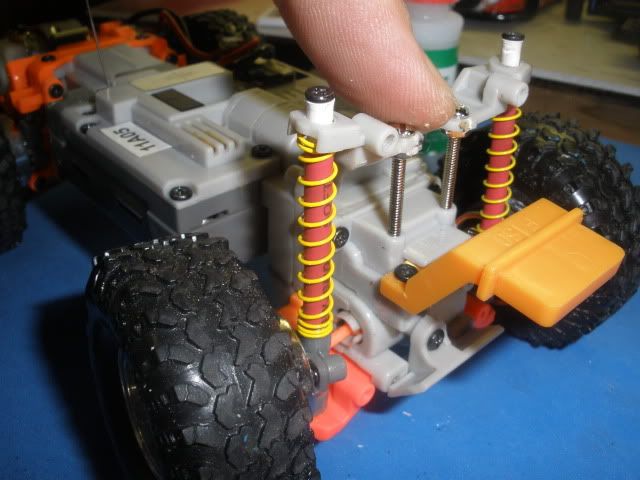 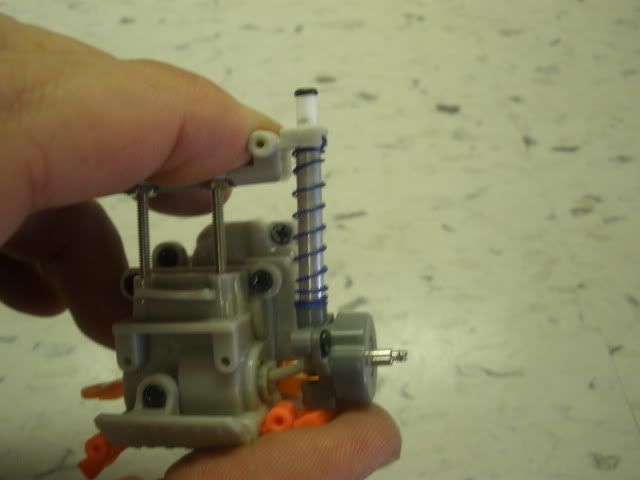 Here with heat shrink... 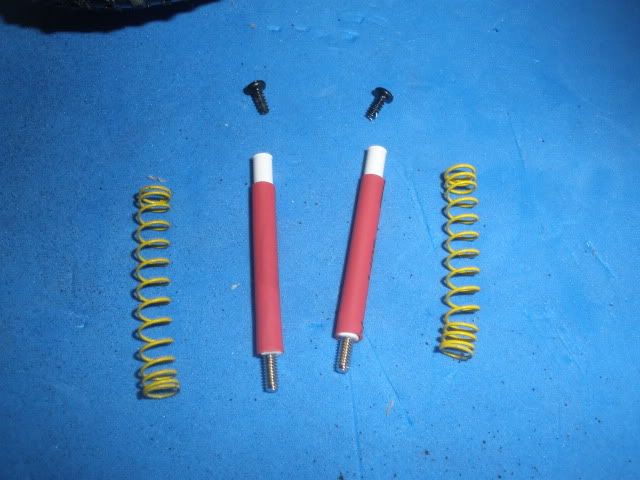 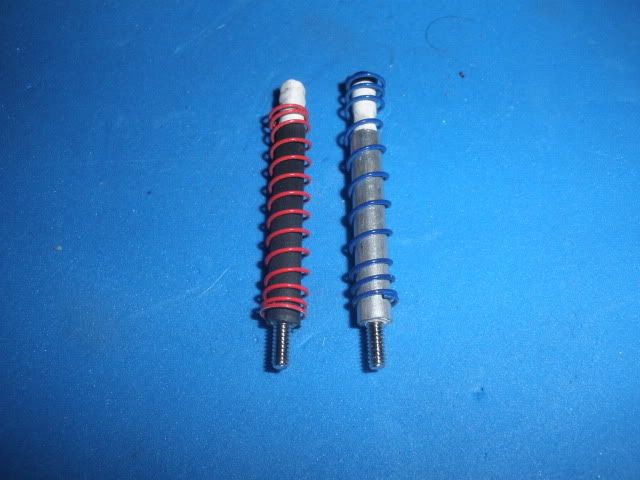 BONUS....Tutorial EXTRA... Here is an extra for a full body lift to go with your new shocks. -If you flip the front body clip upside down for a simple body lift...... then it will give you a 21mm lift in front. -Take the aluminum rod and styrene tubing we used for the shocks and cut 3 each 21mm long. -Slide the styrene tube into the aluminum tube. -Take a long Xmod screw and cut the head off. Screw it into one end of your styrene/Aluminum post you made. (Just like in Steps: 6-8 of above Tut) -Use them just like in the photos below. 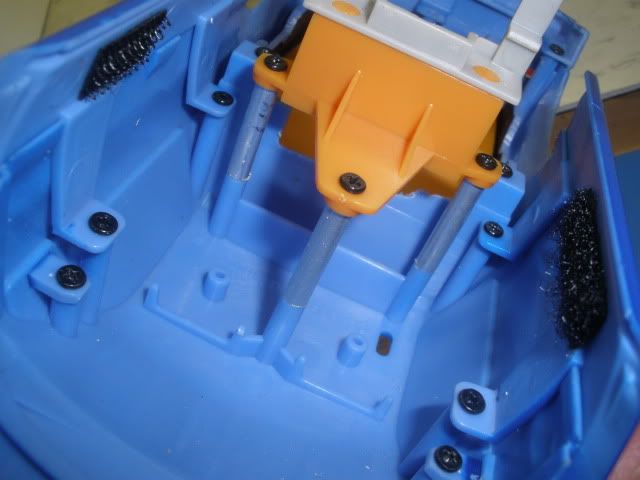 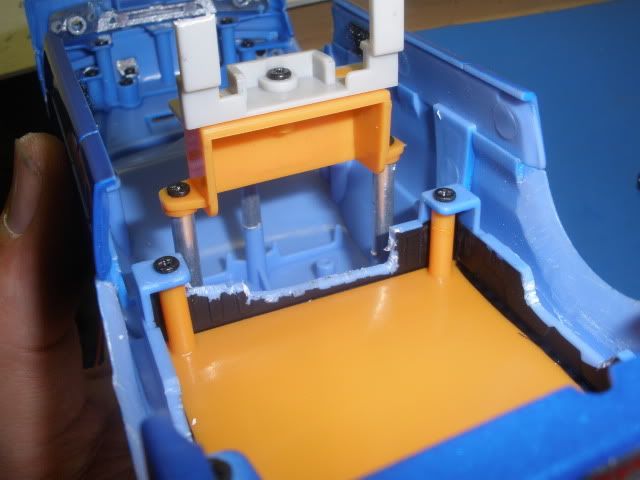 I hope to see some AWSOME Shocks out there. Thanks for viewing. I hope it helped.  Happy Modding, XXX
__________________
 XXX FREE modding Service: http://www.xmodsource.com/forum/showthread.php?t=17800 PM me for a quote or any questions. HAPPY MODDING 100% Positive Itrader feedback http://www.xmodsource.com/forum/itrader.php?u=6901 Last edited by TripleXmodder(akaXXX); 11-01-2009 at 01:41 AM.. |
 |
| Currently Active Users Viewing This Thread: 1 (0 members and 1 guests) | |
|
|