
|
|
#1
|
||||
|
||||
|
In this tutorial I am going to add 4 additional LED's onto a standard Command Logic Light (CLL) kit harness.
The purpose of this is to give my F-150 project truck front head and fog lights and two sets of rear break lights, but you can use the additional lights for whatever you see fit - just take a look at the recent police truck projects from Bondo and XMODification for examples of far you can take this! Also rather than buying the LED's and soldering them onto wires I actually already have a set of pre-done white and red LED's on a bar - these came from one of the RealDrive cars I am in the process of striping apart. So in the tutorial I'm going to use those instead - don't worry though it should still make sense you will have to purchase LED's and solder them to a wire harness. [BEGIN TUTORIAL] 1. Take your stock CLL and cut the black shrink wrap off of the circuit board.  2. Put the circuit board into your helping hands and get ready for some soldering! (I recommend that you place the helping hands griper over the part of the board that has the power wire harness, this is a pretty safe and easily accessible spot and should save you from having the helping hands scratch up or damage the board.)  3. Place you desoldering braid on the 4 solder joints that have the WHITE & BLACK or RED & BLACK wires going into them, these are the only wires you need to remove, so thats 8 in total.  4. Once you have removed the 8 wires / 4 LED's I like to tidy up the holes a little, so go back over them with the desoldering braid and make sure any loose solder or strands of wire are removed. 5. Using a very small drill head I very slightly enlarged the outer set of holes, this made it easier to feed my thicker wire through the holes once I had add the second set of LED's, this is completely optional and is probably the most risky step of this tutorial. 6. OK so that this point you have a very small circuit board that only has the power harness hooked up to it, we are going to put this side for a few minutes and work on the wires. 7. Make sure that all of the 8 wires / 4 LED"s you took off the board are in good condition, e.g. make sure the wire is tinned, nothing has snapped off etc, etc.   8. Take you new LED's and go through the process of checking that the wires are tinned and in good condition.  9. Taking your new LED's and one pair of the existing ones you are going to twist their wires together (matching the colors) and then apply a light dab of solder to hold them together, so what you should have now is a set of LED's with the wires soldered together.  10. Repeat the above step to double up the LED's for each of the wires you removed, so say you started with 4 LED's you will now have 8 LED's because you've added one addtional LED's to each existing LED. 11. You are now going to solder the wires back on the CLL board, you can do this in the same way as you desoldered them, e.g. feed them through the outer hole, then feed the wire through the inner hole, then solder or you just go ahead and feed them through the inner hole and then solder. Just remember that your positive wires, e.g. the white or the red, go in the two holes closets to power harness, whewre as the negative wires, e.g. the black ones, go in the two holes furtherst away from the power harness.  12. When you reapply the solder it doesn't matter if you bridge the two negative together and vice versa if you bridge the two positive together, just make sure that dont you have any bridges of solder between the postive and negative.  13. Apply shrink way or electrical tape to your work, make sure that none of your wires can pull lose and you should now be done. Plug the CLL back into your XMOD and test. You can see on my F-150 I now have functional fog lights as well as an extra set of brake lights that I still have to figure out what to do with.    I hope this is of use to someone! Enjoy! Mostly importantly remember which is the hot end of a soldering iron. B1G.
__________________
Duct Tape is like the force:- it has a light side and a dark side and it binds the universe together.....
Last edited by TheB1GDude; 05-18-2008 at 03:32 PM.. |
|
#2
|
||||
|
||||
|
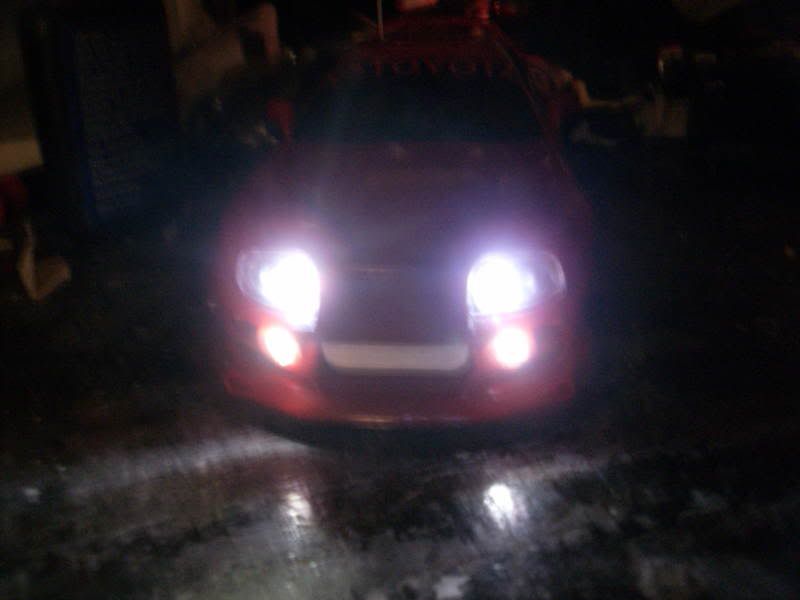
I did the same thing with my supra, But i just sniped the wires and heat shrunk them back but with 2 extra headlight for the fog lights.

__________________
Quote:
  |
|
#3
|
||||
|
||||
|
Quote:
__________________
Duct Tape is like the force:- it has a light side and a dark side and it binds the universe together.....
|
|
#4
|
||||
|
||||
|
Yeah, I am gonna do it the neat way, and eventually hide the wires.....
__________________
Quote:
  |
| Currently Active Users Viewing This Thread: 1 (0 members and 1 guests) | |
|
|