

|
|
|||||||
| View Poll Results: Is this tut helpful? | |||
| helpful |
|
11 | 73.33% |
| not helpful |
|
4 | 26.67% |
| Voters: 15. You may not vote on this poll | |||
|
|
Thread Tools | Display Modes |
|
#1
|
||||
|
||||
|
Ever wondered how Xmodification or i have done the custom front suspension on our trucks? well here is my way:
It takes about an hour to do. 30mins. for the putty to dry, 15mins. for super glue to dry and another 15mins. for preparation and reinstalling. Difficulty rating: 4/10 Supplies -2 car springs(stock is fine) -super glue -epoxy putty(jb weld might work) -lug nut wrench -2-56 rs hex nuts -2-56 rs screws -truck chassis -toothpick(not pictured) -paper clip(medium size) -flat head screwdriver -xmod screwdriver(or a better one) -something to cut the paper clip(not pictured) 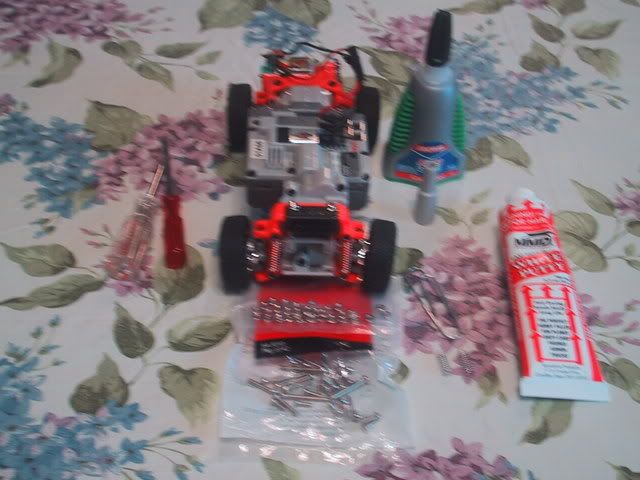 First, You must take off your front knuckles. Unscrewing 3 screws(circled in picture). Repeat for other side of the truck 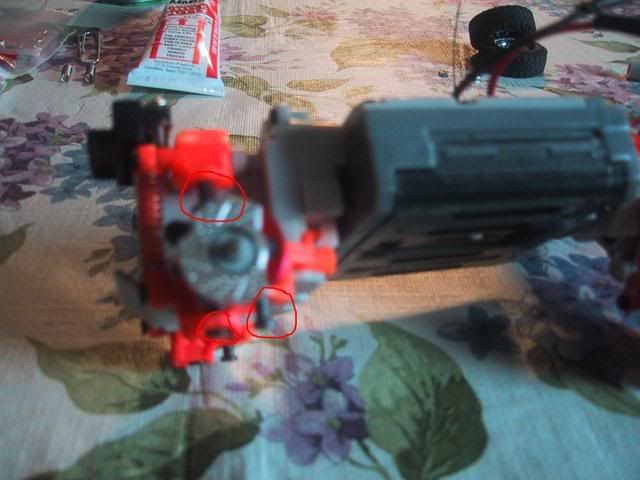 This is what you should have: 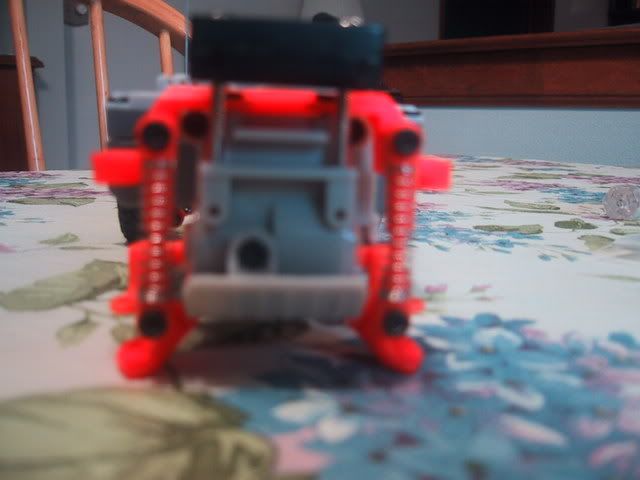 Now take off the front top suspension plate. Unscrew these 2 screws: 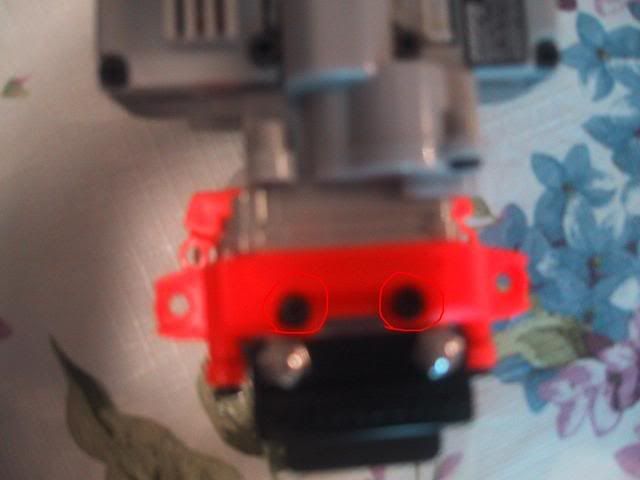 now take off the knuckle covers: 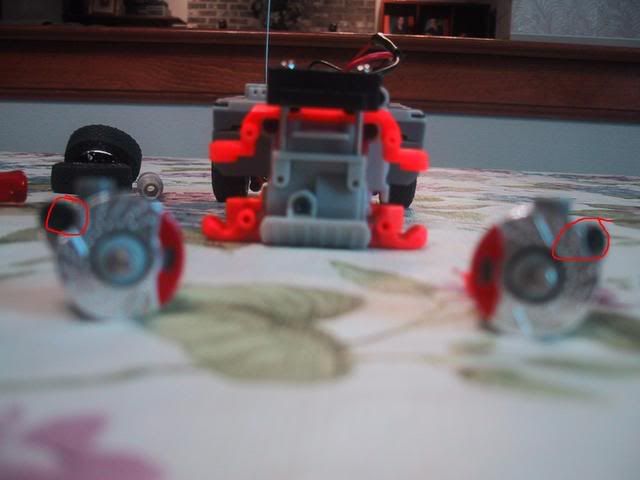 Take out the axle stub bearings/bushings and the dogbone. Repeat for other knuckle. You should now have the two knuckles 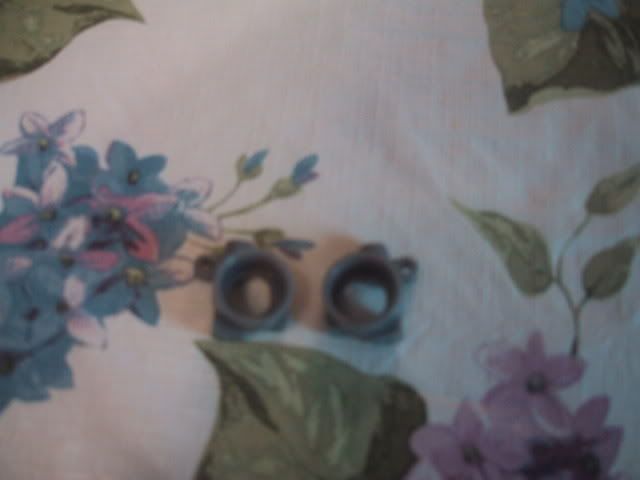 Now you need to cut the paper clip. cut the 2 longest parts of the paper clip off. You should have this: 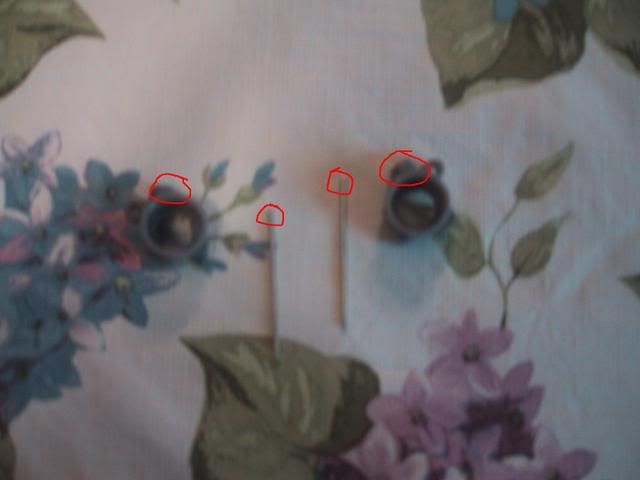 ^^^^ Now for the harder parts. I circled the the knuckles and the paper clips. The top of the knuckle(the part that touches the top sus. plate when installed.), fill that hole with epoxy putty.Use the tooth pick to get the putty in the hole. If you turn the knuckle over you should notice the putty coming putty coming out. That is what we want. Now take the paper clip sticks and put one in each knuckle with the putty. Take time to get it straight and not lopsided. wipe the putty out from the backside so it doesn't get in our way. Blurry pic so i drew on it. The back side of the knuckle: (gray is the outline of the knuckle and paper clip. The red is where the putty is leaking out, wipe that out, so it doesn't bind the wheel) 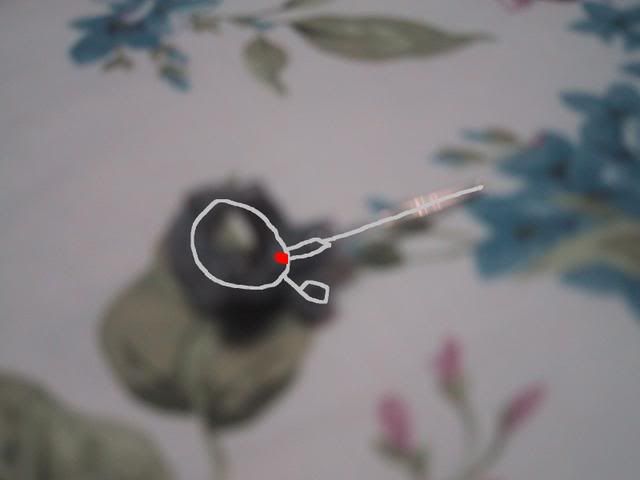 Let the putty dry for 30 minutes. (if you want you can file down the putty for a flat surface, not needed) Now the super glue. Put super glue where the putty and the paper clip meet: 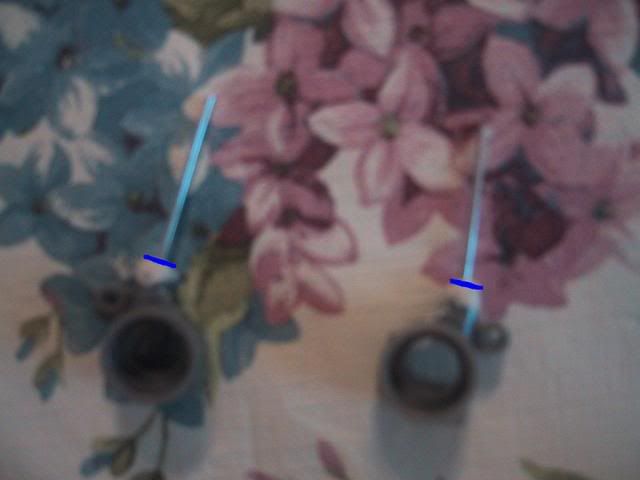 Let that dry for 15 mins. Now for the suspension plate. Get your 2-56 screws and nuts, suspension plate and your truck. Get 2 medium sized screws(1/2 inch) and put 2 nuts on them. Tighten the nuts to the top. Screw the suspension plate with those 2 screws. take 2 more nuts and secure the suspension plate to the screws. Not too tight. Just enough to hold it in place. Screw the suspension plate to you truck chassis:It will be lopsided. That is okay. 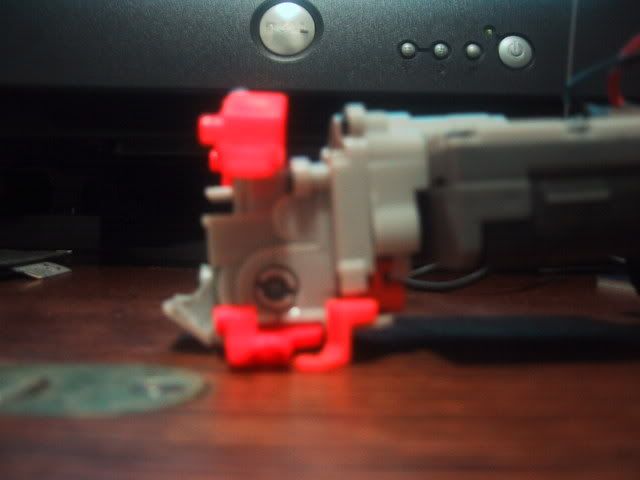 screws + suspension plate(blurry pic)  Now your knuckles should be dry. Get 2 car springs(stock or any other, i think stock is stiff enough.) put the springs on the paper clip on the knuckle. Now take the knuckle and and put it into place. The paper clip must be in the screw hole on the top suspension plate. and screw it in place.(tierod and front suspension arm) Repeat for other side!!! here is what you should have. 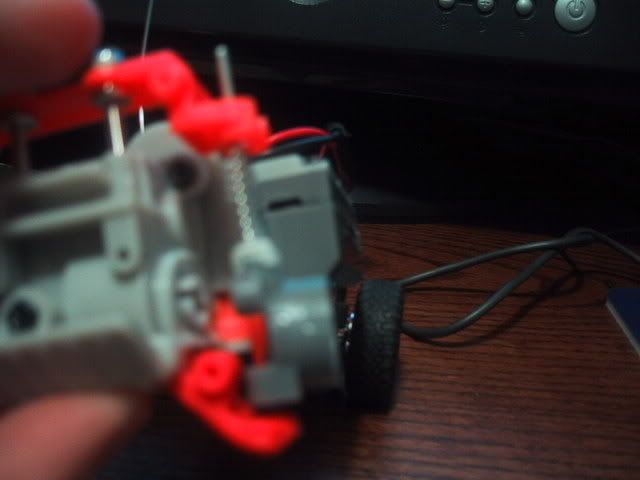 Put the bearings back in the knuckle along with the axle stub and dogbone. Put the knuckle cover on. 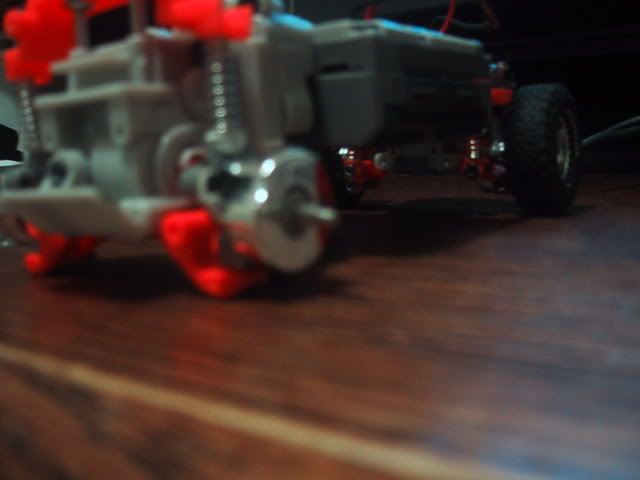 install your wheels 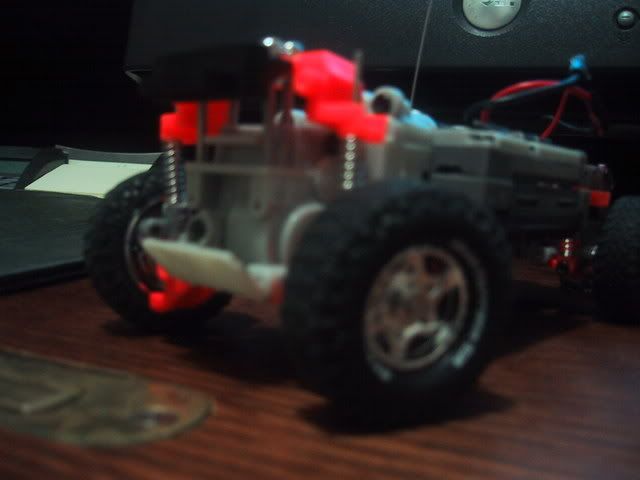 and your done. Have fun!! 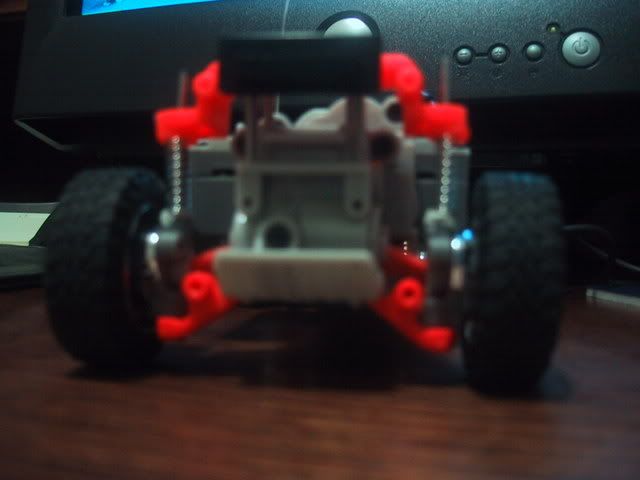 in action 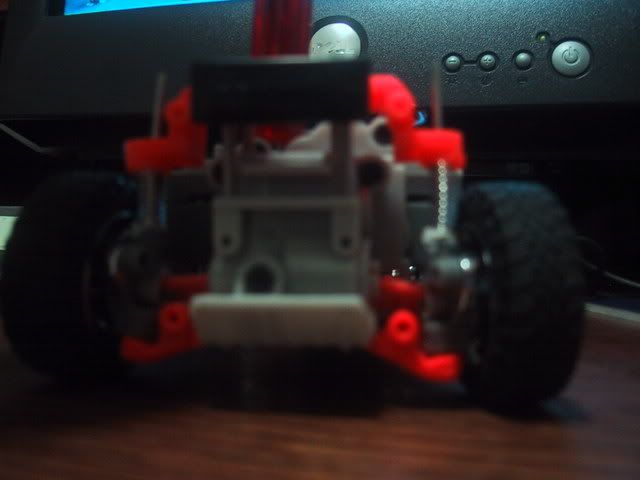 Other pics: 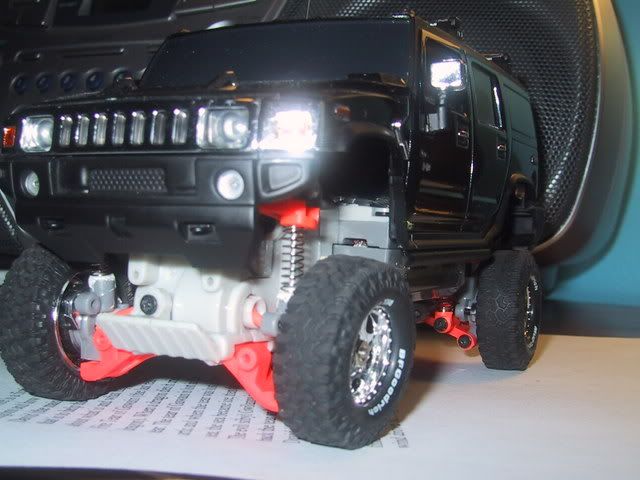 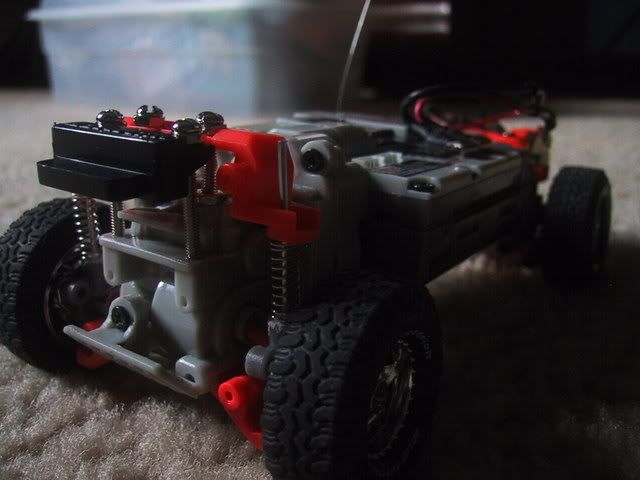 This tutorial helps with stiffer springs. Better ground clearance. Your truck front suspension doesn't get stuck. Better handling. Bumpsteer is reduced!!!!!!!!, smoother, good for crawling as well as the radline motor in the back. Ohh and it is necessary to do a steering mod with the hs-55!! or it just make it easier, taking a step out of the process. the only downside: is that the top suspension plate interferes with the front clip(only with a body lift.) All comments welcome. Enjoy
__________________
Track car v2.0 fieldfairy2's mini late model Operation black widow H-Crawler 
Last edited by fieldfairy2; 07-25-2008 at 03:25 PM.. |
|
#2
|
||||
|
||||
|
Great concept.
Too bad the pictures are too fuzzy to really make most of them out; clearer pictures would help this tutorial greatly.
__________________
XMS Rules & Guidelines | B/S/T Rules | How To Post Pictures Greyscale Racing Member
 The Collection: Mitsubishi Pajero | AE RC18MT TLMicroCrawler | Xmod ShowRoom | 'Yota XTruck "The fun begins when the pavement ends." |
|
#4
|
||||
|
||||
|
Nice tutorial. Good idea to improve the XTruck.
Like said, better pictures would help a ton, but, still a very nice idea.
__________________
 I will not be able to visit these forums very much anymore. If you need to contact me, please e-mail me at [email protected]. I will finish up all bodies I have and get them shipped to each of their owners. Thank you. |
|
#6
|
||||
|
||||
|
is there anyhting else you could use besides putty that would hold the paperclip?
__________________
 bad spammers |
|
#7
|
||||
|
||||
|
Awesome Tutorial. This could help on completing my Xtruck once and for all.
__________________
Brushless RC18T, Brushless Micro DT, Midwest AeroStar .20, SCX10 Honcho, Duratrax 1/5 Firehammer MT, Traxxas Nitro 4Tec 3.3 |
|
#8
|
||||
|
||||
|
Thanks,
Scionbeave you might be able to use jb weld or something. I really haven't explored that yet because i don't need to. But i might try. I said jb weld in supplies too.
__________________
Track car v2.0 fieldfairy2's mini late model Operation black widow H-Crawler 
|
|
#9
|
||||
|
||||
|
yeah i know i saw that in the list of supplies would it work if i bent the paper clip in and around the hole? otherwise i would have to go to a hobby shop that is an hour away and my parents wont drive me(thank god im getting my license in 2 months)
__________________
 bad spammers |
|
#10
|
||||
|
||||
|
No, it would not because the paper clip can't go through the hole. Something stops it from going all the way through. Maybe some elmers glue? I really don't know. I can't think of anything right now...
EDIT: for those people who said "not helpful" can you please tell why!! Your info. can help this tut to be better.
__________________
Track car v2.0 fieldfairy2's mini late model Operation black widow H-Crawler 
Last edited by fieldfairy2; 04-12-2008 at 09:45 AM.. |
| Currently Active Users Viewing This Thread: 1 (0 members and 1 guests) | |
|
|