

|
|
#1
|
|||
|
|||
|
I got this one new, almost an year ago!!
So i decided to show you "people" the project i made in this one! For the price i got it new, it's cheap. But it's a Carson, like the evo truck of mine, so it needs some "options". To bad it does not have upgrade ones.... from atomic or gpm.... but i resolved some!! I Find out that later when got the car... that even stock pieces are all sold out... so no aftermakert and stock... crap! But searching very well the WEB you find some stuff, and other stuff from other cars... and you began a Project.... ok, enough talk, let's go seem them!!!!! 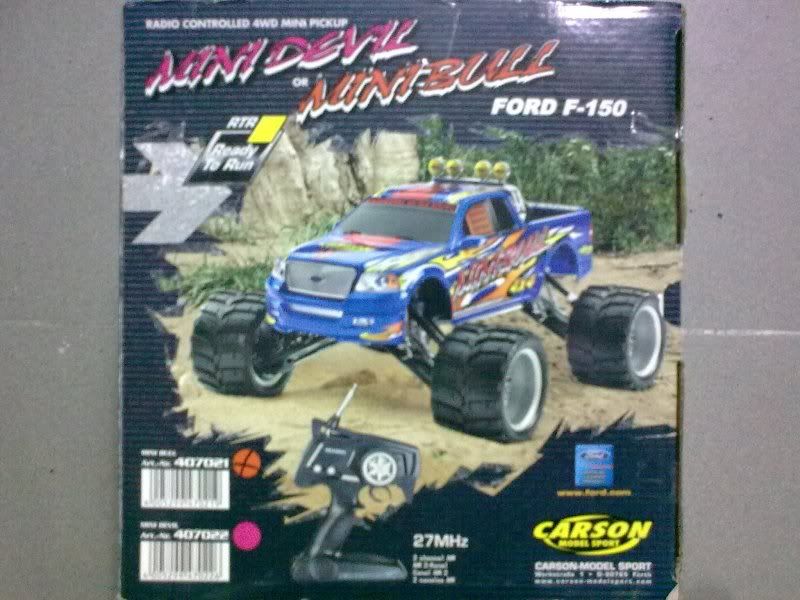 -On the box! 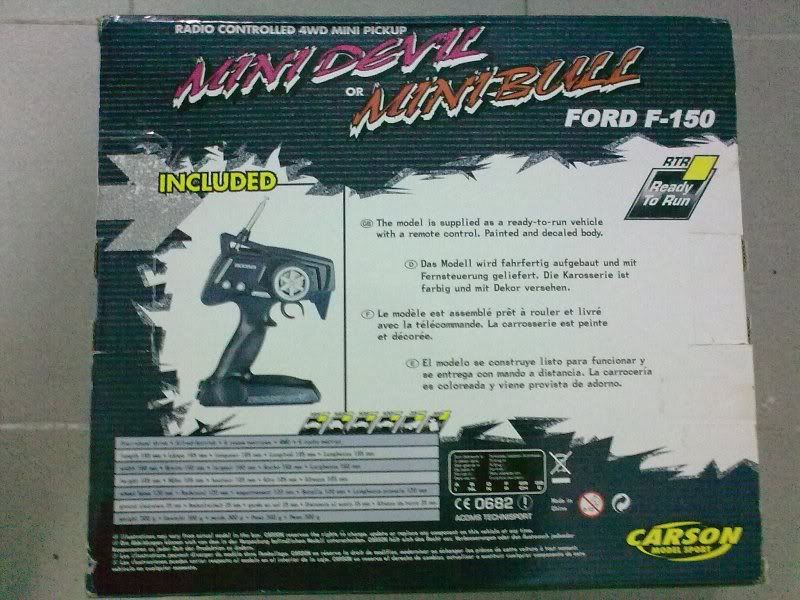 -Back of the box! 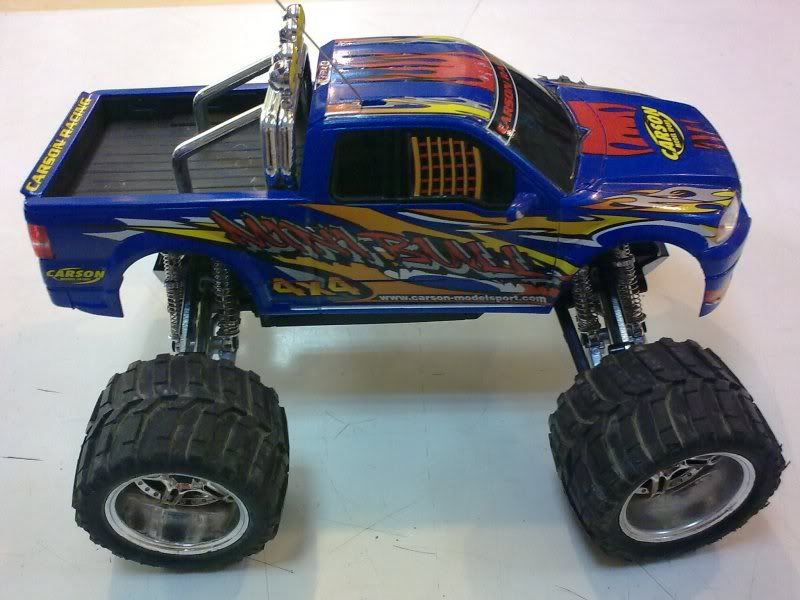 -The minibull itself!! 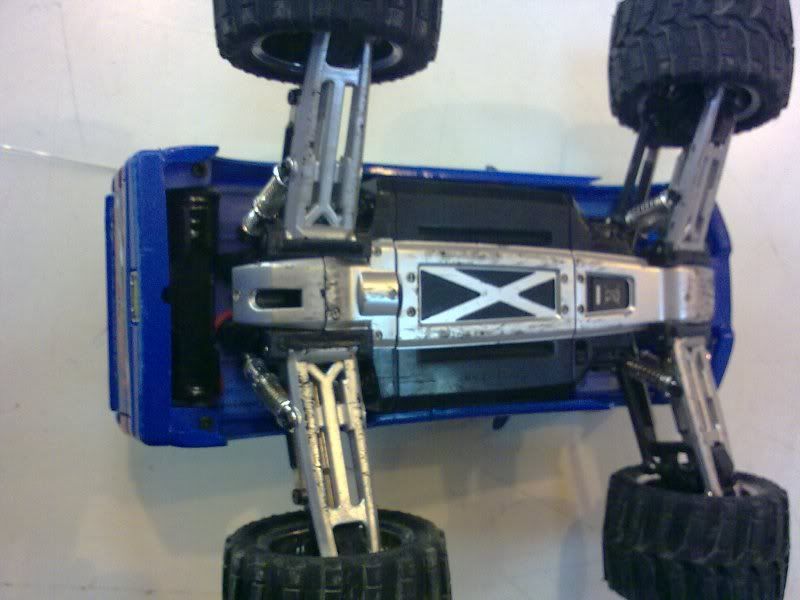 -The bottom! 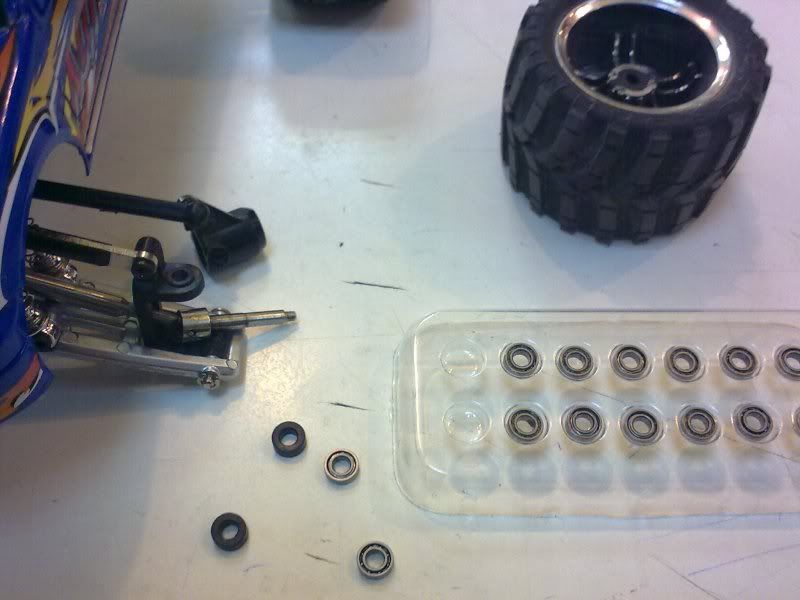 -If we dont use metal bearings, it is gona brake the conic 4x4 gear. It happened to me... and on the web it happen to anyone who got this little 4x4.Metal bearings for the wheels are the same as X-Mod Gen1. The evo ones dont fit. 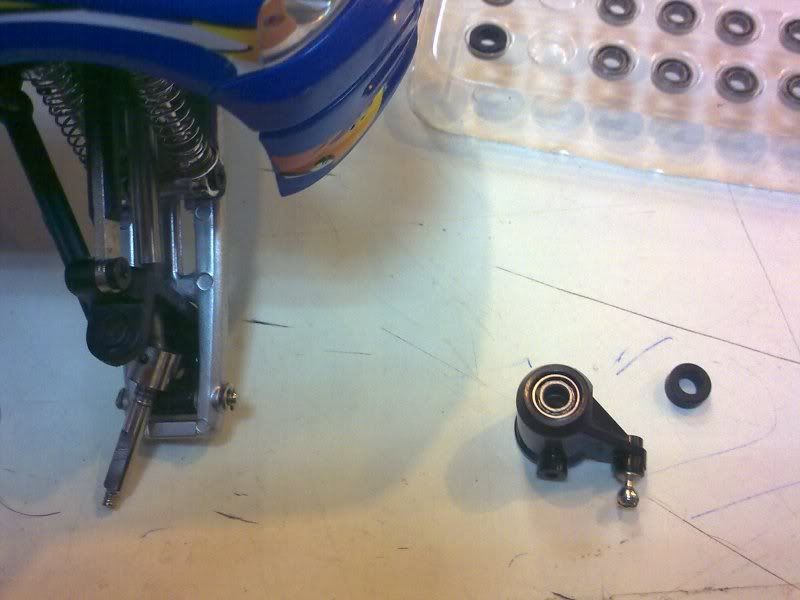 -Metal bearings on the front. 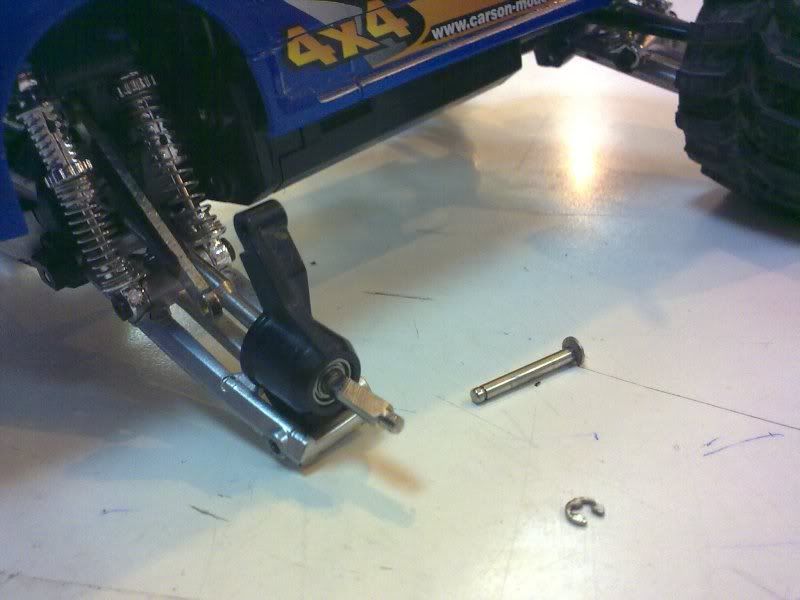 -More metal bearings.... 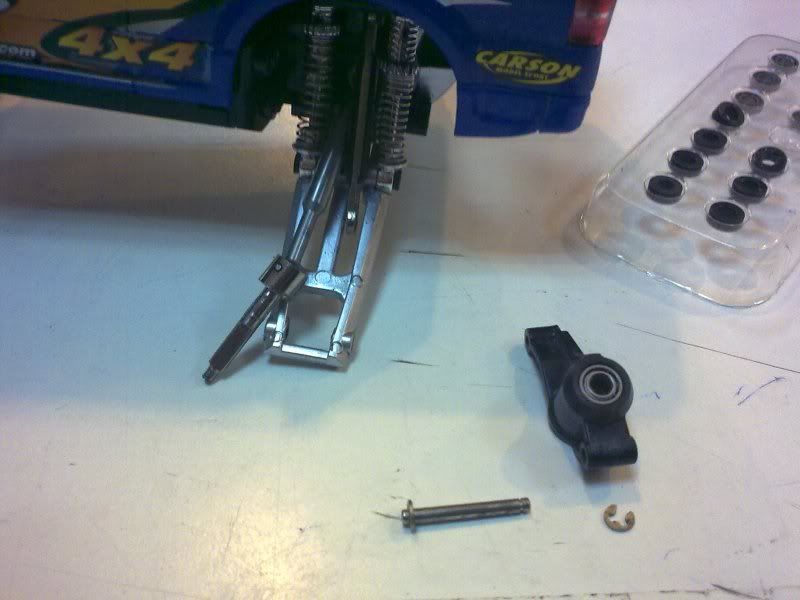 -more.... 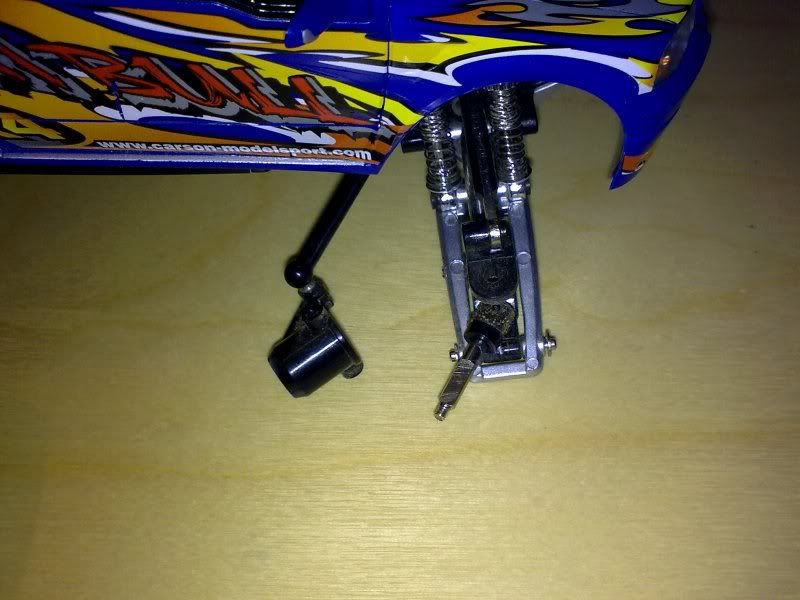 -The original part.... just exploring what to do!! 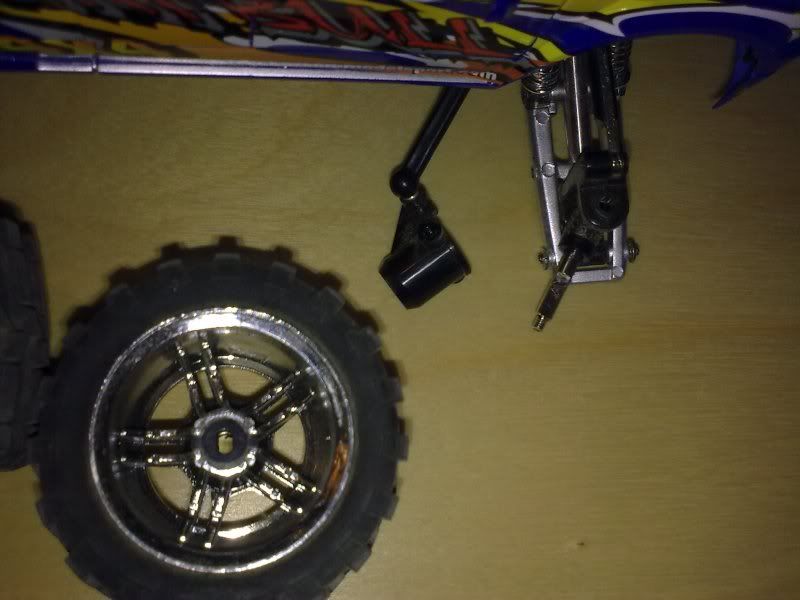 -Whell off... 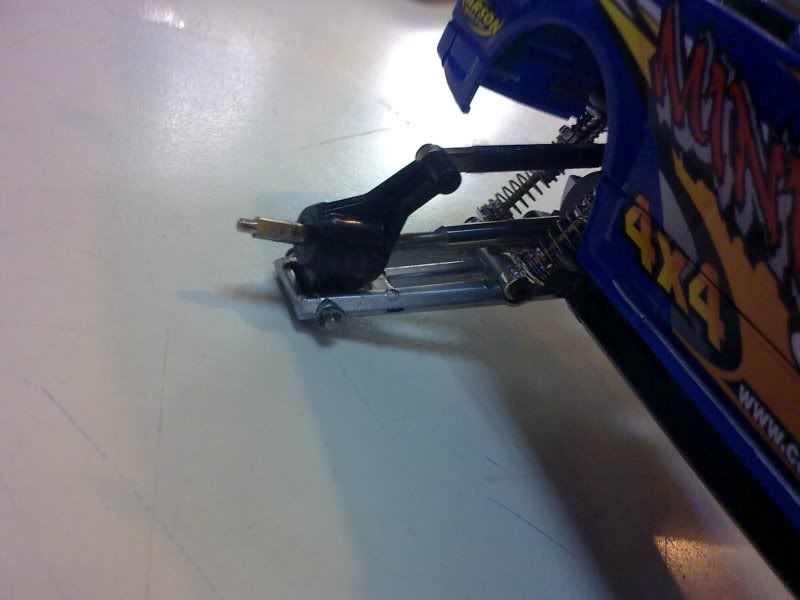 -Plastic bearings, is not a bearing, its a ring that smokes performance and plastic! :bang: some small video showing all in stock!! http://www.youtube.com/watch?v=9JInssnM__0 Last edited by targetingxmod; 03-28-2011 at 05:34 AM.. |
|
#2
|
|||
|
|||
|
The pictures that speak for themselves...
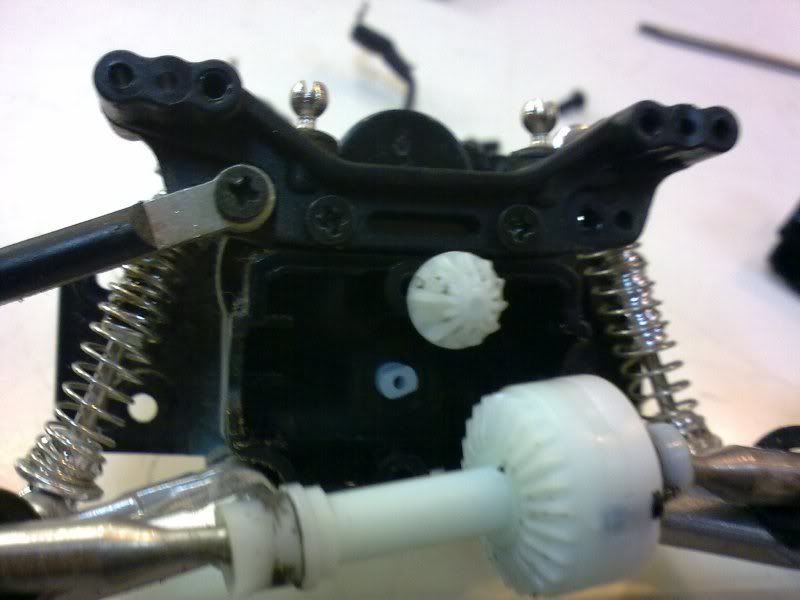 -This is the broken gear (the conic one), that will make the crack sound when acelerating.... got one new already. With grease on the moving parts and metal bearings it works fine, and until now... it's not broken!! 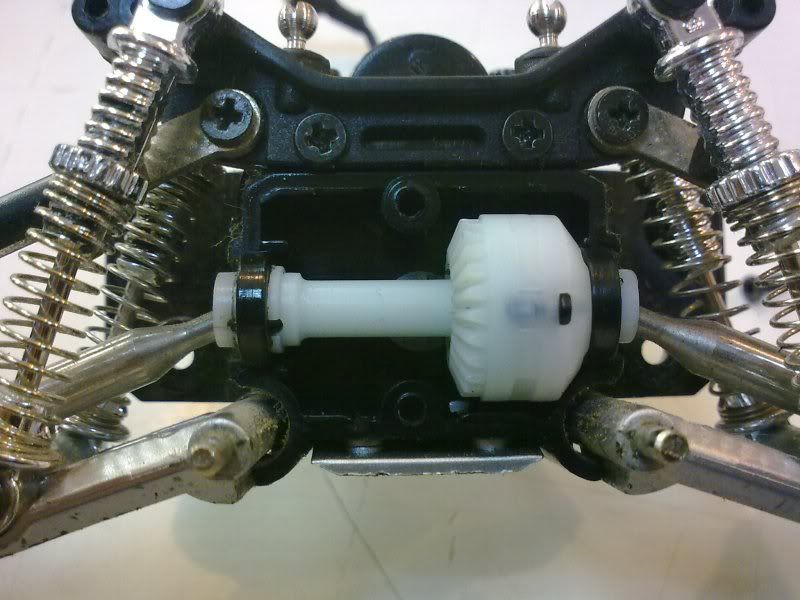 -On the diferential the pseudo plastic rings (bearings), on the eye i notice they are a serious problem. So metal bearings are so smooth, so perfect! 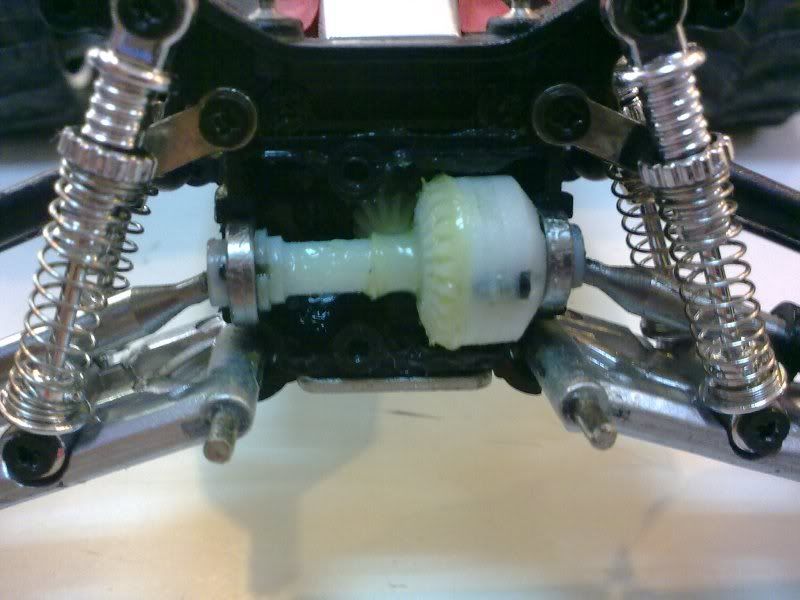 -The metal bearings on the diferential! Believe me, a lot of more control and smothenes! Notice the grease and the NEW conic 4x4 gear. This should come like these out of the box...but at least i understand a little bit more of the car. 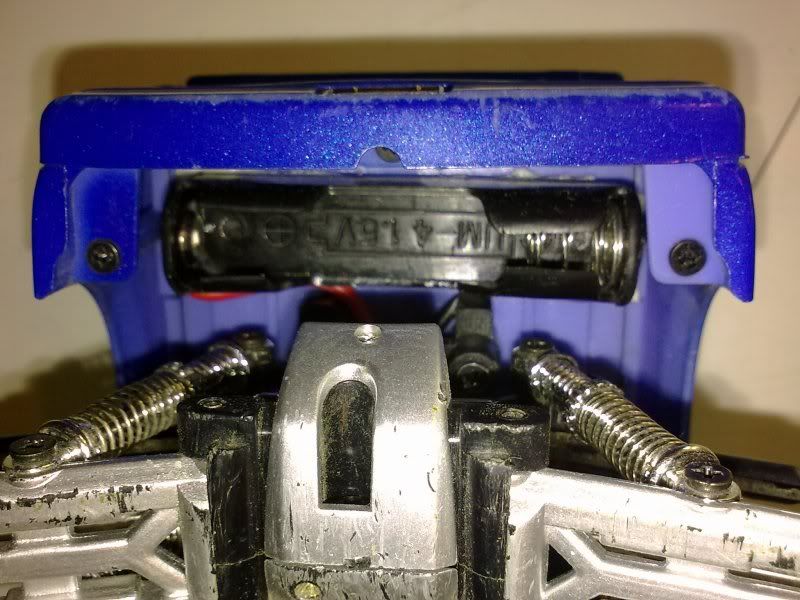 -The 5 cell upgrade. It runs more faster and more torky.But without metal bearings the conic gear.. becames like on the next video.... I got a video, of this Mini Bull with a 5 cell upgrade and the Crack sound on moving. Let me find it.... found it! http://www.youtube.com/watch?v=6jKQ7mvwPrg the bearings are this sizes: 3x6x2.5 = 8 for the wheels 3x6x2 = 3 for the center (4x4) 5x8x2 = 4 for the differentials..... |
|
#3
|
|||
|
|||
|
this is what happens when we dont have bumpers!
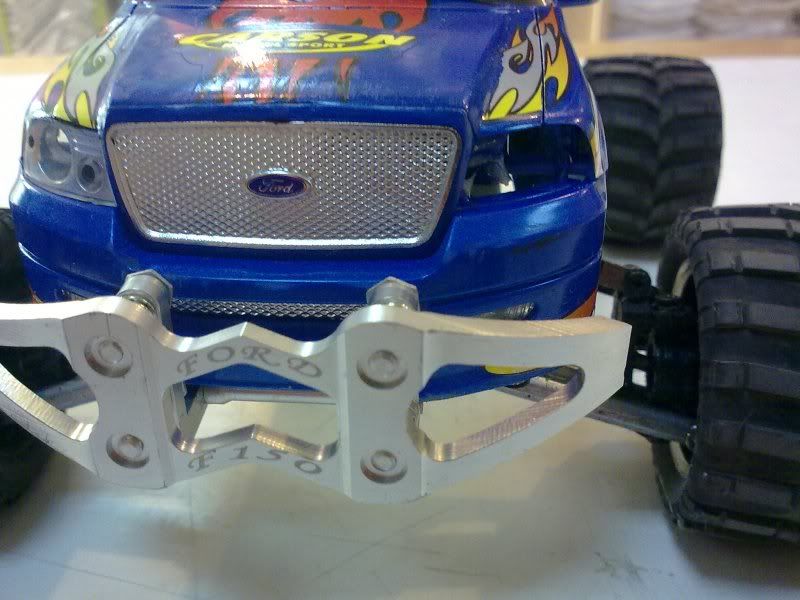 -On the photo there is now, but the light head disapeared when not having the front bumper! 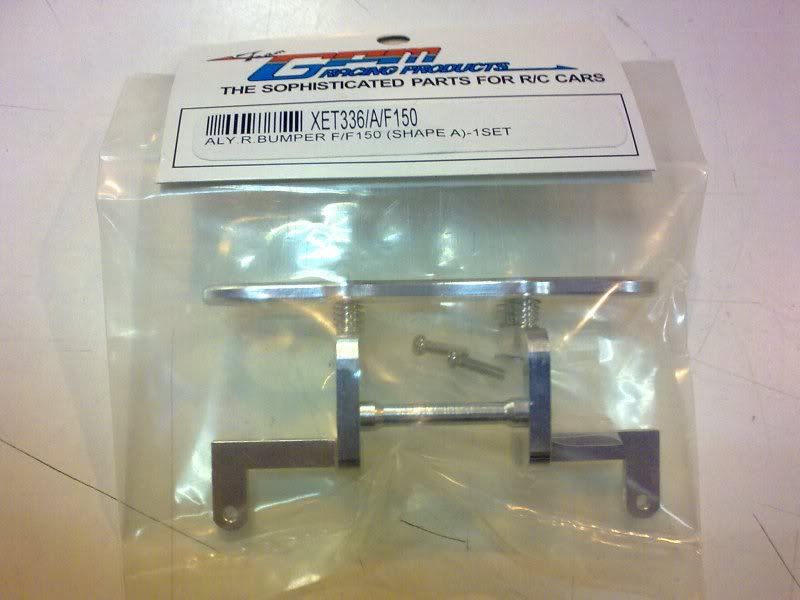 -So i ordered this one for the back! 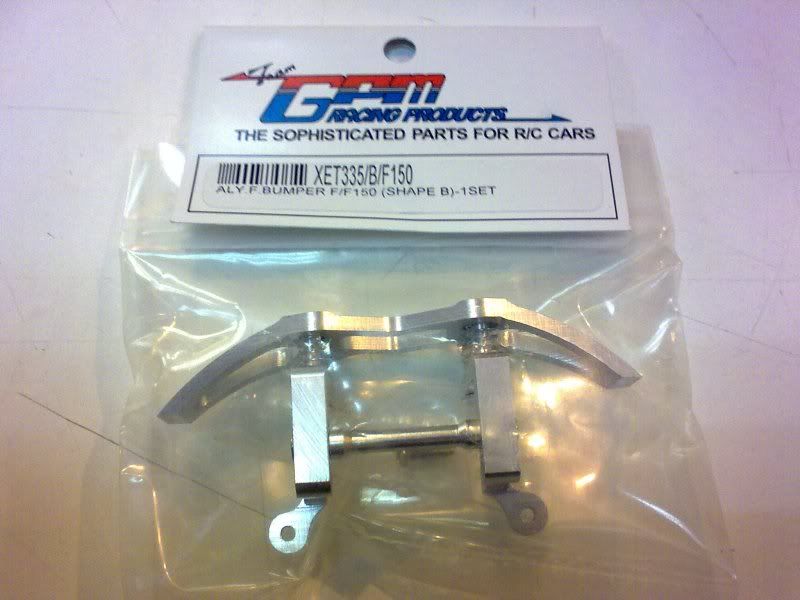 -And this one for the front. Now i can crash without woring to much about breaking something. |
|
#6
|
|||
|
|||
|
Up!
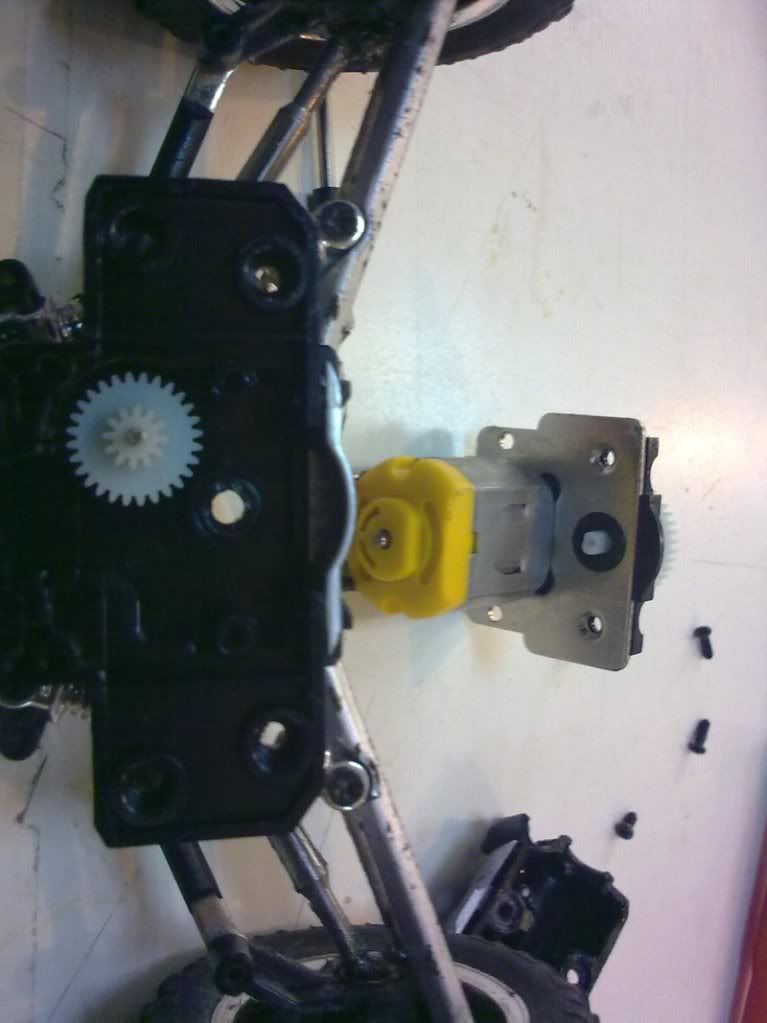 -Finding the rings to subst for metal bearings on the 4x4 gears/transmission! 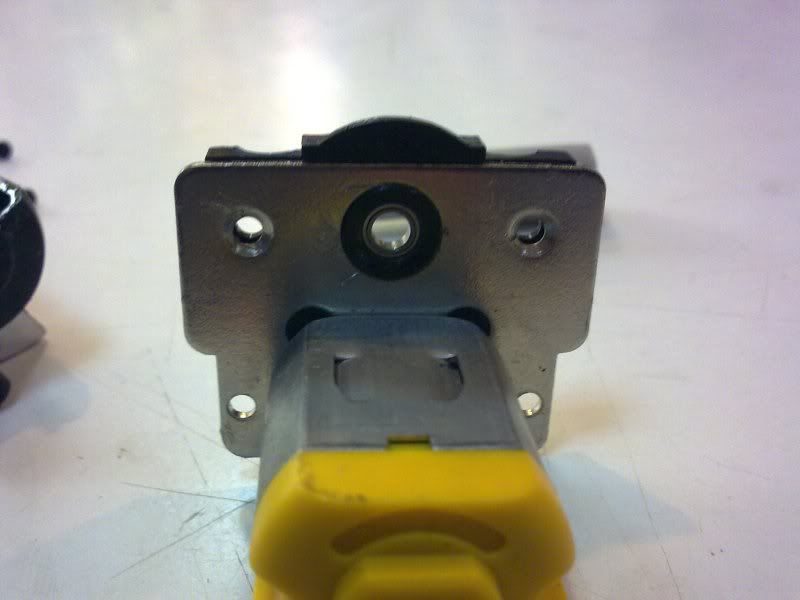 -One plastic ring for a metal bearing! 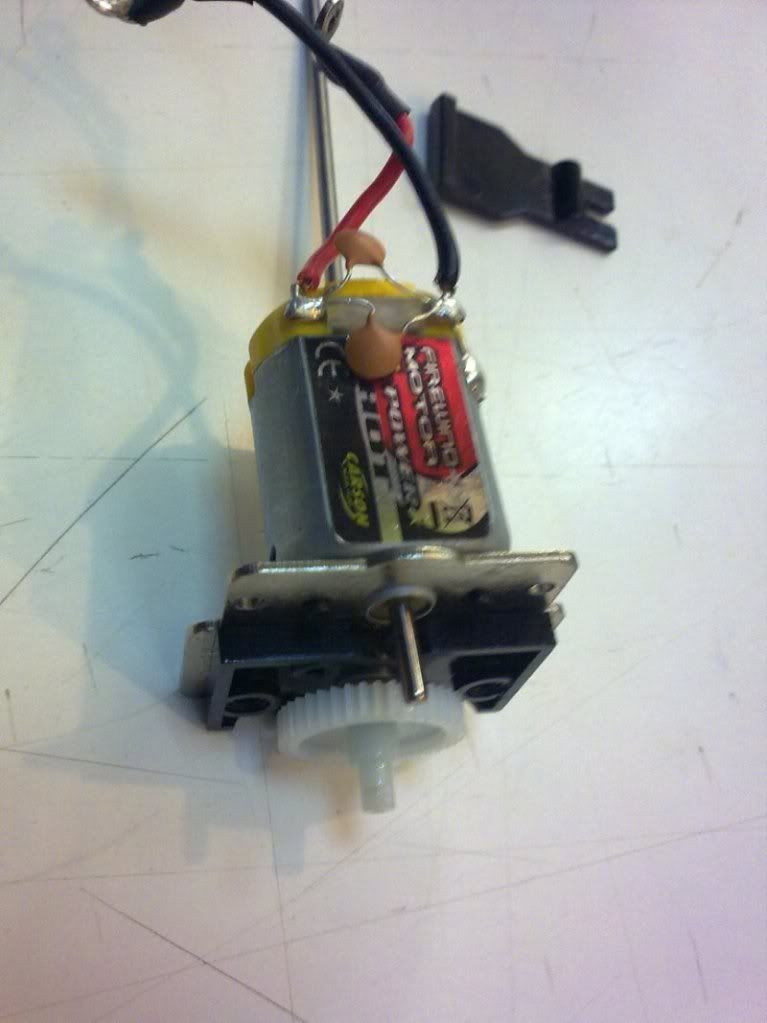 -Studing the original motor and it's places! 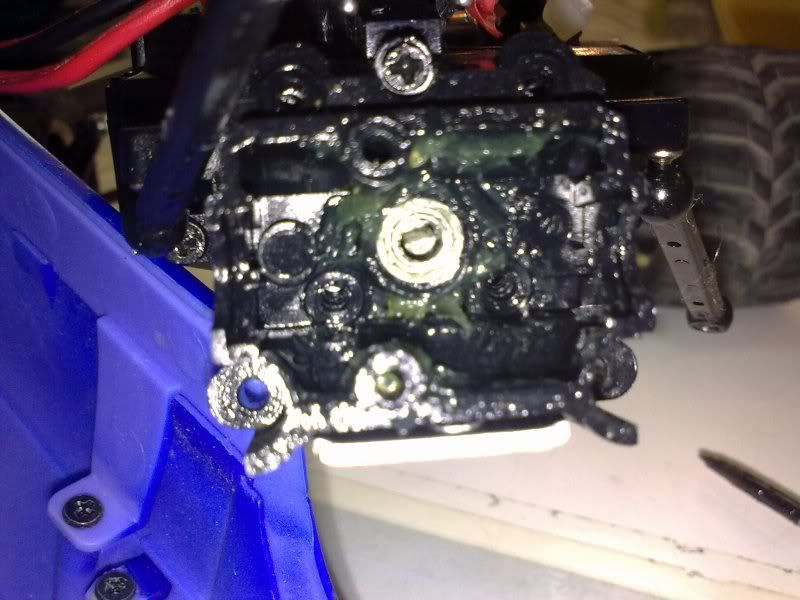 -Metal bearings on transmission! Oh yeah! 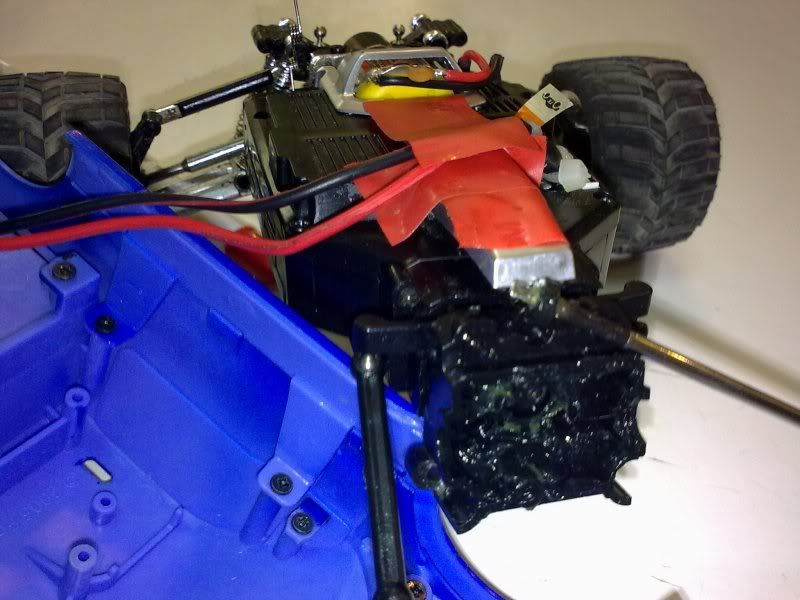 -Central axle with plastic ring? Hum, gota go! Last edited by targetingxmod; 06-17-2011 at 04:25 PM.. |
|
#7
|
|||
|
|||
|
More news...
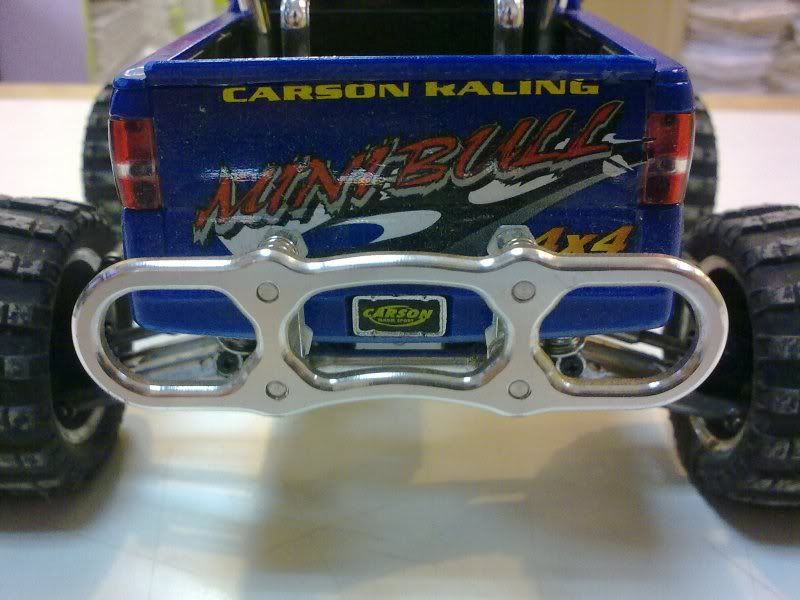 -Back covered and secured 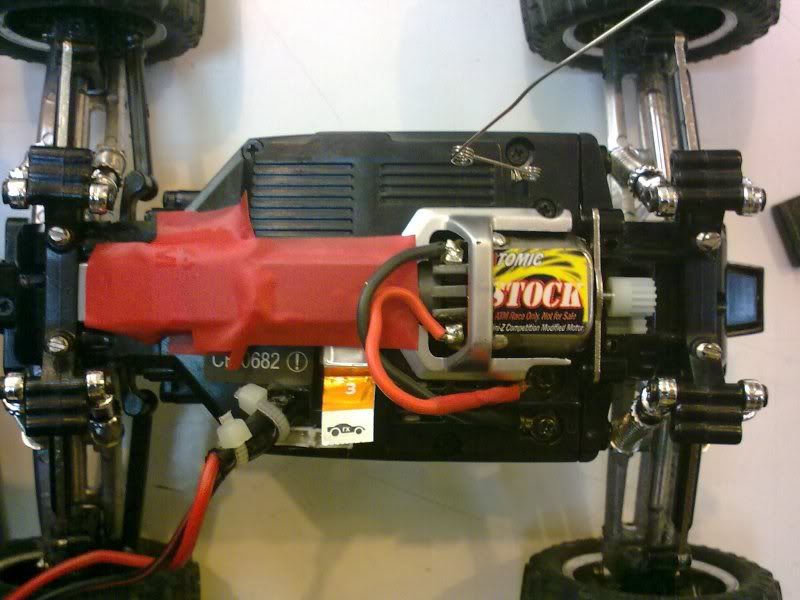 -I got an Atomic Stock engine, from my evo truck, so now is on the MiniBull, IT'S A BIG DIFERENCE...for better 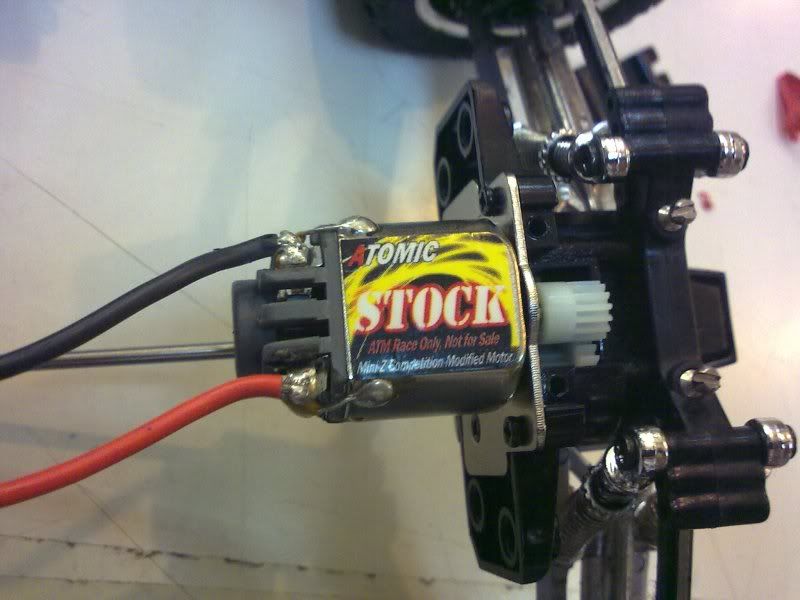 -Just to show the Atomic Stock.... 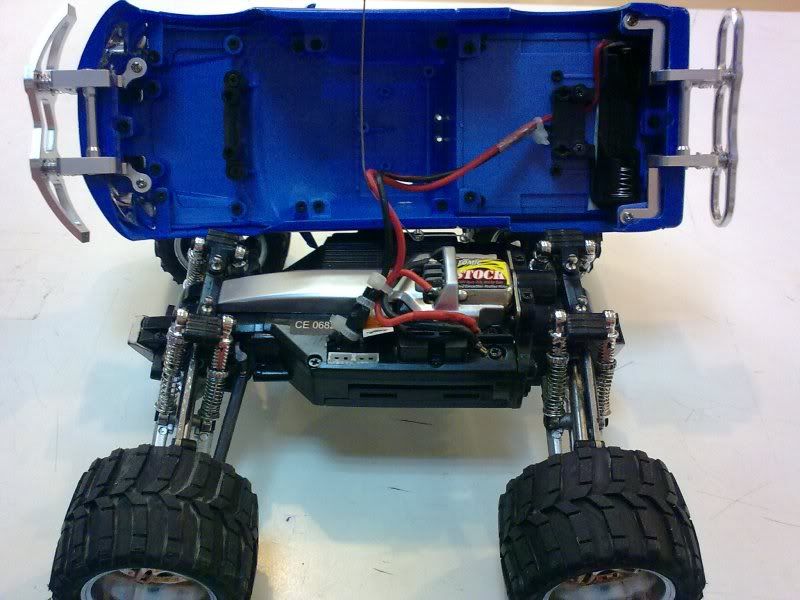 -Ready to play with atomic A small video showing the Mini Bull with metal bearings on wheels and transmission/5cells/Atomic Stock engine! Just compare to the first video, or the second http://www.youtube.com/watch?v=lT2Za9p9YSk |
|
#8
|
|||
|
|||
|
That is the itens that i bought.
to help someone to!! 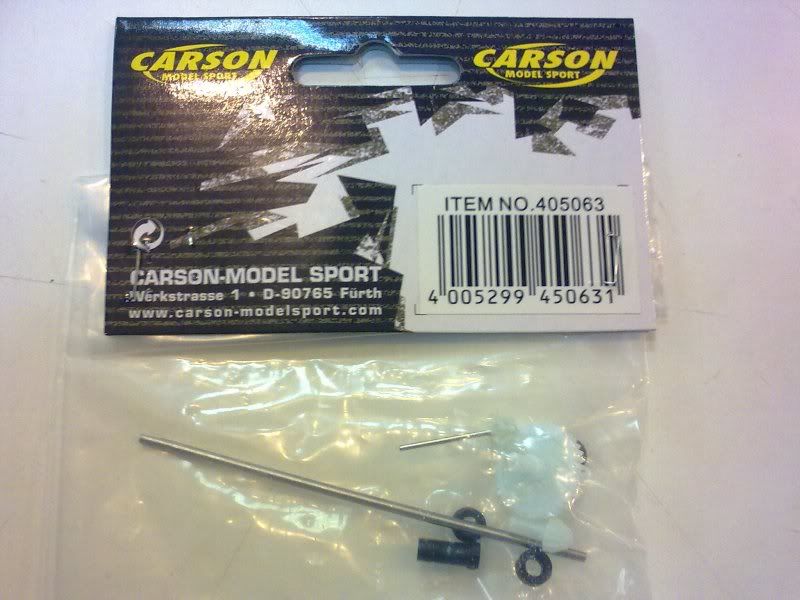 -The conic gear that broke.... i only use that. the other stuff was intact! 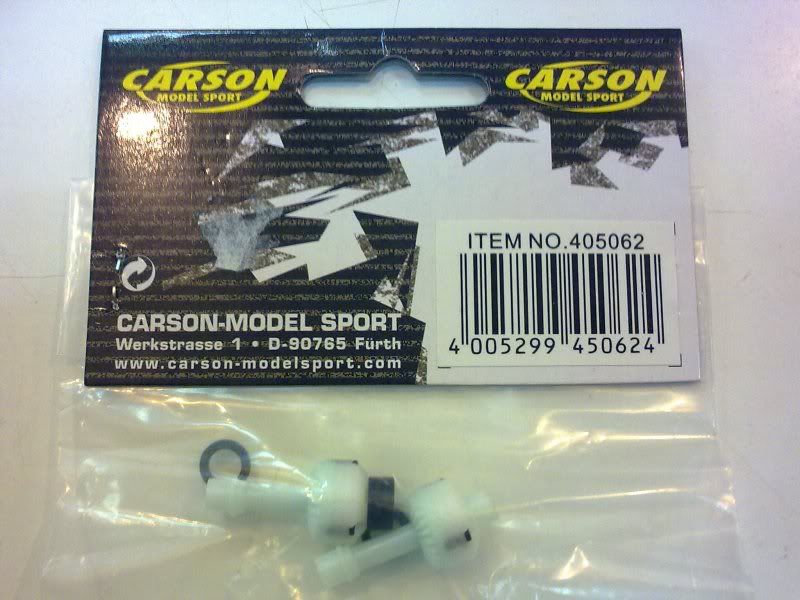 -Some diferential's to lock in a near future.... or maybe i lock the ones i use (better that way) After a few months of fun... happens this... 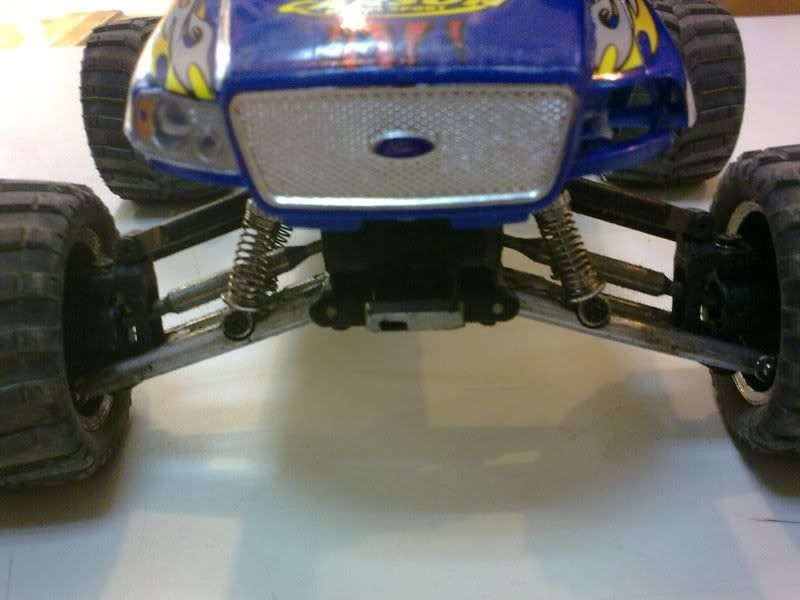 Where is the front end? (bumper) 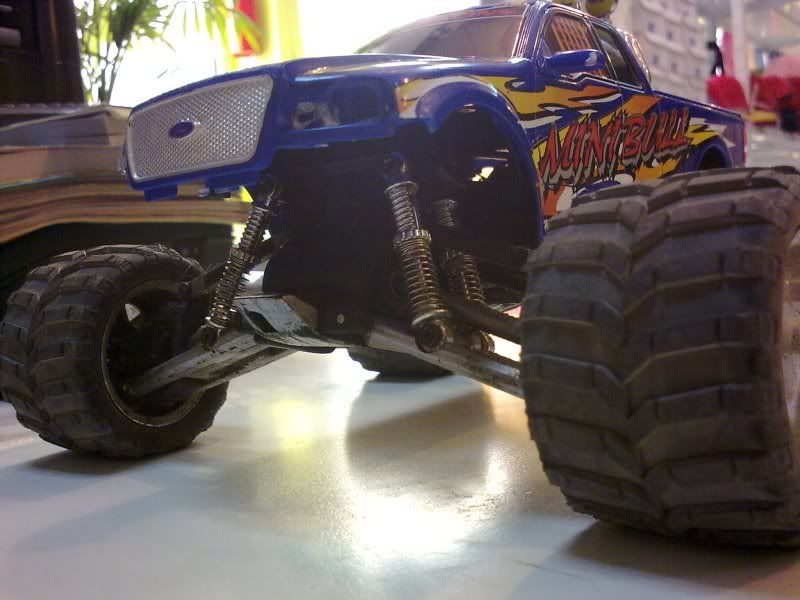 Then again where is it? After a few crashes, it broke... so i glued with araldite! 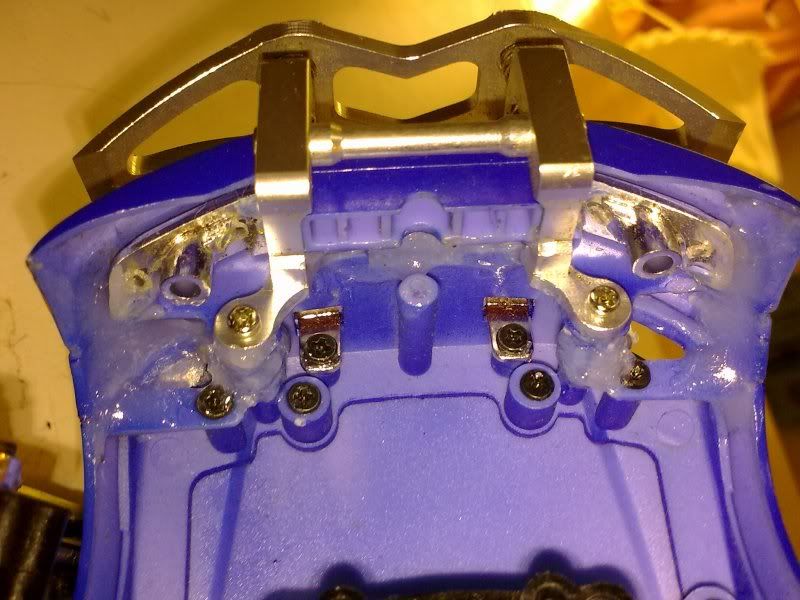 -this is the glue process! Lot's of it to be really secured! 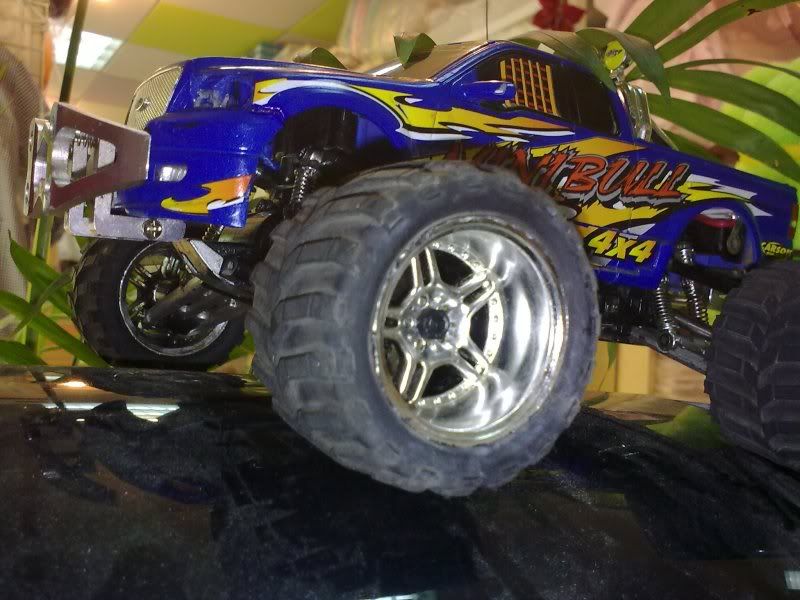 -And this is the glued process DONE! 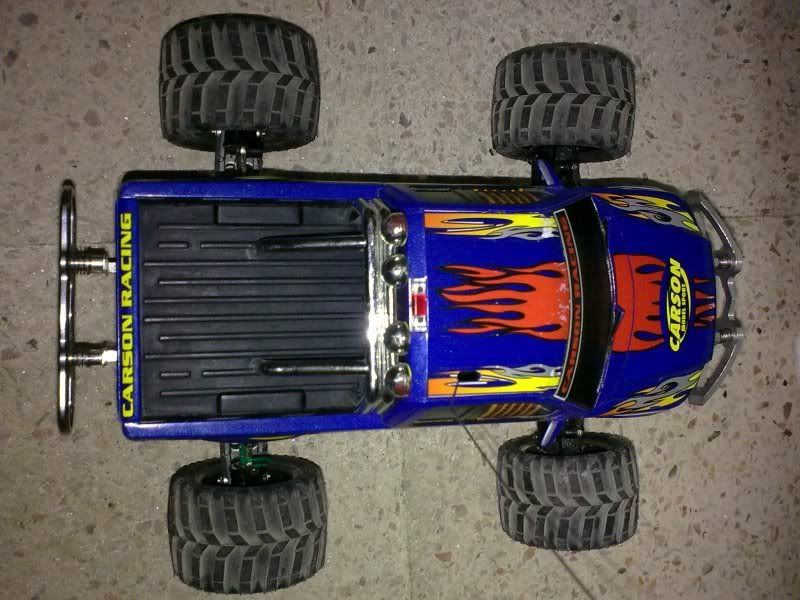 -Another one, full body! and since i was reparing the front bumper, i decided to clean the tires and the car... on the back it was like this.... 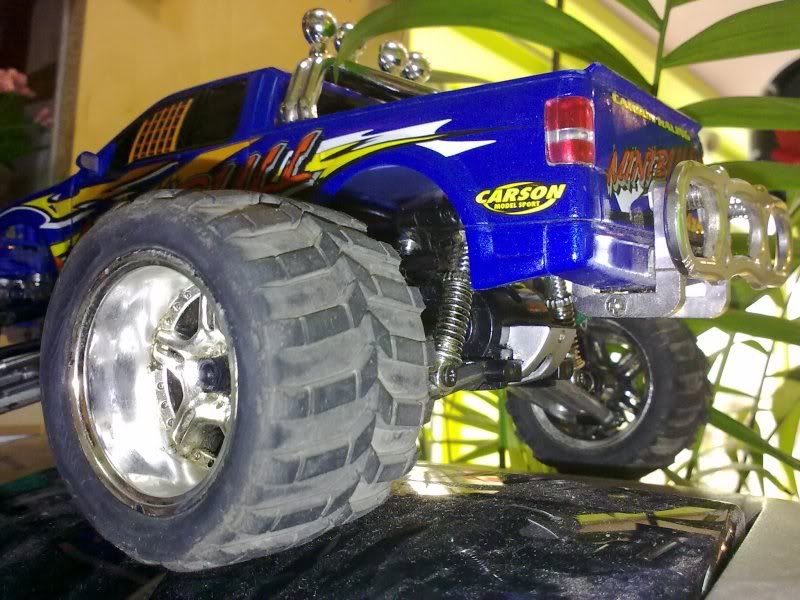 -In here the tires are cleaned with wd40... hum... not enough clean! and a small clean on the bottom of the car! 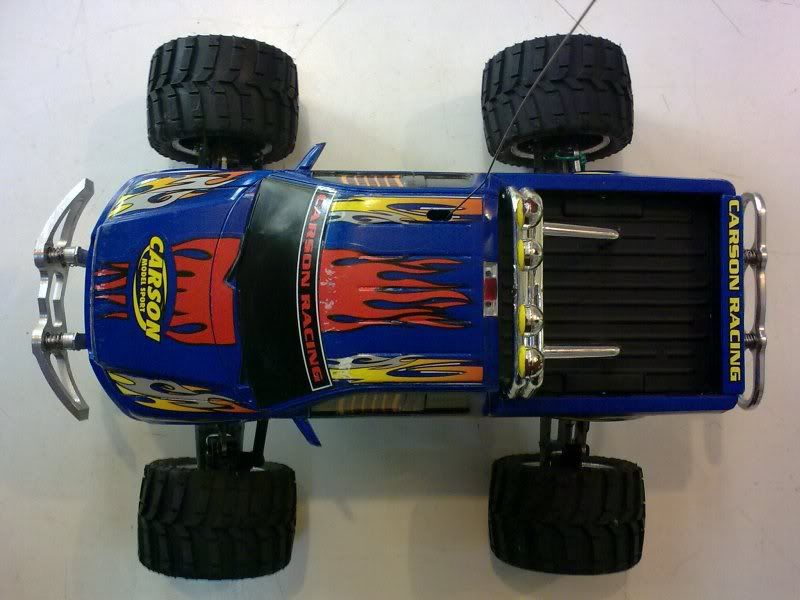 -More tire cleaning, all 4. 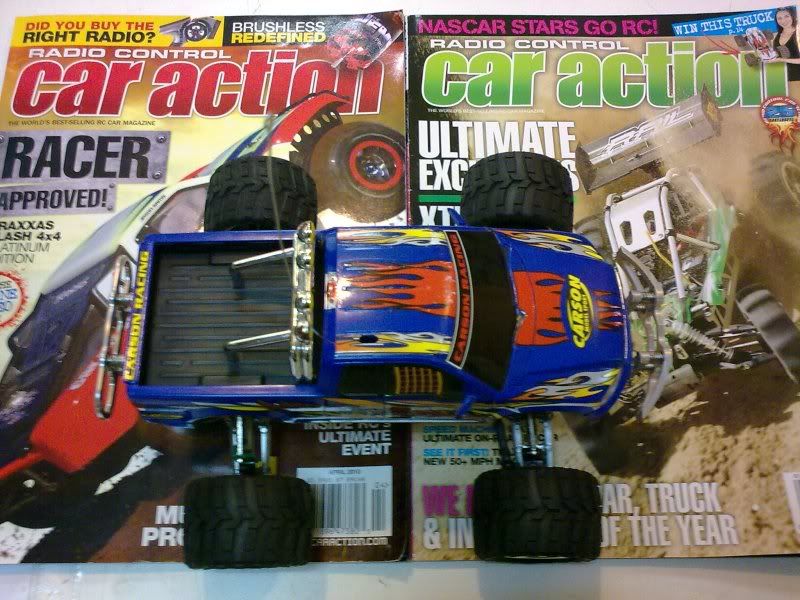 -The readings i usually now read 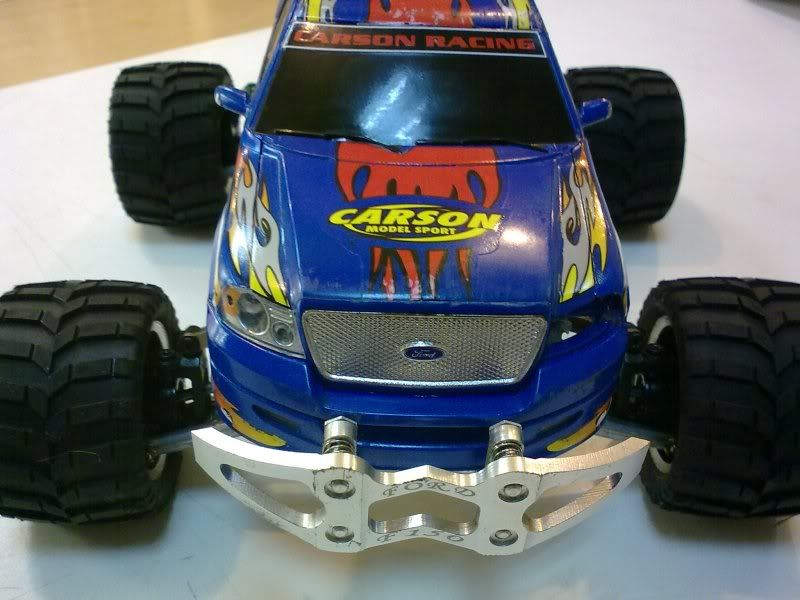 -Tires washed with water and soap... more grip now! :tough: Since i am on the cleaning process... 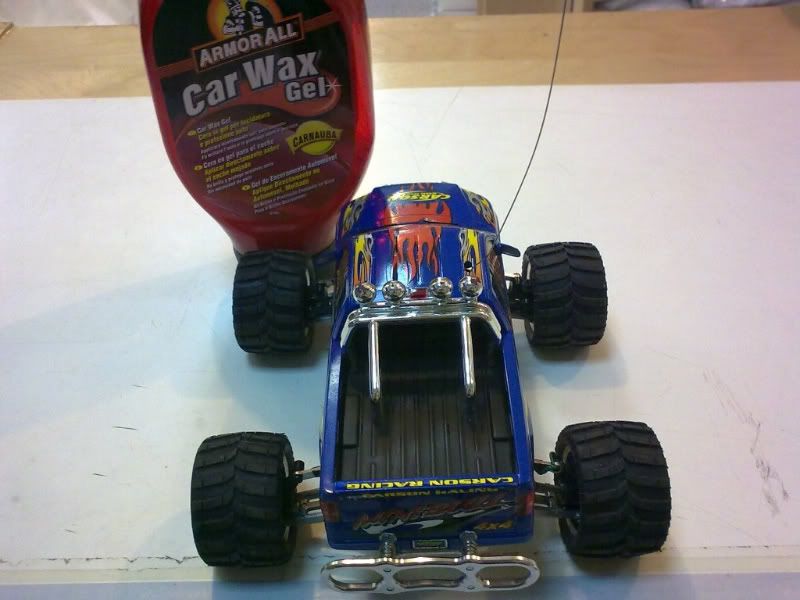 -Some carnuba wax to make it shine! 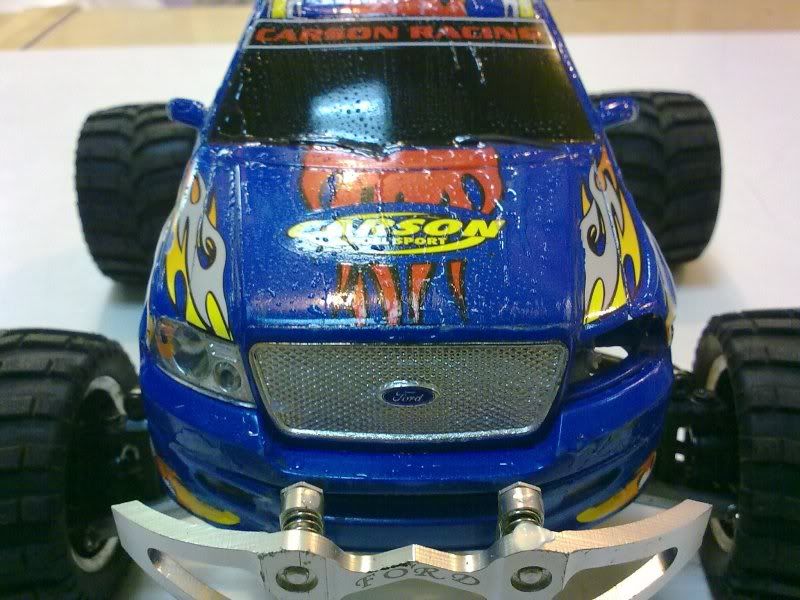 -the waxing process! 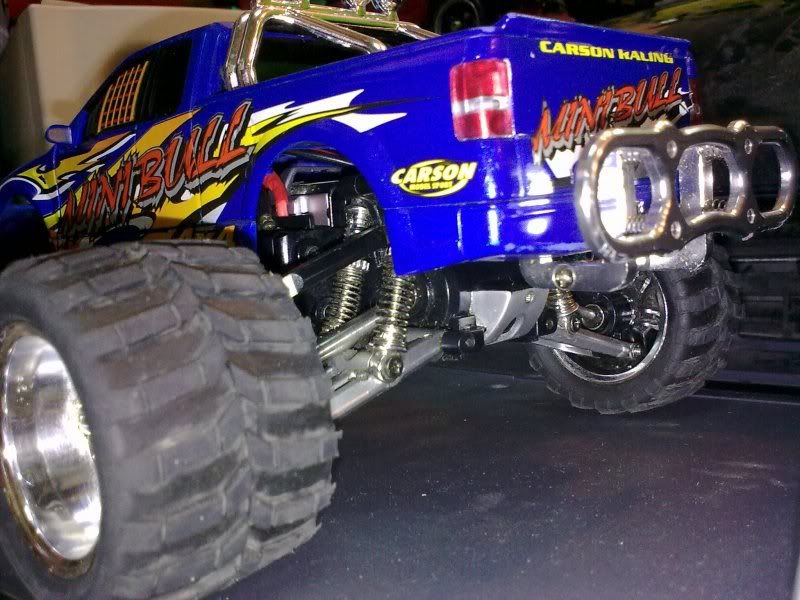 -The back waxed! 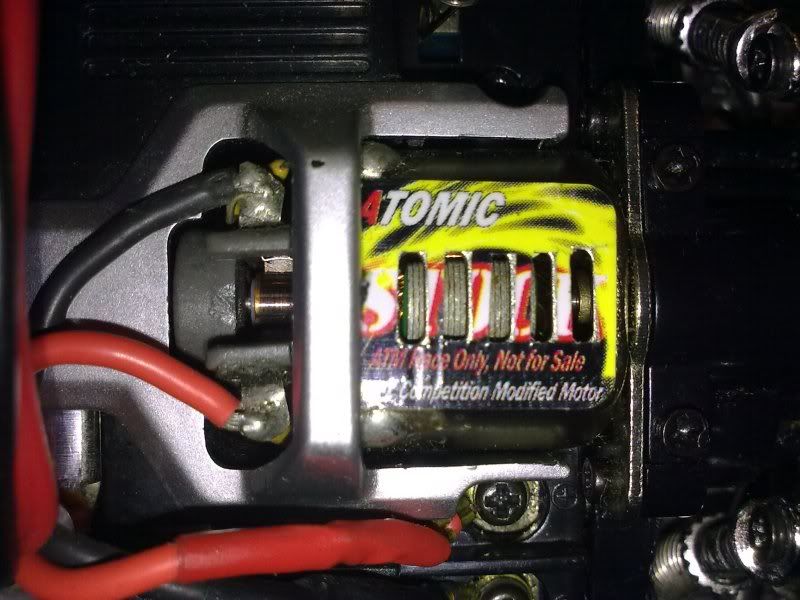 -Some motor minor upgrades (cuted the plastic logo to spread the heat more easly, and cuted one piece of plastic on the comm "like the chili", to help to ventilate and put comm drops) Last edited by targetingxmod; 08-20-2011 at 09:37 AM.. |
|
#9
|
|||
|
|||
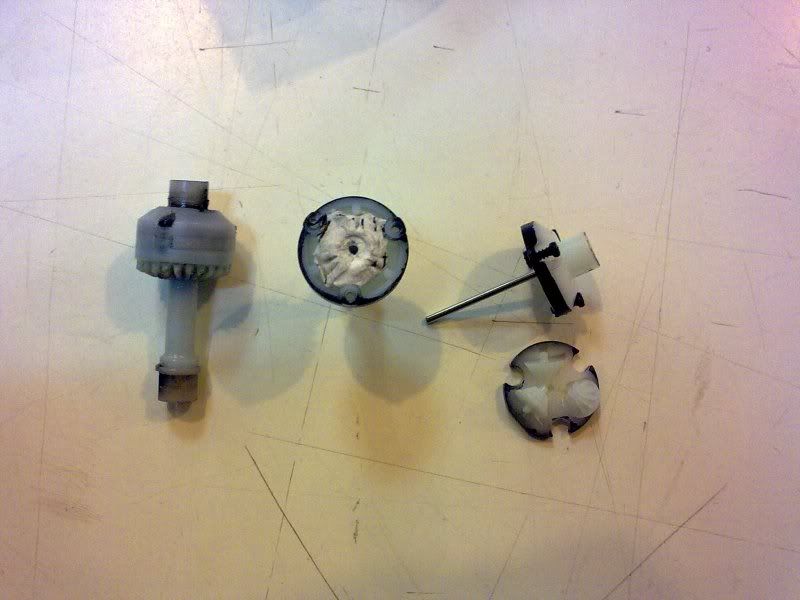 -Here it is the paper locking the diferencial! 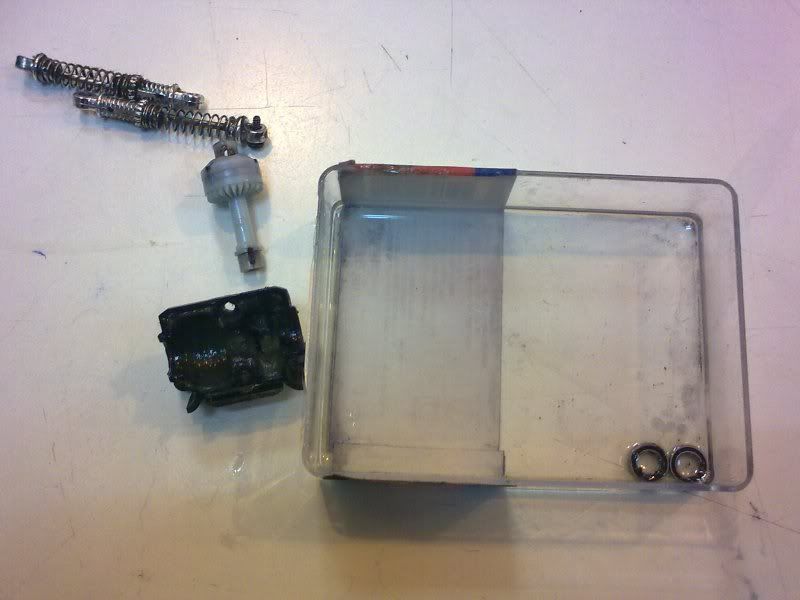 -Since the bearings are out, i clean them! 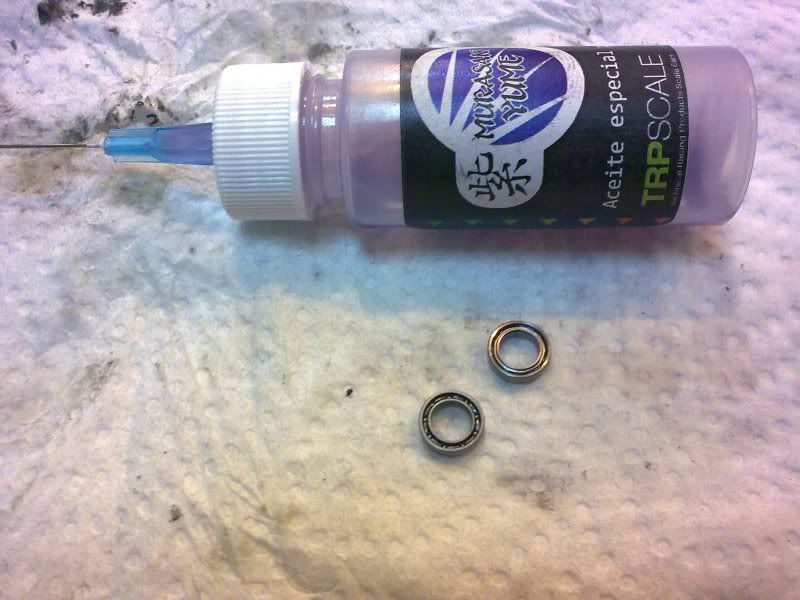 -After cleaning i lub them with this piece of magic oil :scholar: 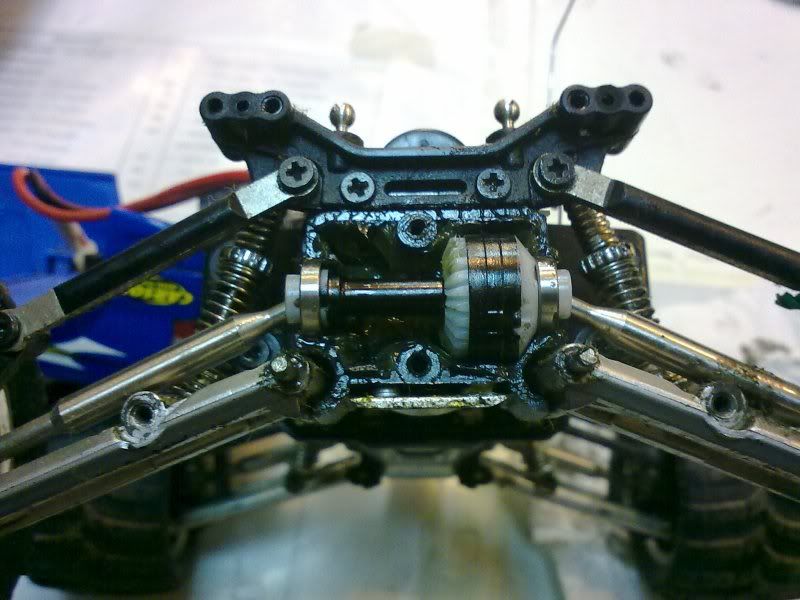 -And the locked diferencial in place! "locked only the back one" And i used black paint, of a marker to know that one is a locked diferential! 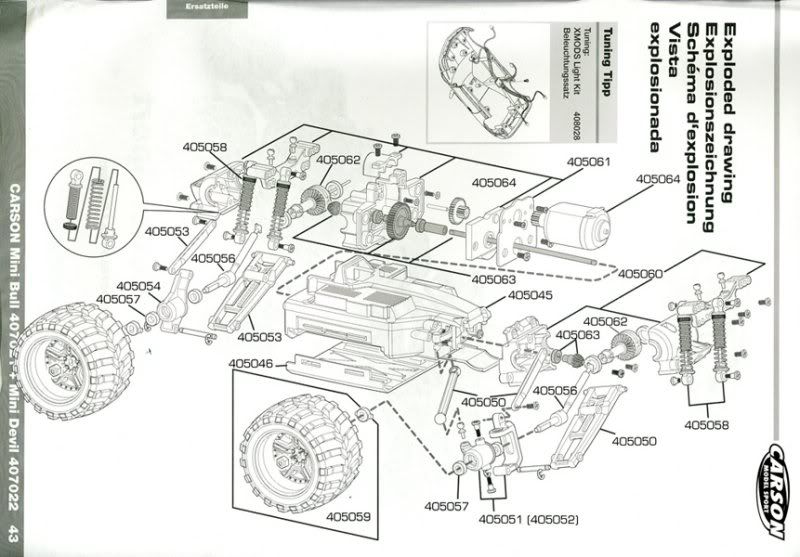 -This will help anyone who have this model, to find pieces! :bump: And since i am playing with it... 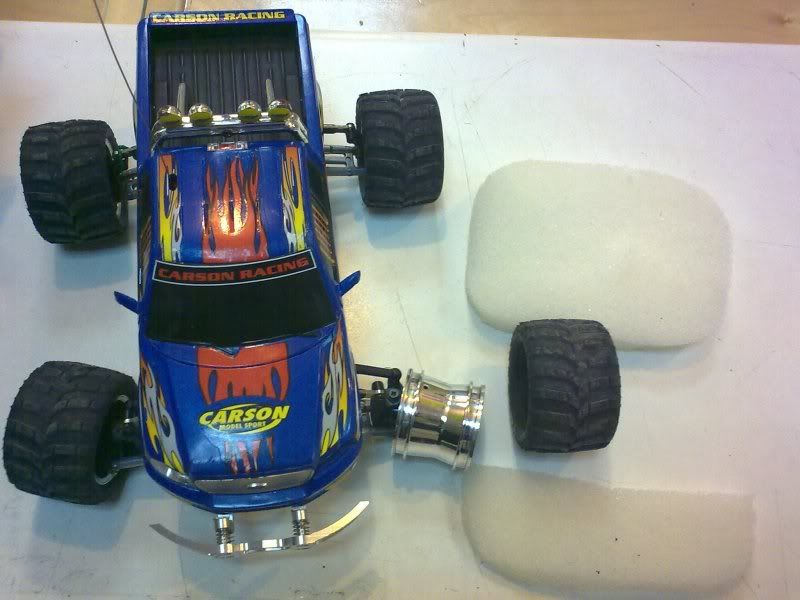 -Just making some tire foam to insert inside! 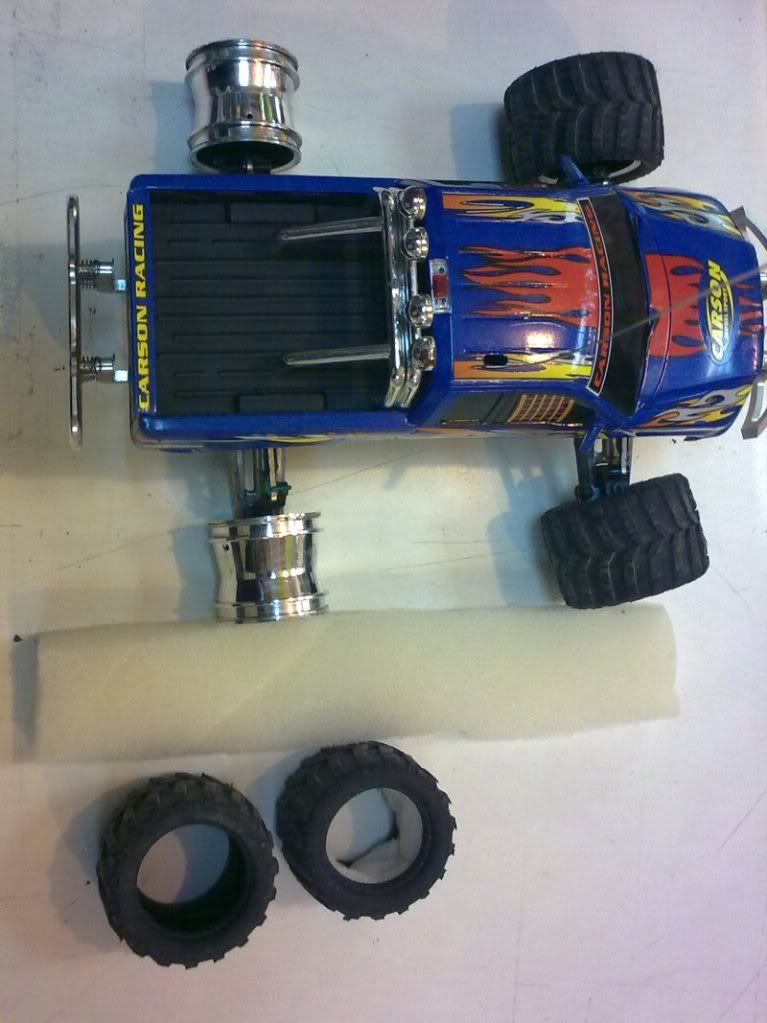 -For a little more traction! 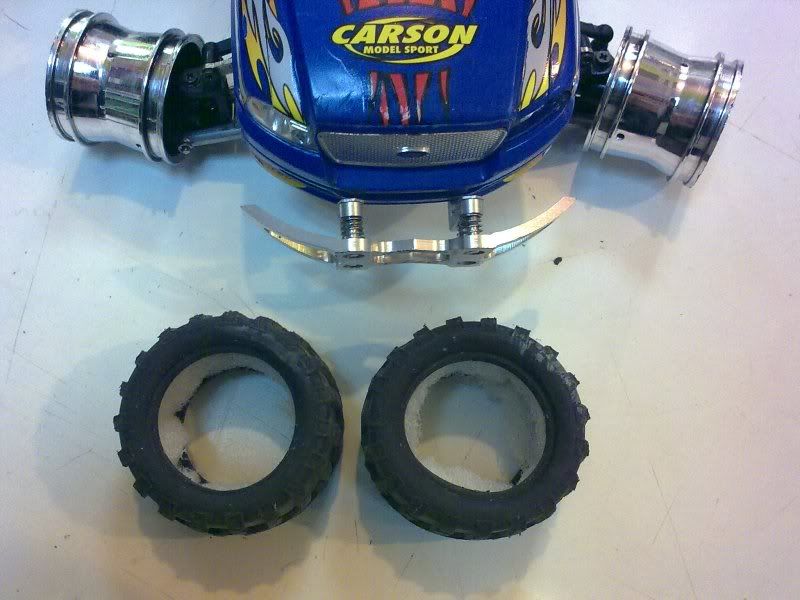 -DIY insert foam... it actually works! Some 10% more traction. And that's a good thing! Just like in real life, a correct pressure tire is better in several things... a low pressure tire is bader in several things! |
|
#10
|
|||
|
|||
|
hum....this thing needs more speed!
so what to do? "i know, it got weak diferentials, weak plastics all around, but it's full working till now..." 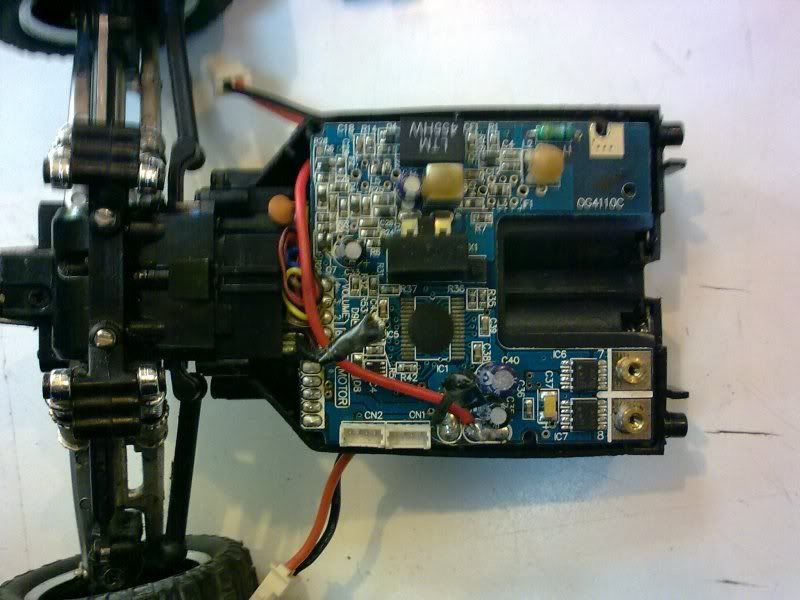 -That board, needs first more fets... but not right now!! 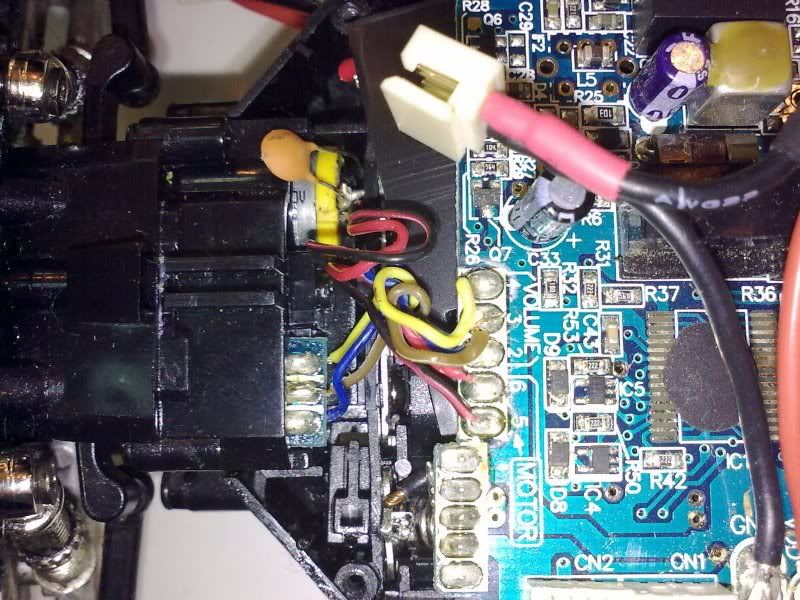 -Guess what? Yep, Lithium Ferrite cable soldered to the board! 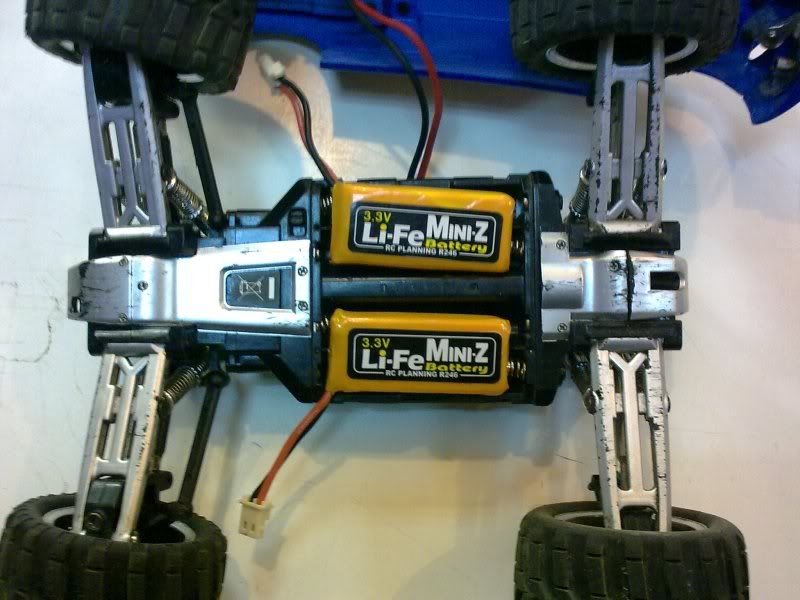 -The Lithium Ferrite Baterys on the car! 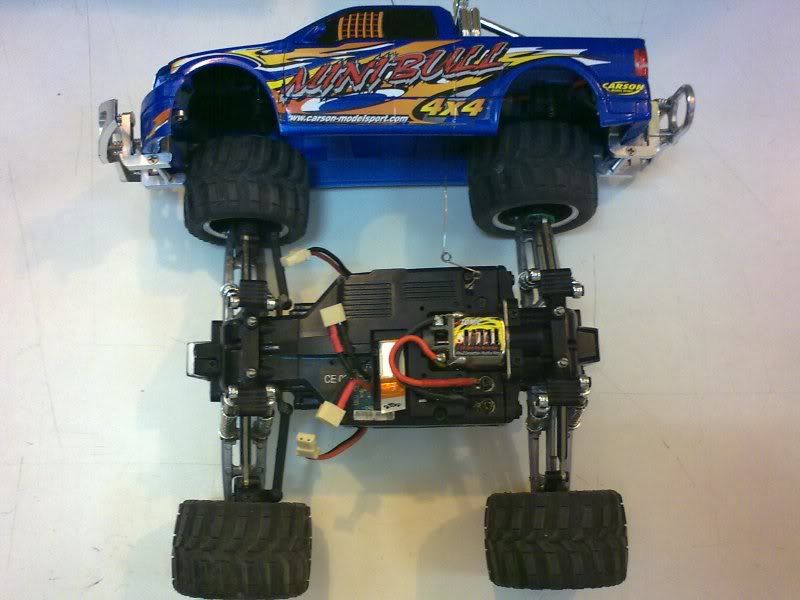 -Done! What i noticed first when playing? Well, i need a lot of room in the first place to race this 4x4 car! |
|
#12
|
|||
|
|||
|
And a video of it running with the two Lithium Ferrite baterys...
http://www.youtube.com/watch?v=bsz4ixEgg1Y Guess what? Still not happy with that speed... So i am making this into a "racing" machine, to smash and wear out/kill gears and diferentials So what to do? First FETS: 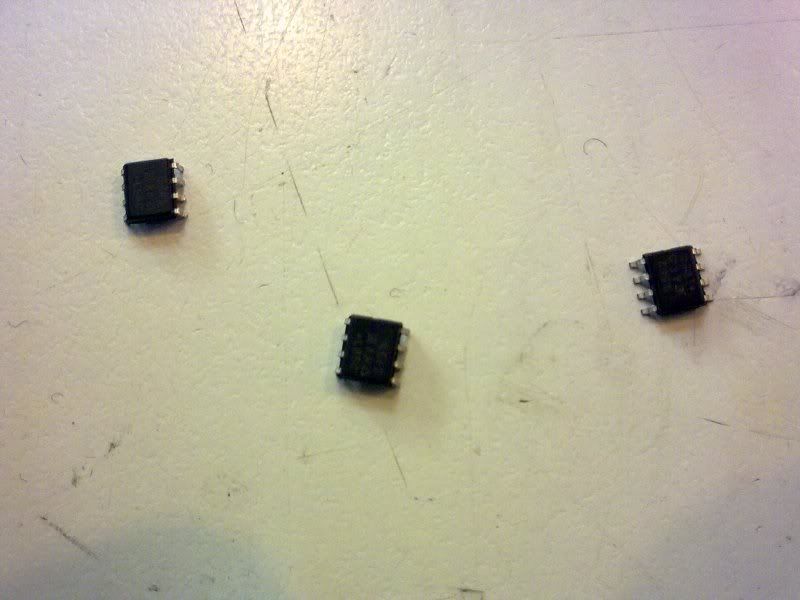 -It's "4562" fets! 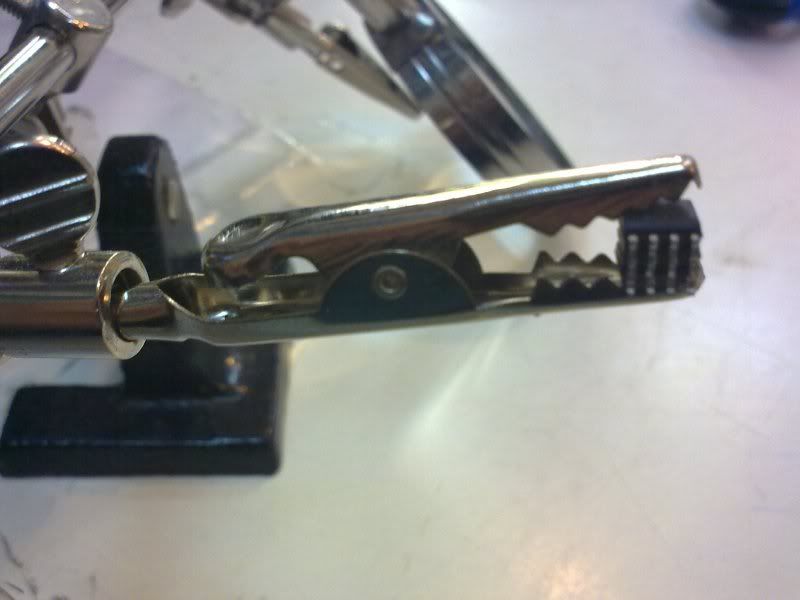 -Stack'em! 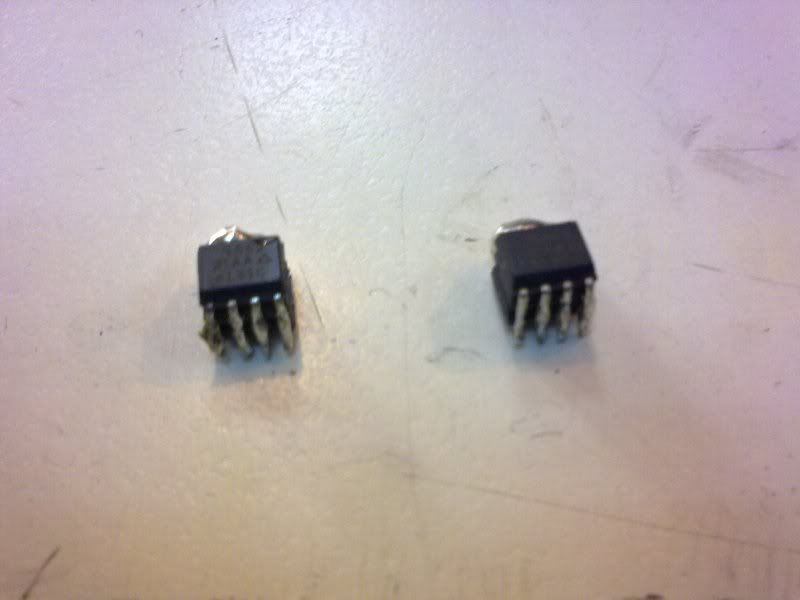 -2x3 of "4562" :stirring: 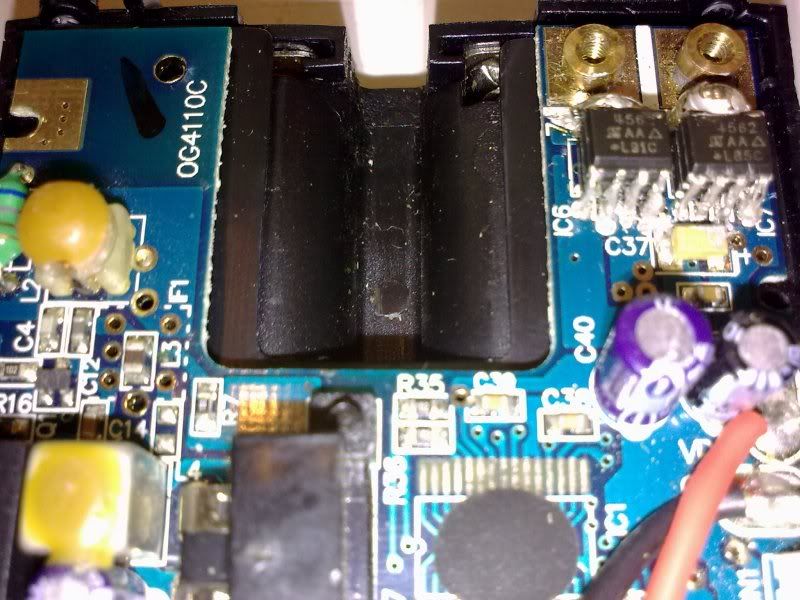 -Soldered! :flame: 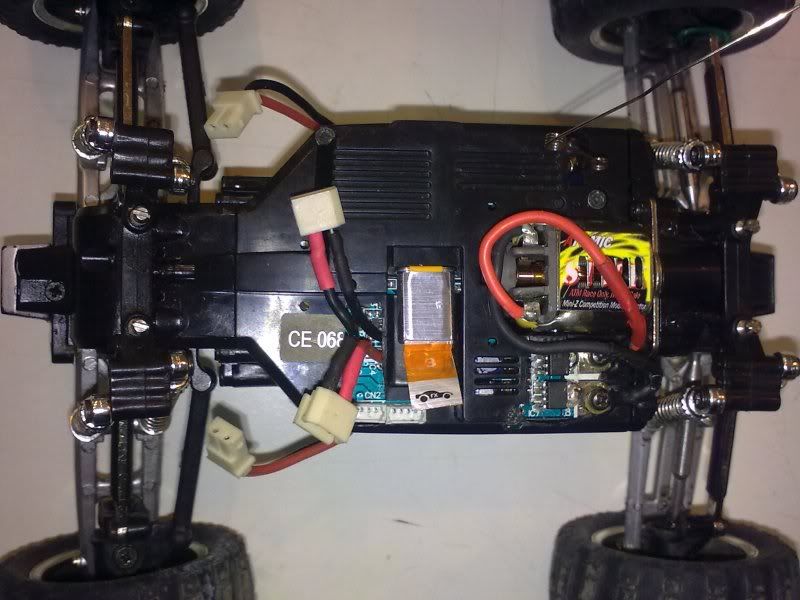 -Ready for more?!! PUM :armed: I checked and double/triple checked continuity with a multimeter... but when powering fets smoke.... So i got no car... REVENGE is coming to the DARK SIDE :vader: Only problem with this excelent car... is that it does not have aftermarket pieces... GRRRRRRR. This 4x4 car, with alloy from GPM will be a very good base for brushless systems... but there's no aftermarket brand for this "toy". Just the crap "Carson" So No PCB.. what to do? Let's see.... 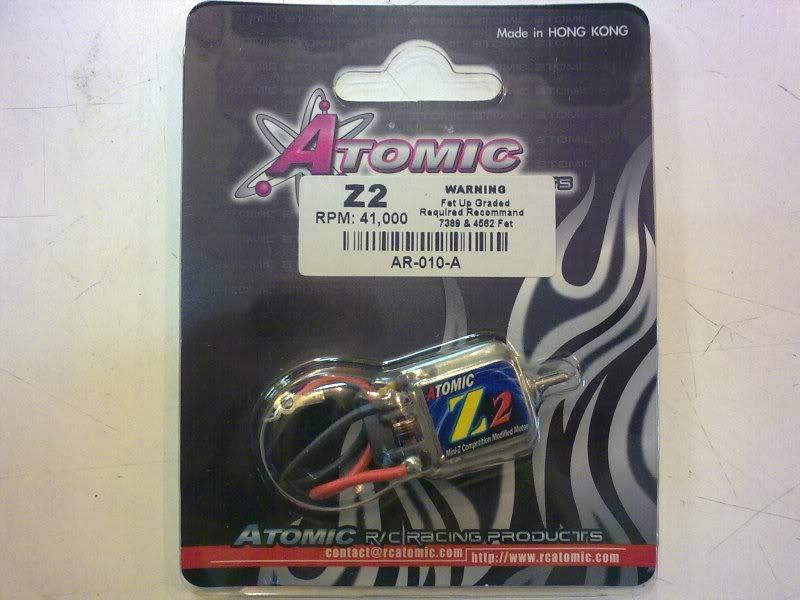 -Grab a Z2 from atomic! 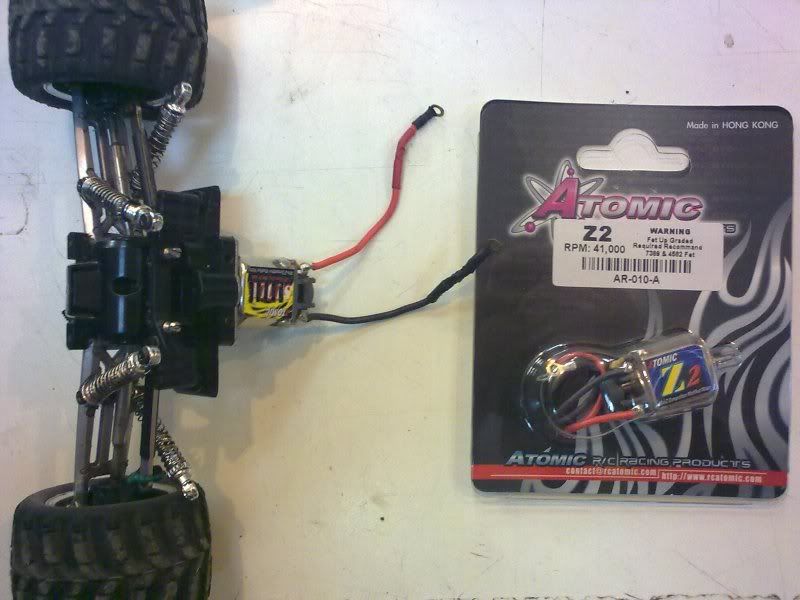 -Get ride of that Atomic Stock... very well used even on the evo truck! Make this..."Motor Break in" used 1 AA cell for 3 minutes. http://www.youtube.com/watch?v=YmG-j6njQcs 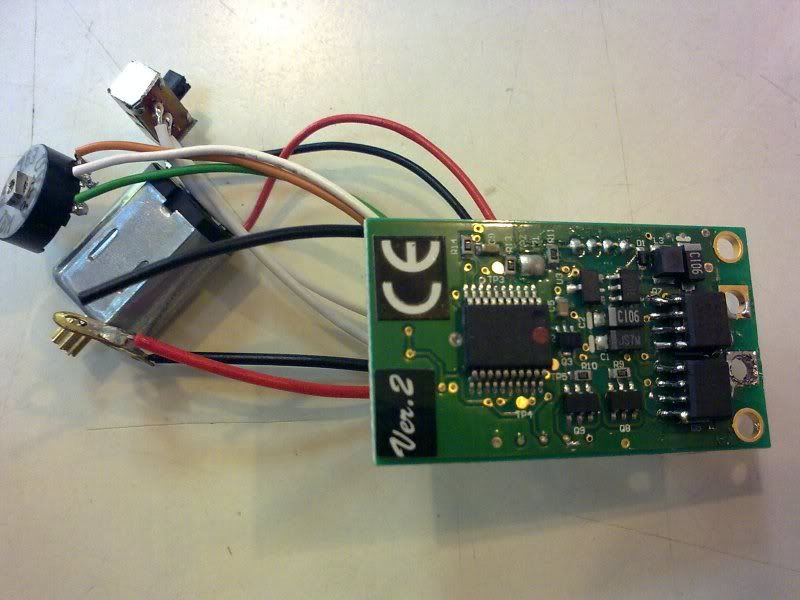 -Put this MiniZ AWD 2,4ghz with 8 fets "4562", yes 8 fets. 2x2 on back. and 2x2 on front. The steering on this boards is done by a chip! So not affected by stacked fets On this photo is the back of it... notice the 2x2 satck fets (4fets) 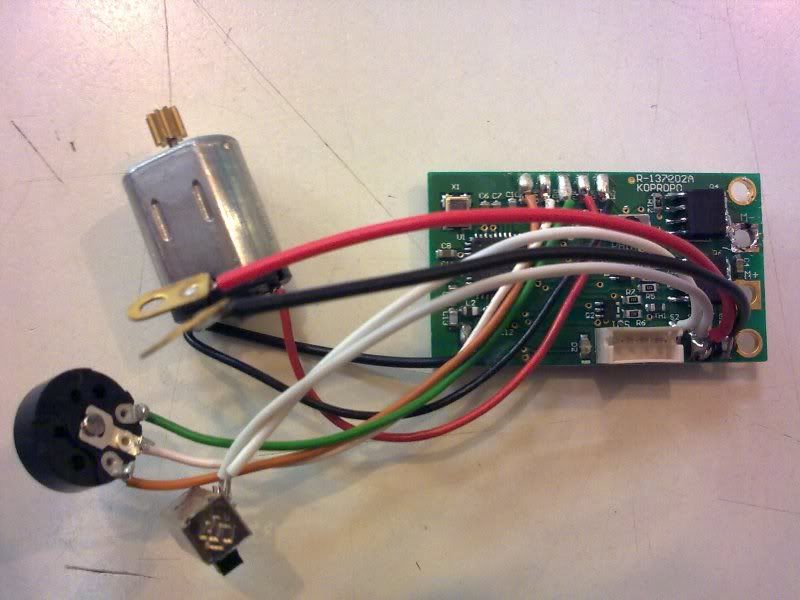 -The front with more 2x2 fets. (4fets) 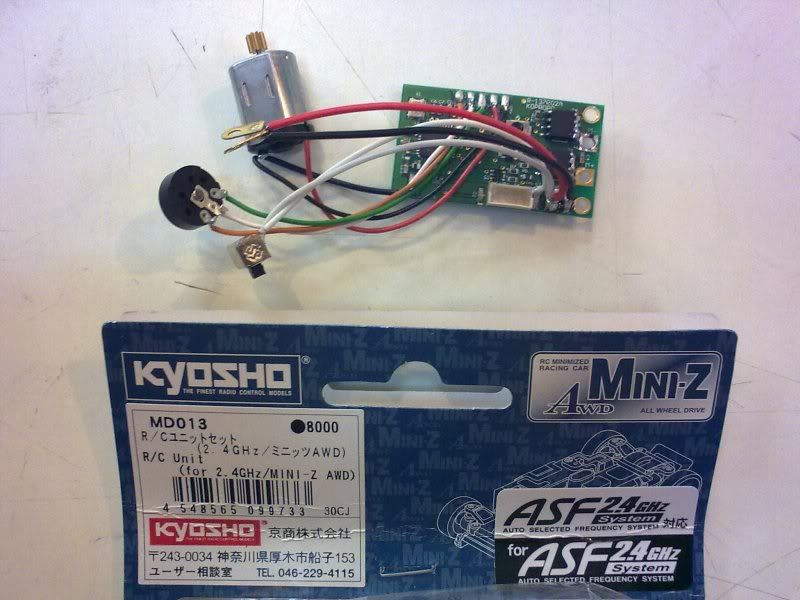 -The proff it's a MiniZ Awd 2,4ghz PCB :rant: 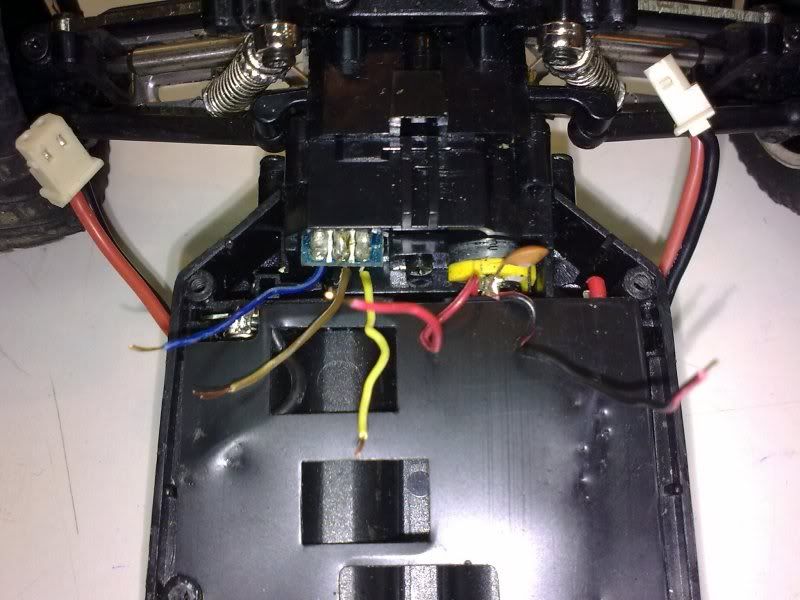 -And the search and trial process! 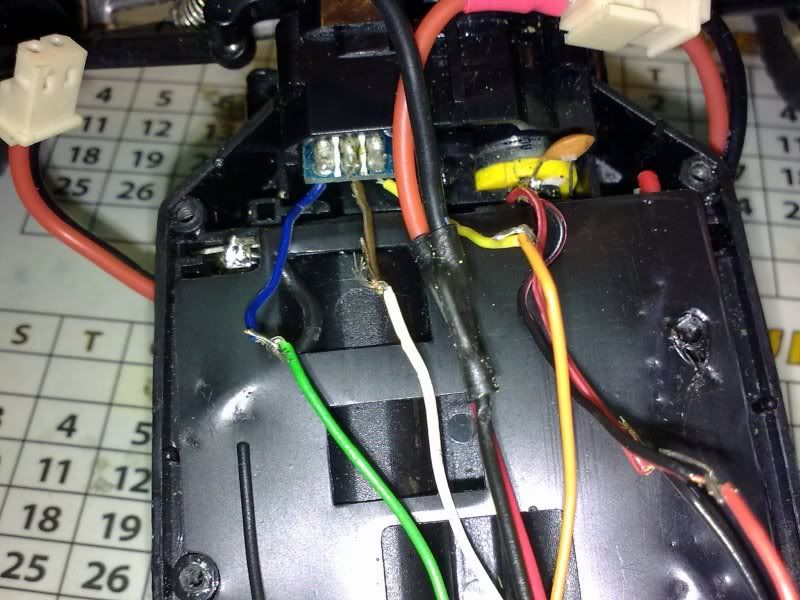 -More search and almost done... got the steering good but backwards... 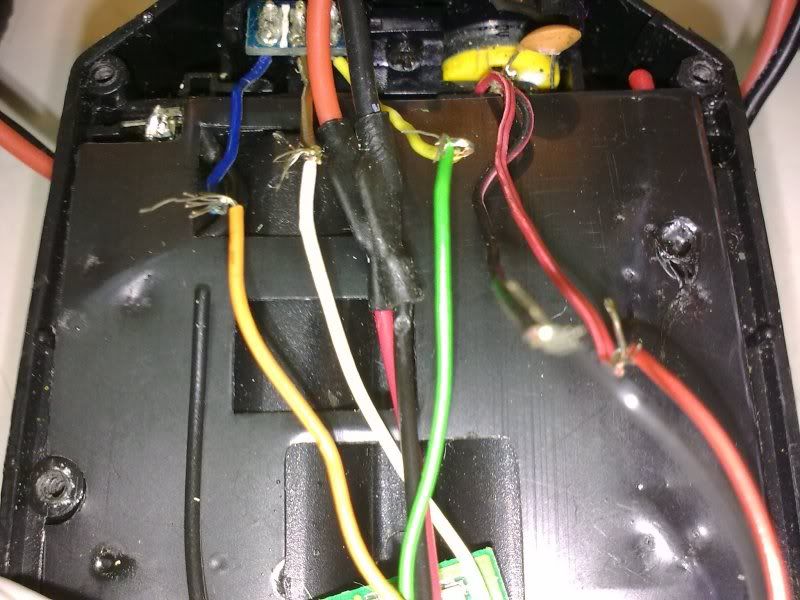 -Tried another way.... 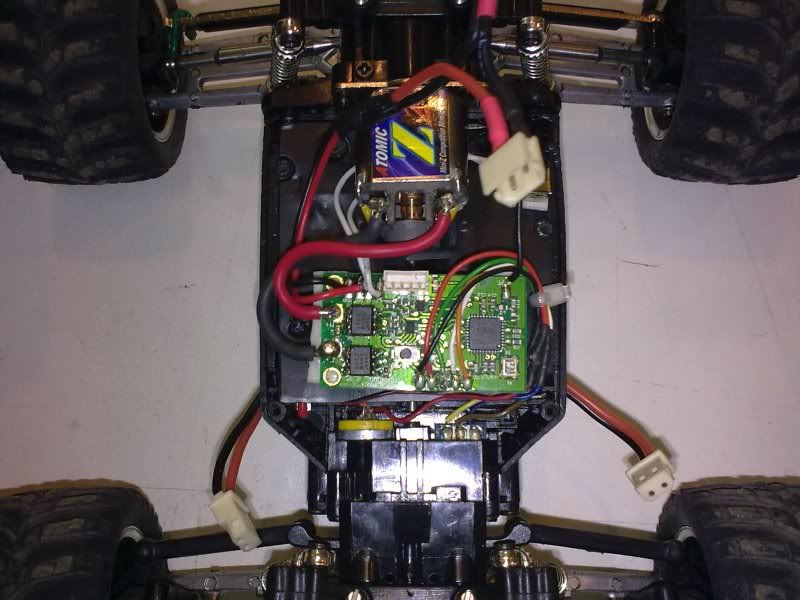 -And tied up and geting ready... just testing now! 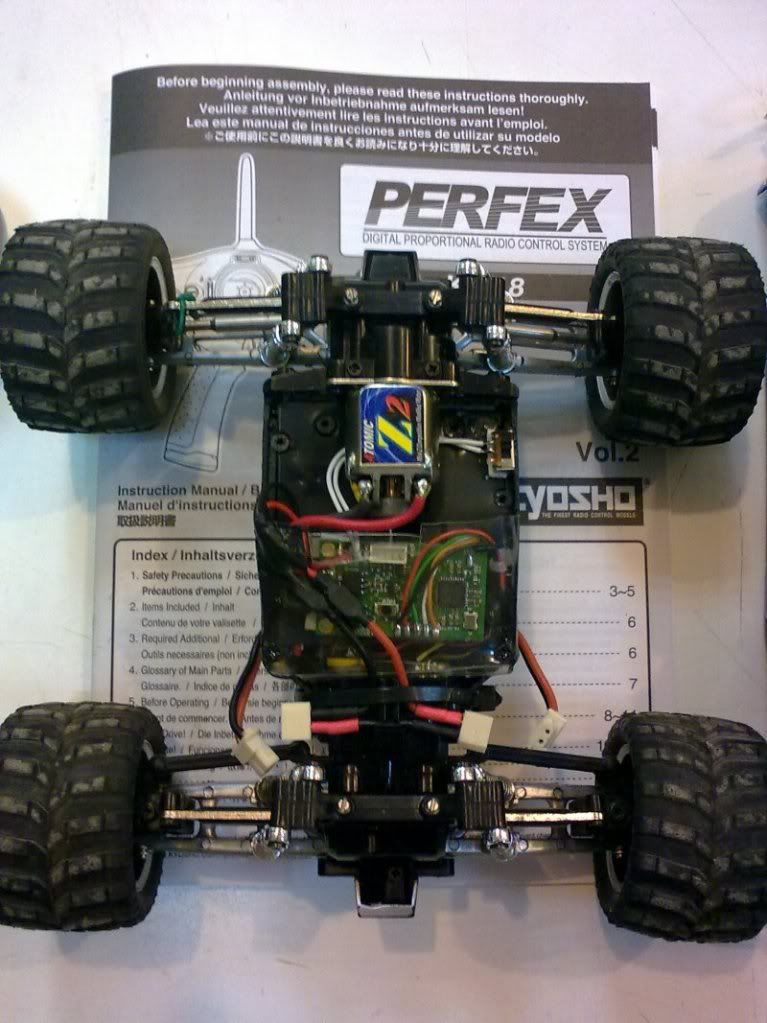 -Reading the manual for testing and playing right! 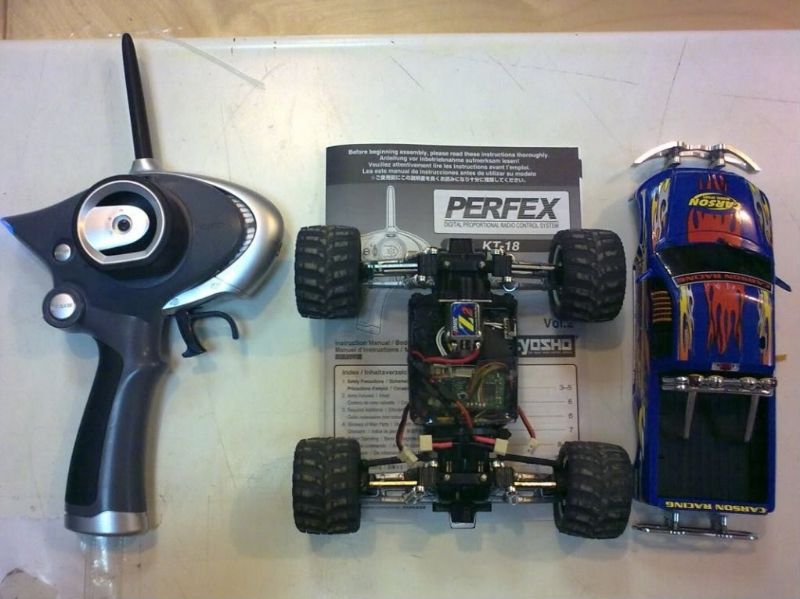 -The tools for the ride :rockon2: 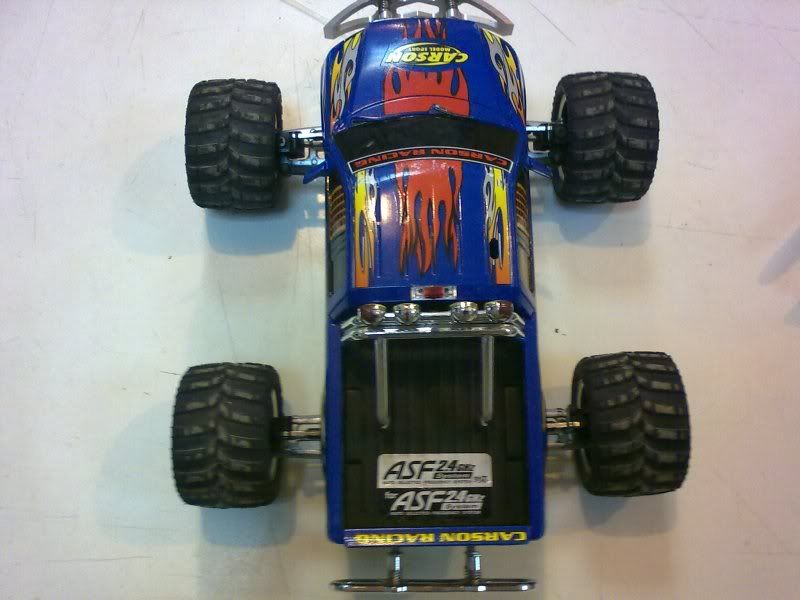 -And a little "pimp" :duh: Here it is... as usually a crap video! Sorry, that's all i can do on videos for now! http://www.youtube.com/watch?v=kYzLZ8Jtxw8 Last edited by targetingxmod; 07-09-2012 at 05:22 PM.. |
|
#14
|
|||
|
|||
|
Quote:
|
|
#15
|
|||
|
|||
|
Car is runing.... but several pieces are broken.. and i glued and glued, and now i am puting BETUME for real cars on them... maybe resin from fiber glass... in the next piece that will break .... :stupid:
Well.. something had to broken! No Carson stock and no Aftermakert ... :dh) What to do? Find another Way... 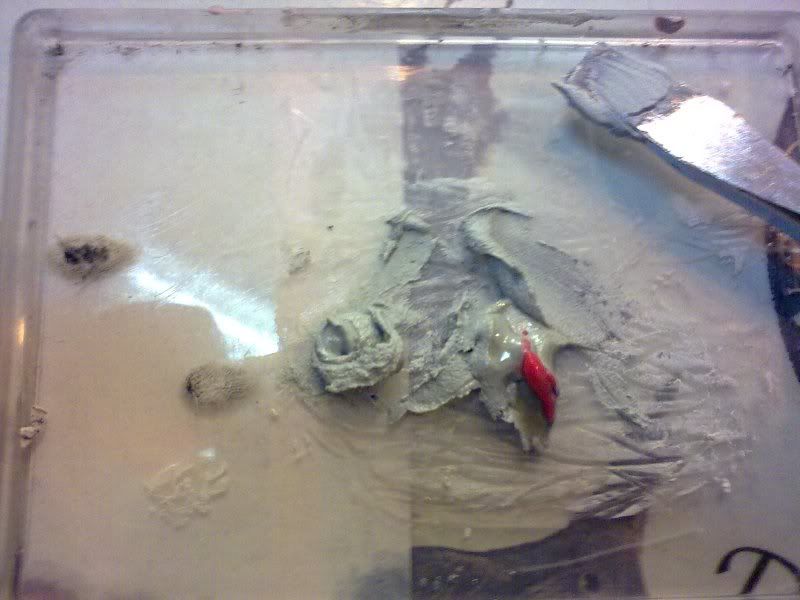 -Some filler from real cars, like concrete! 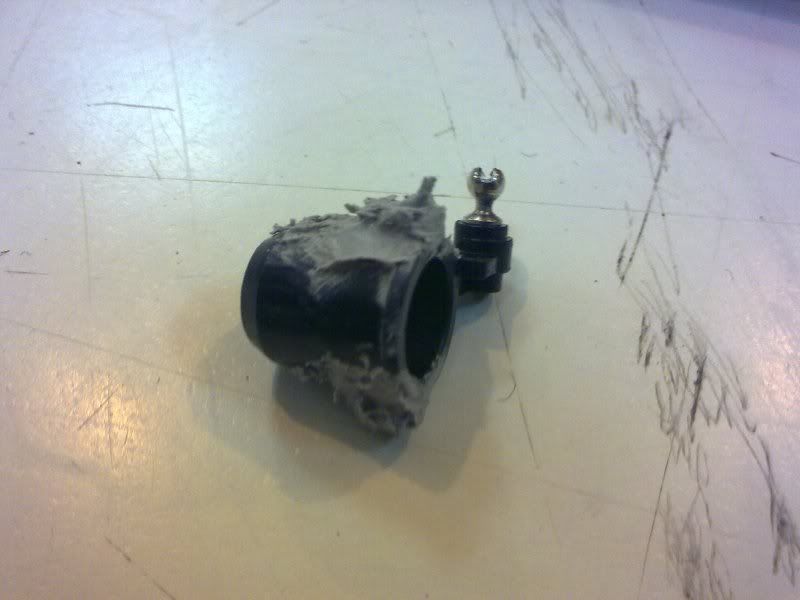 -Aplayed... 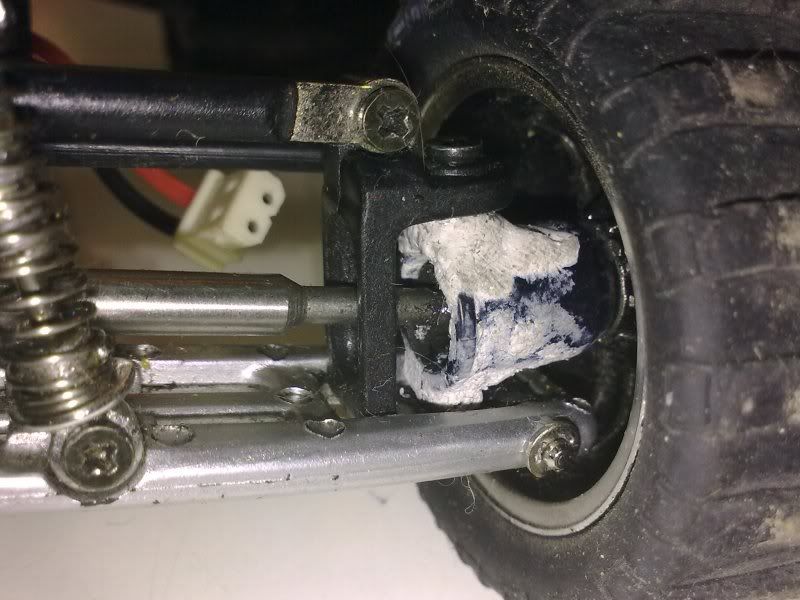 -And works again! 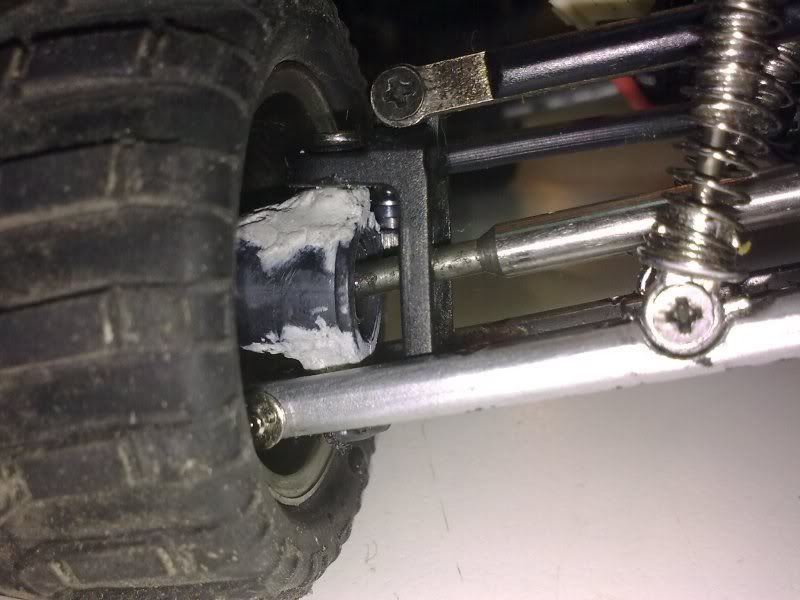 -The other side... working 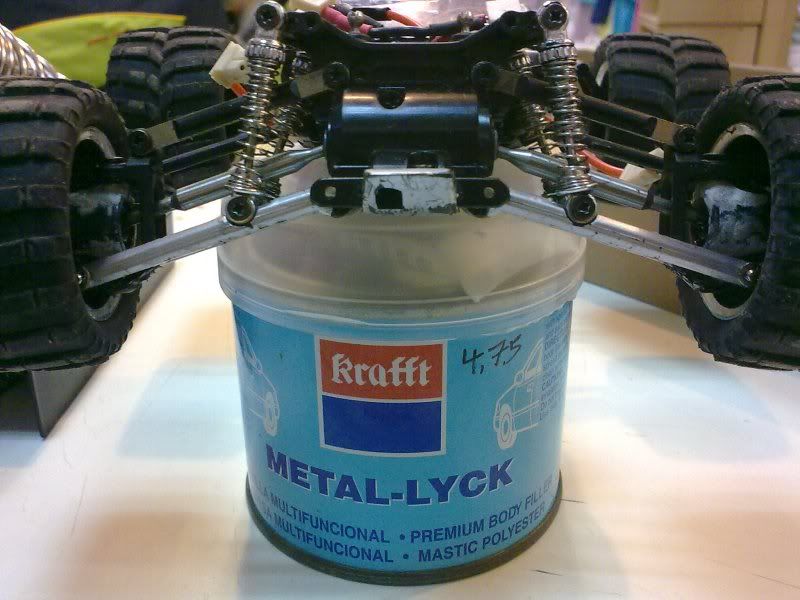 -The stuff used! 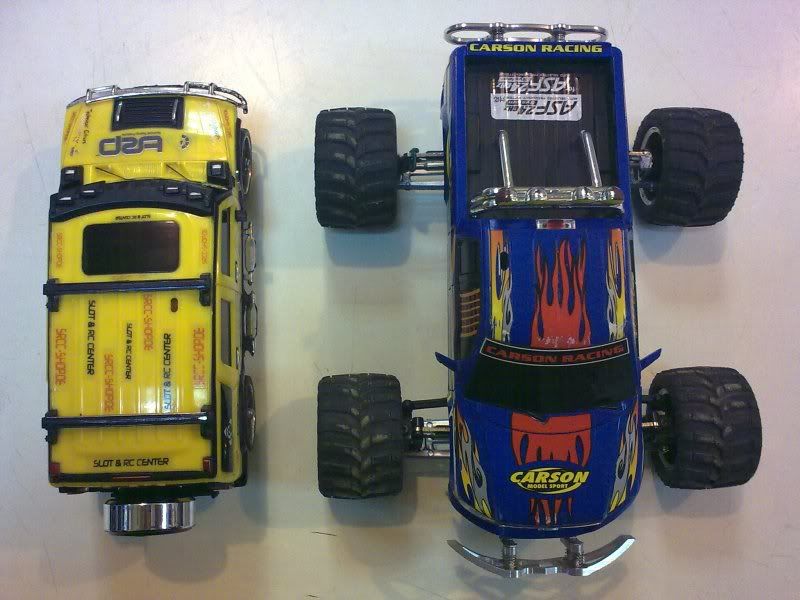 -Some garage photos... 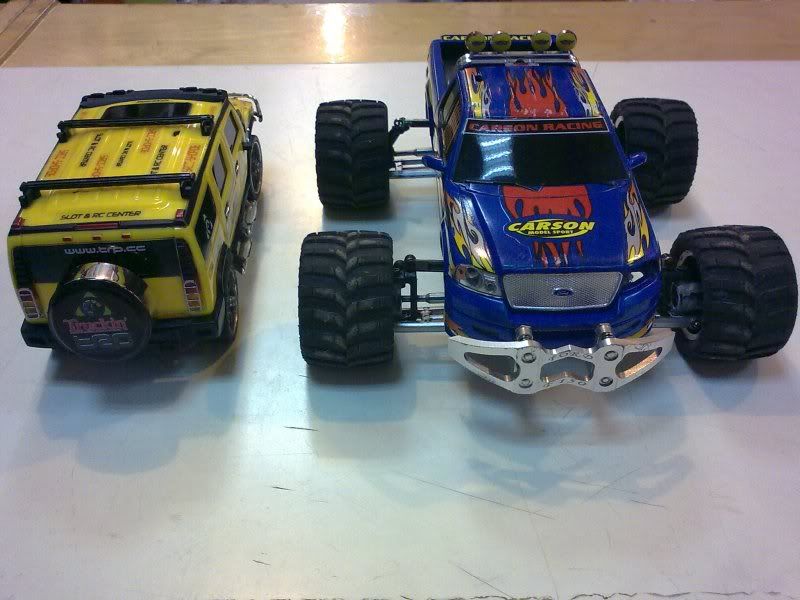 -That yellow body is gona smile in a few weeks it's body filler for 1:1 cars! Used by mechanics.... normal stuff for them! i dont know what the word putty is.. but this stuff is solid like concrete when dried! Some video to show the power, and it still works very well... http://www.youtube.com/watch?v=75pCcUd6dWs -With body on... http://www.youtube.com/watch?v=qB6iPrAor_g -Without body... Seens like a brushless power! :armed: |
|
#16
|
|||
|
|||
|
Major problem is no aftermarket pieces. Even stock do not exist anymore. So that's the END.
Car is losing power now when playing, even with new set of li-fe baterys.... or after charged! And batery's get hot very fast, and the fets get hot very fast, and the motor gets hot very fast.... what is wrong in this scenario? Board or fets?? or motor? (motor is new.. about 2 months or less ) Baterys i change them, so it's not them! Help please. thanks. I gave so much to share, so any help apreciated... I looked at the board... and all seens in place... no solder looses ends anywhere.... maybe a underground fet, burned? strange....because it's a miniz awd 2,4ghz and 4562 fets! Who sold me the board told me to look at the motor intake... ??? what is that? explains? Today was time to get the motor out and see what is wrong... 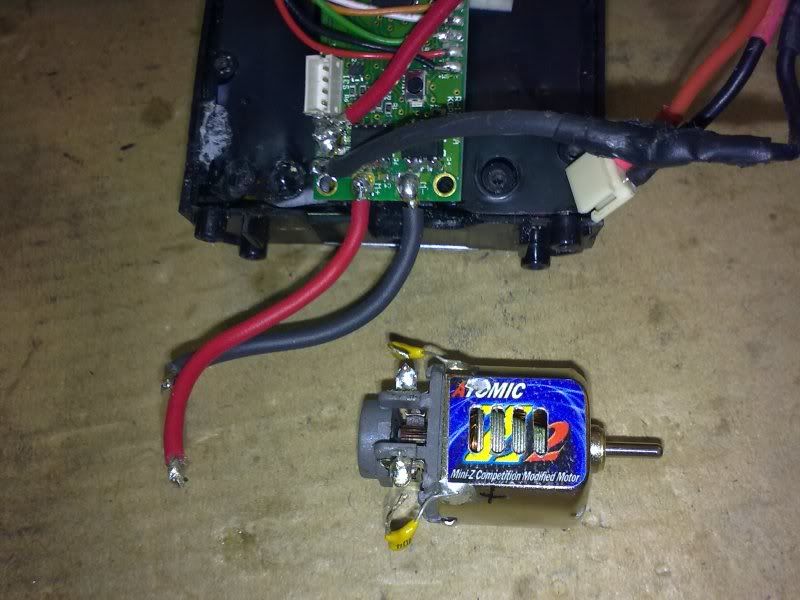 -Z2 out.... 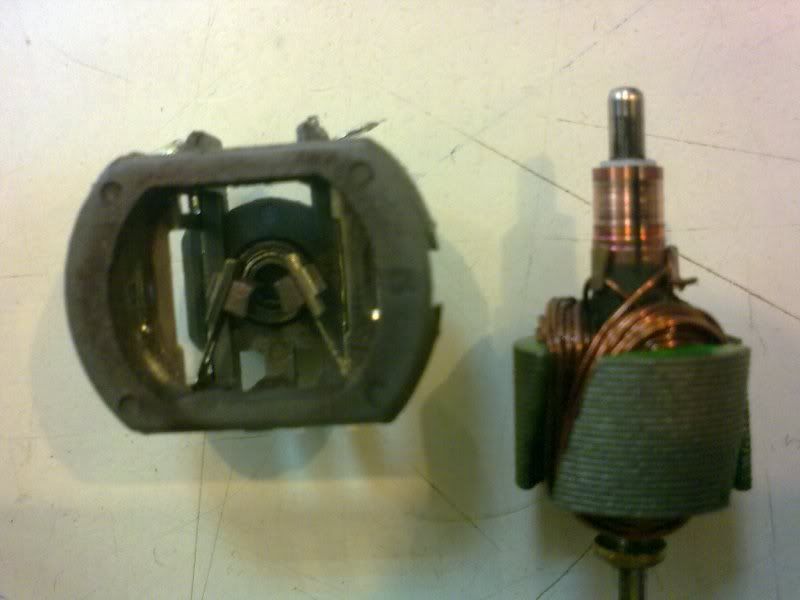 -Opened the motor....don't see anything wrong with it...strange! 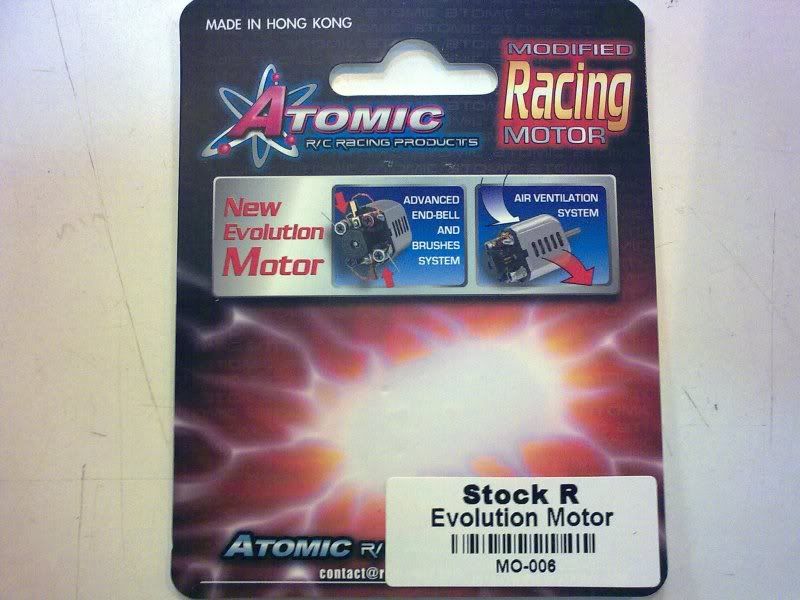 -So thinked of it very well, and the most extreme can we can get to have good ventilation is a M1... I wanted a Chilli on this... but don't have one right now... so tried this fellow!! 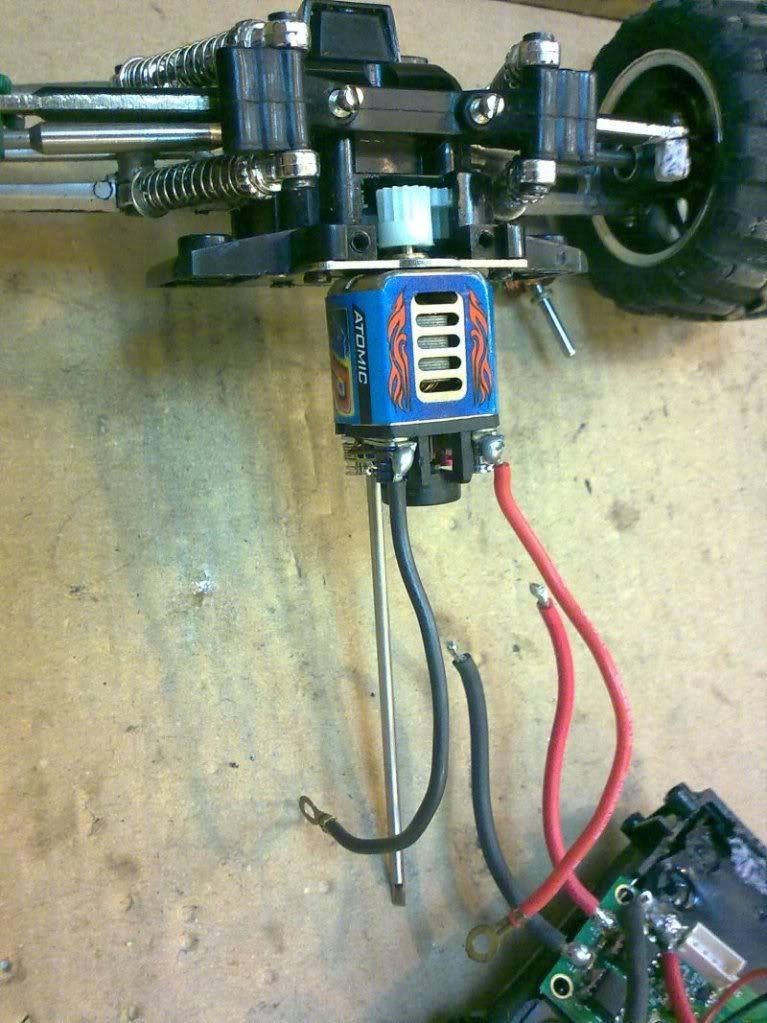 -The motor spins and for now there is no big loss of power and big heat... I guess the Z2 is dying "zombie".... 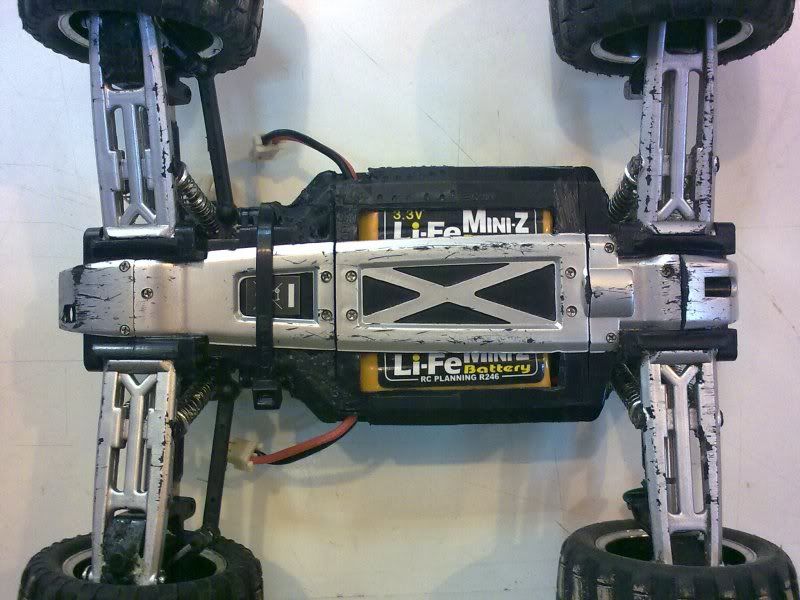 -Invented this holes for li-fe ventilation 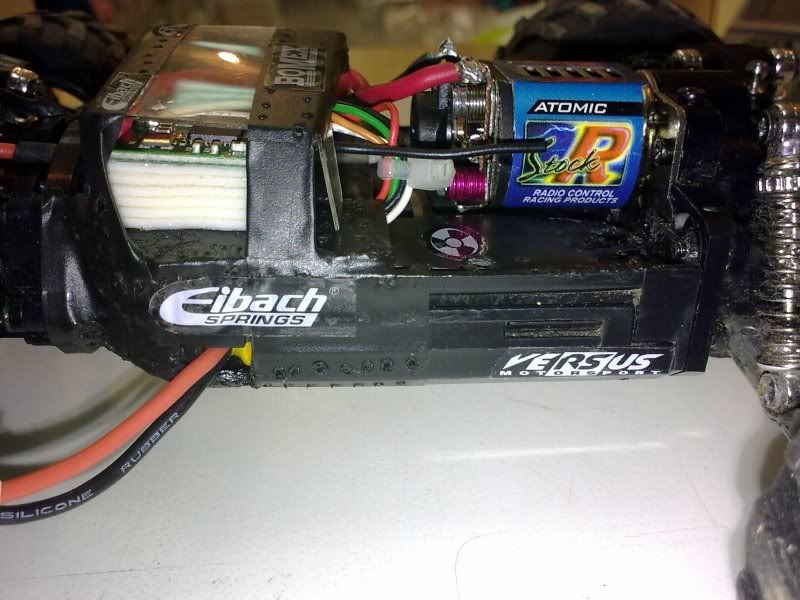 -And mounted everything again... with some "pimp" stickers 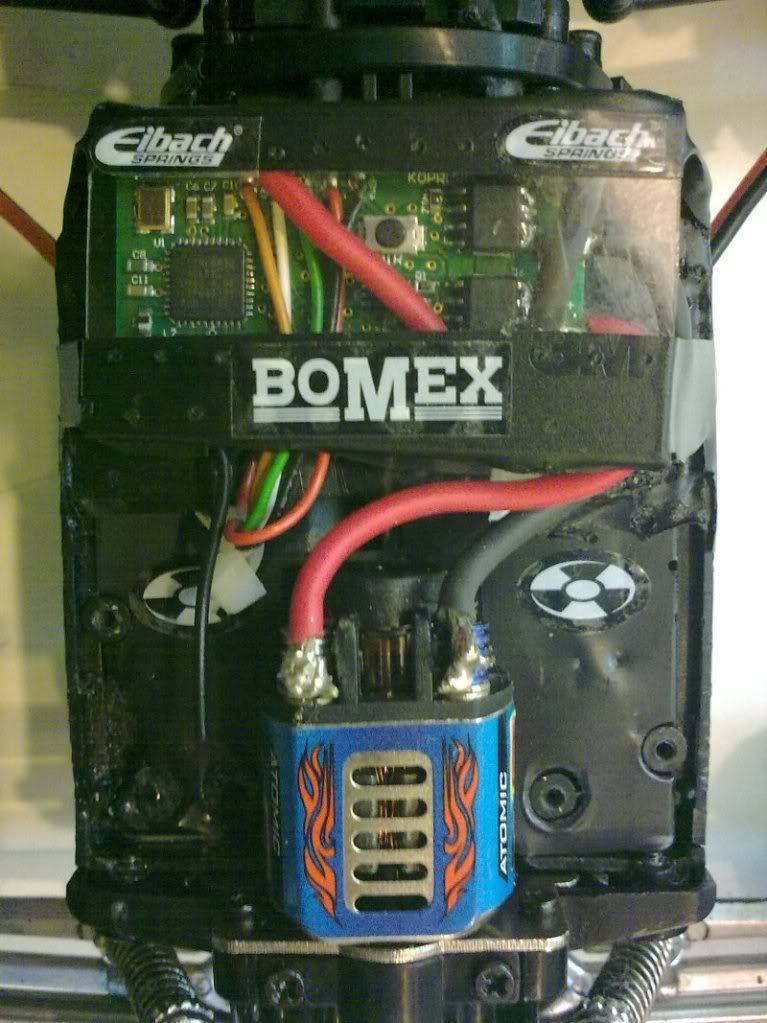 -A better close view.... And want to play but the baterys are almost discharged... time to charge them :stirring: First i get the multimeter ready... to find what happened to the Z2.... 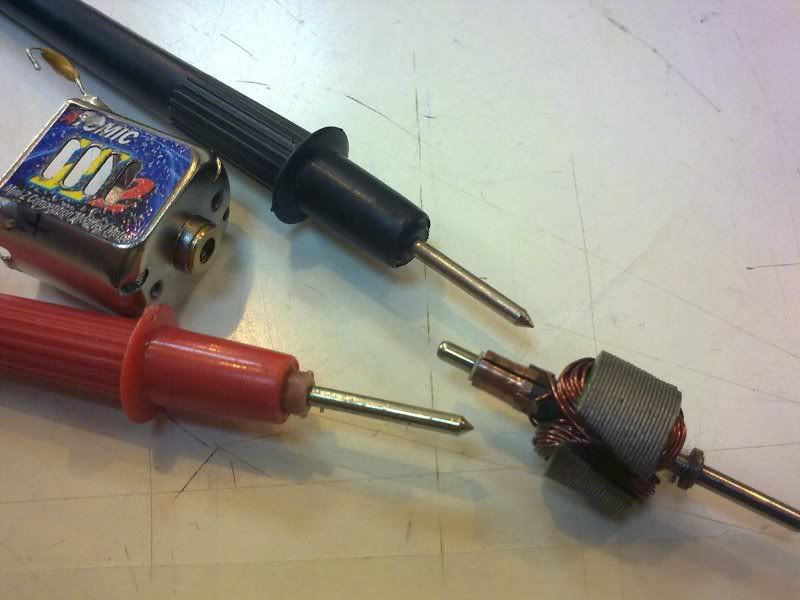 -Starting to find what is wrong... 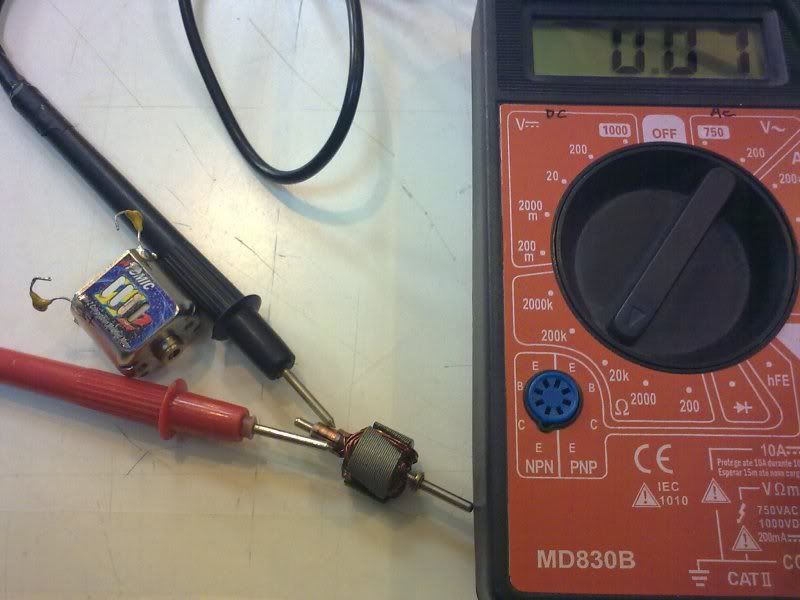 -Do this and have continuity... but checked on a new motor do the same... so it's normal, this way!! 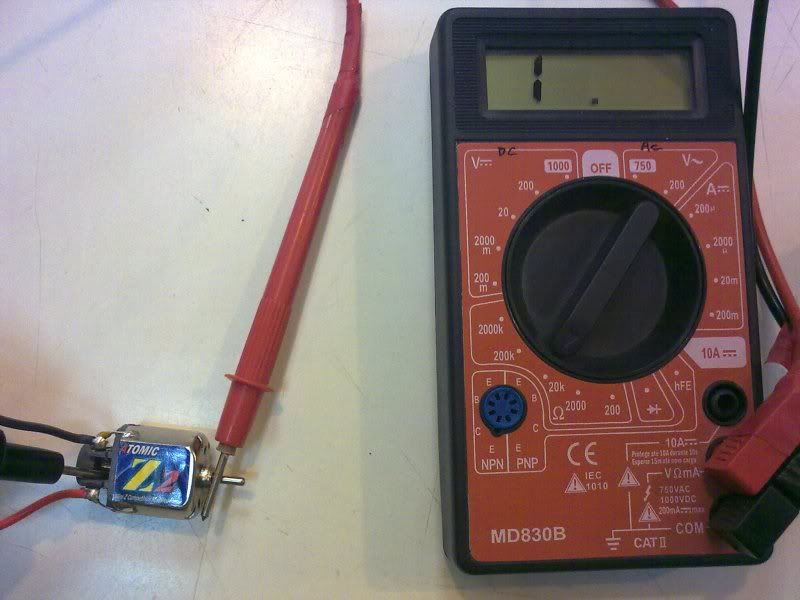 -Do this to a New motor, and there is no continuity! OK! 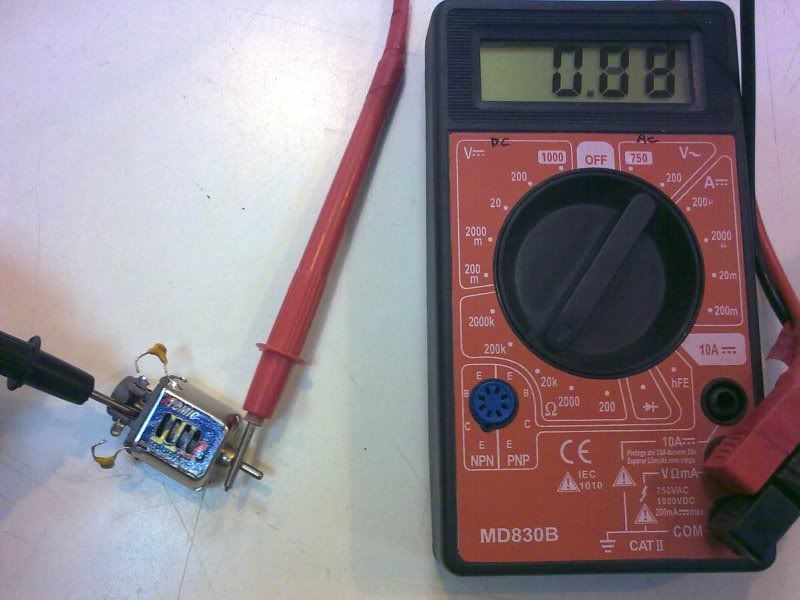 -Do the same to the broken Z2 and found the problem. It's shorting. 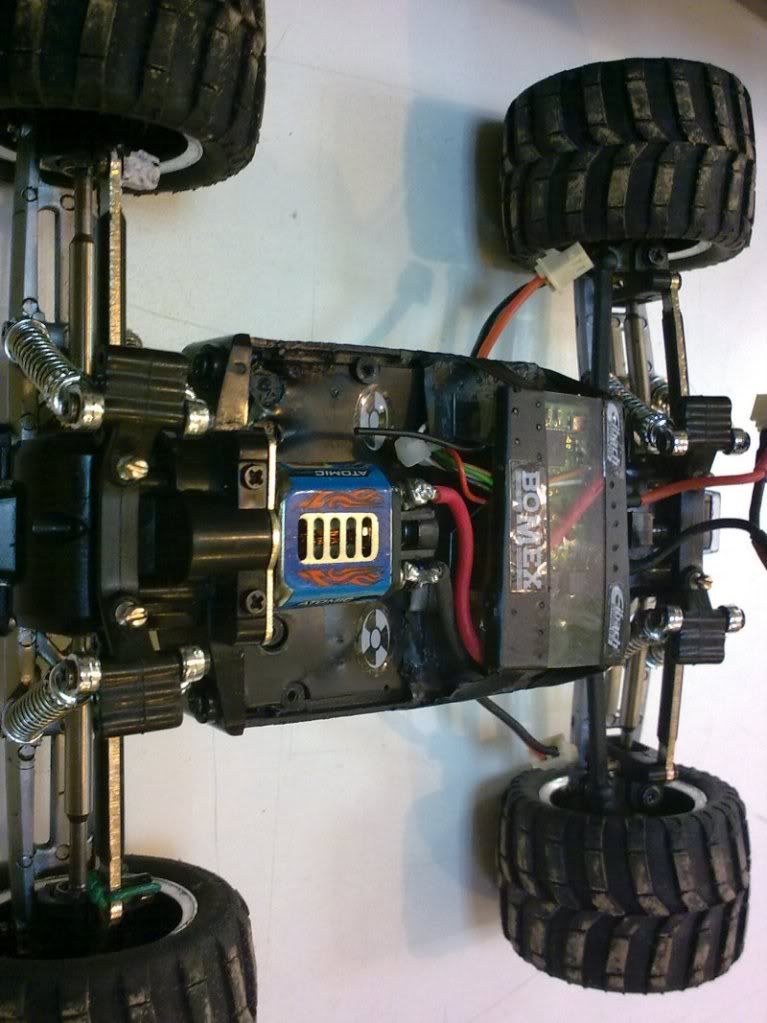 -But now the problem is resolved, and a STOCK R is in place of the Z2. 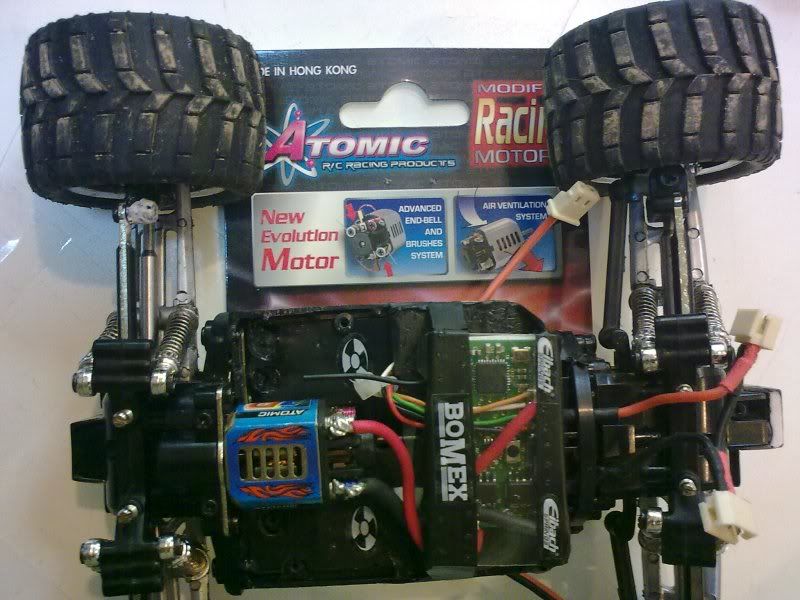 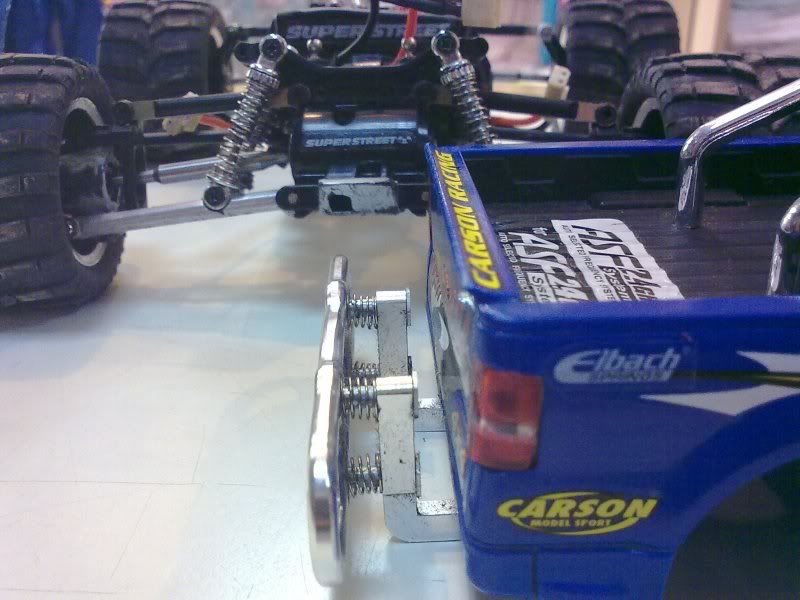 |
|
#17
|
|||
|
|||
|
This was a little improvement, that actually made the car more stable!
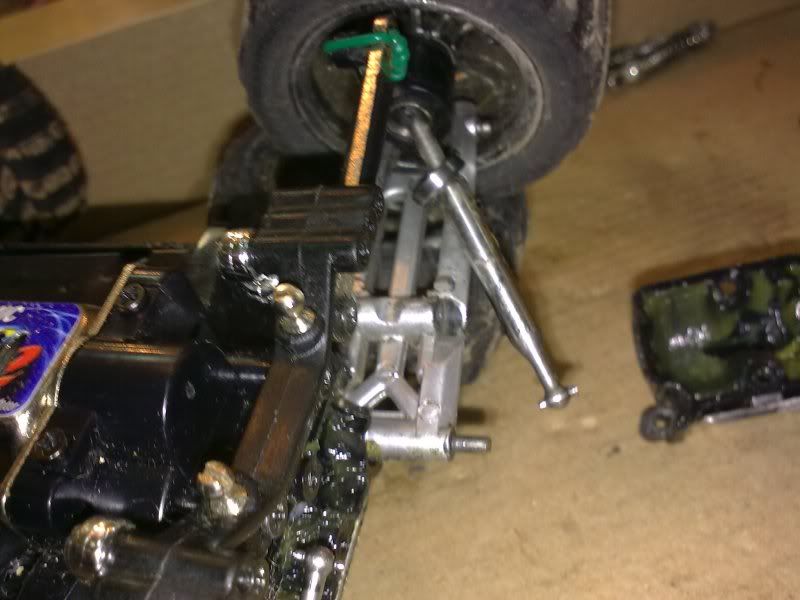 -I tried to use the rings that xmod's swing shaft's use on the minibull dogbones swing shaft! And works very smooth... 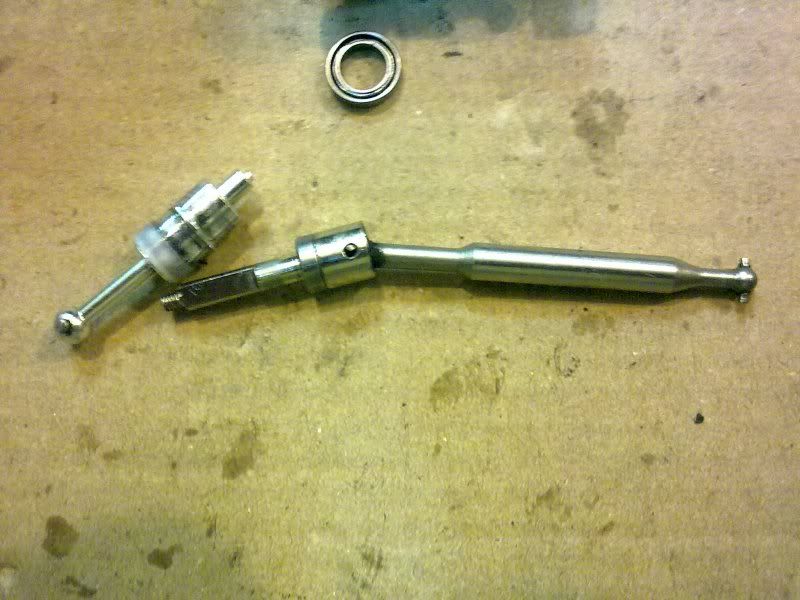 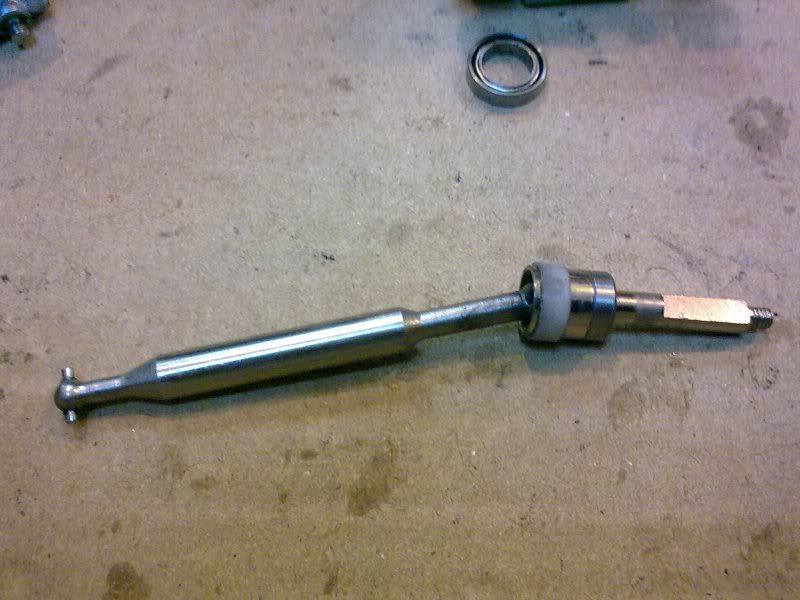 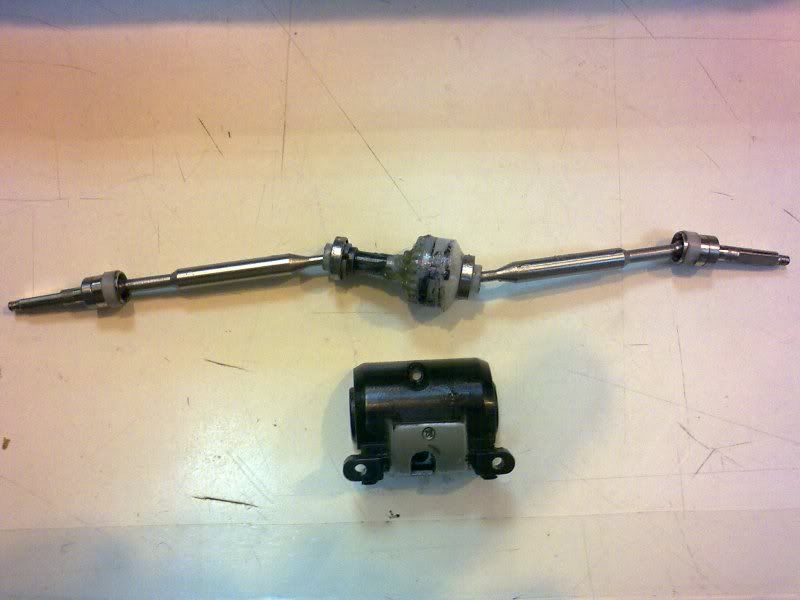 -Dogbones Shaft's now are very acurate... and i was losing one that is trying to get out... but now... wonderfull... This is a must to do on this car. Believe! |
|
#18
|
|||
|
|||
|
After long months of abuse....
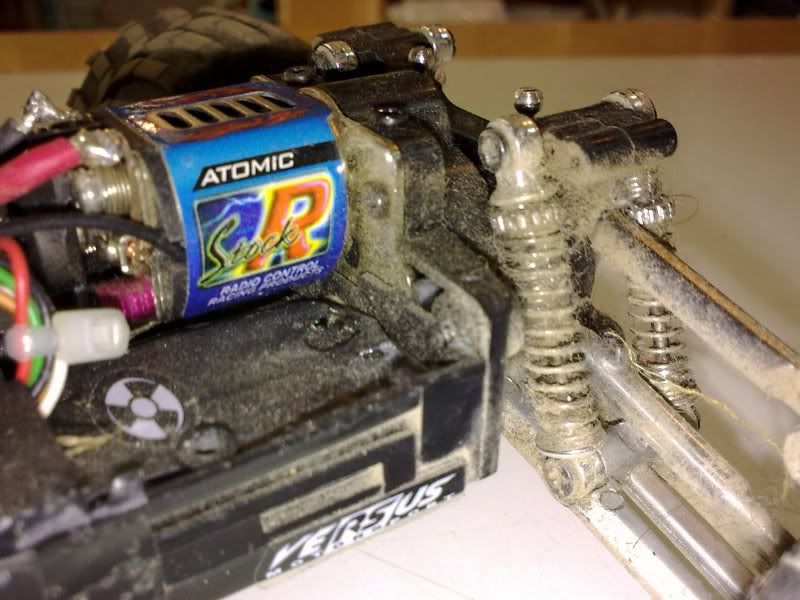 -Needs cleaning... 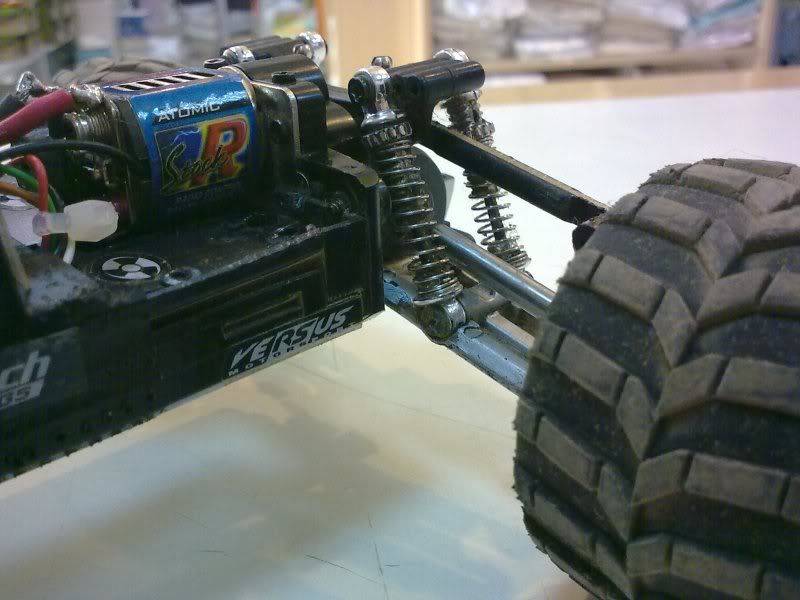 -Better now! And i found a use for this body 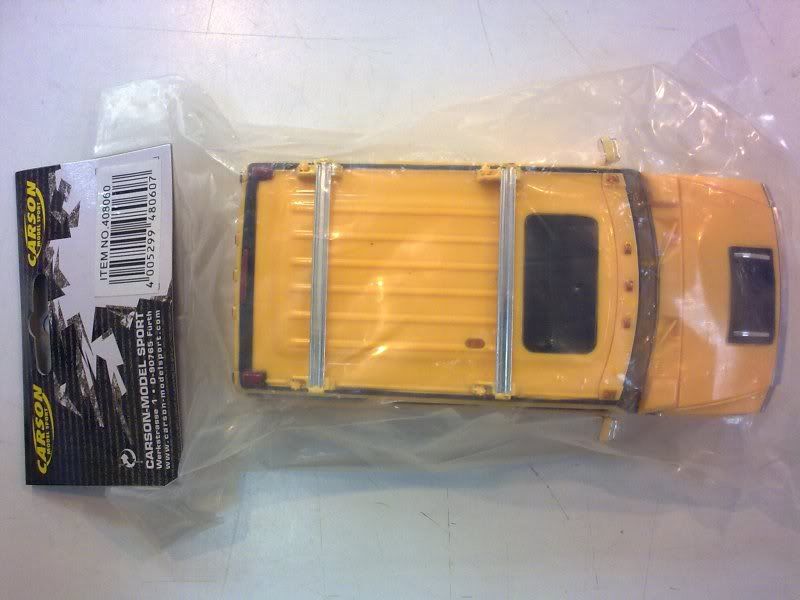 -It's going to this truck! 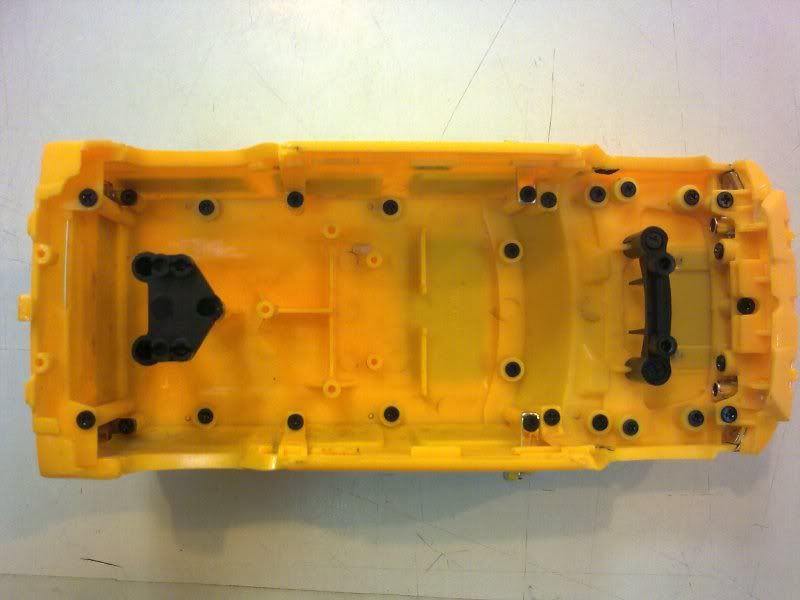 -The body posts that hold the body... 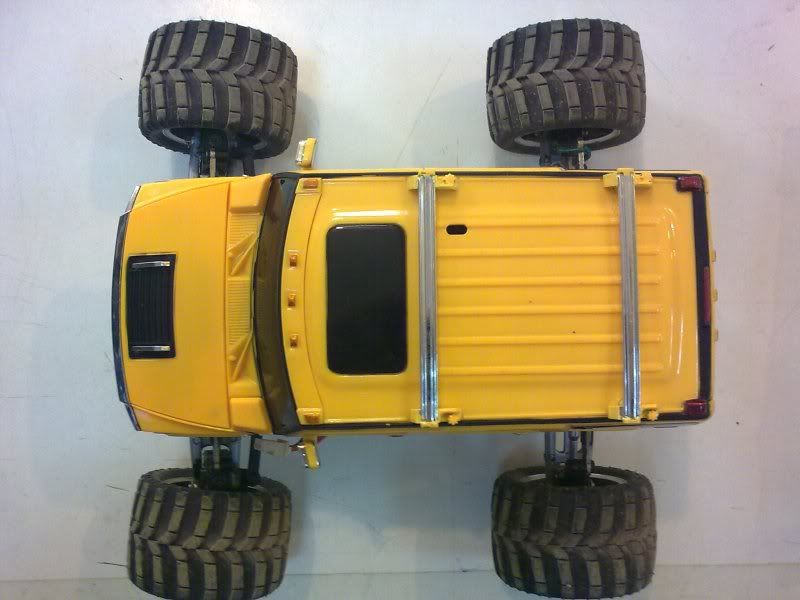 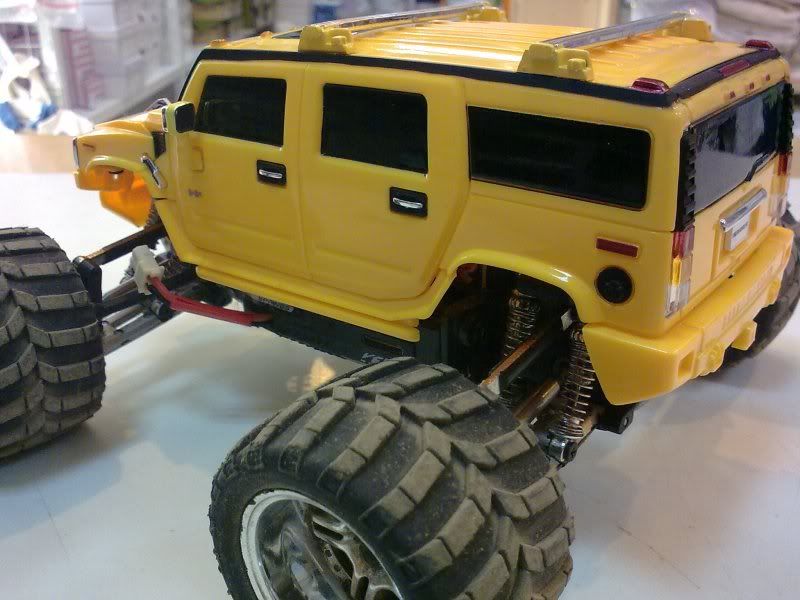 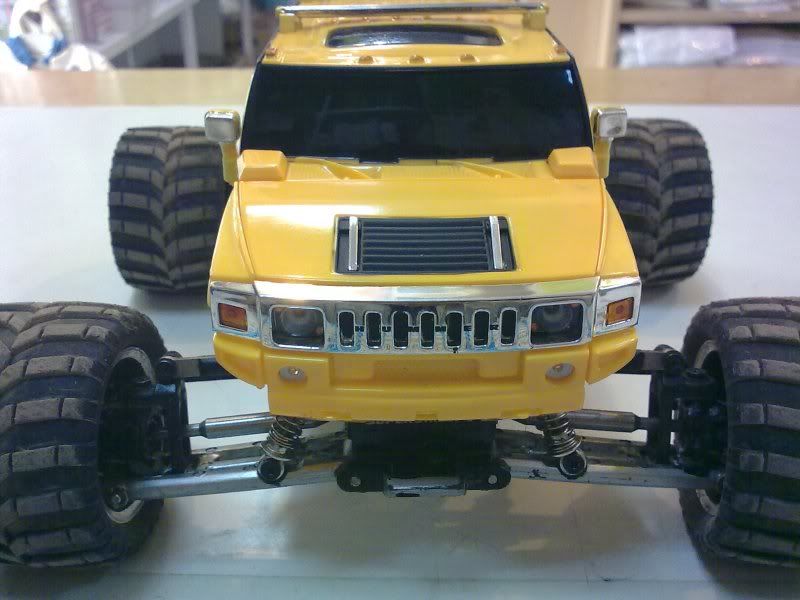 -In "life" looks a lot better than the blue F150 ::: |
|
#19
|
|||
|
|||
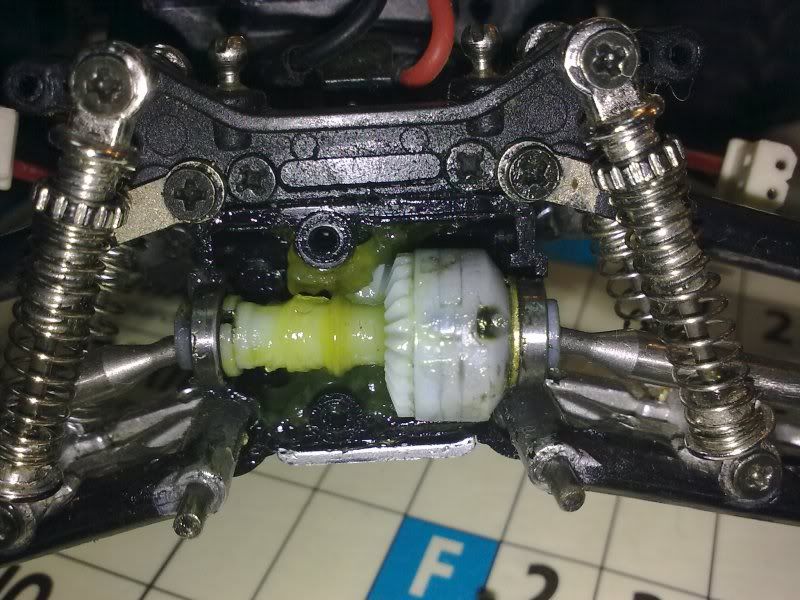 -The front diff was starting to make crack sound, every time! So after i investigated what it was, i puted a shim on the front diff for the bearing sit tight, and no more cracking sound.... need to cut a little of the shim, otherwise it was binding big time. But with time you got the deal! 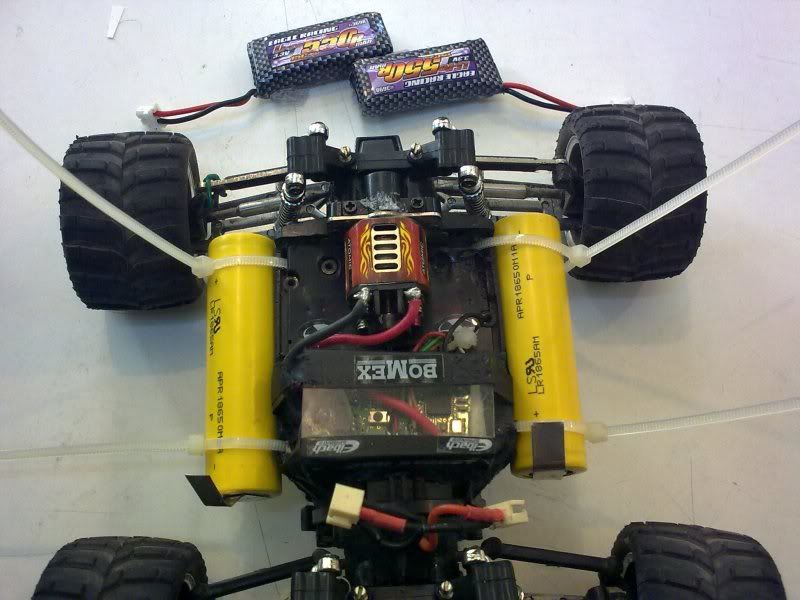 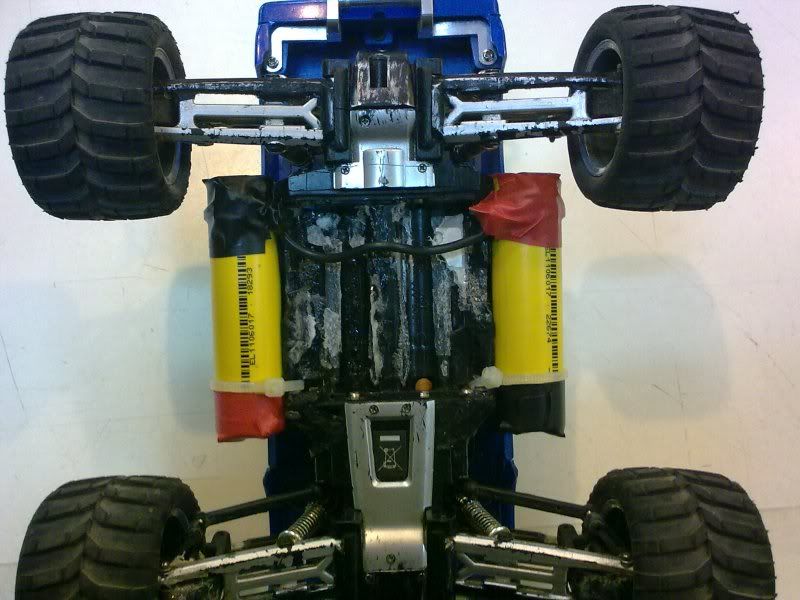 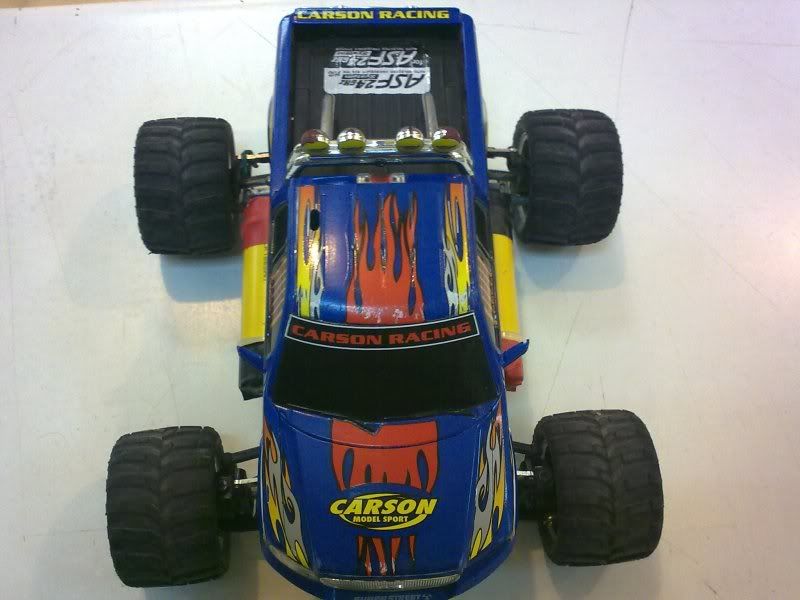 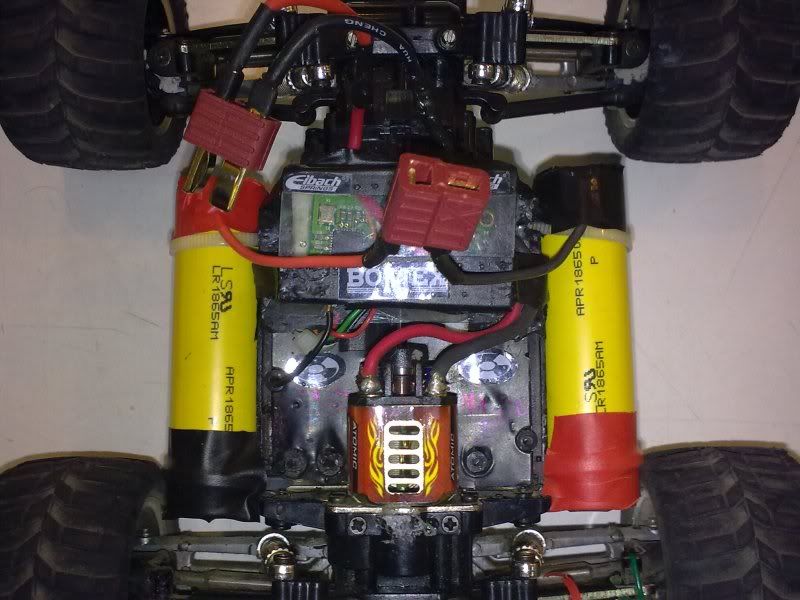 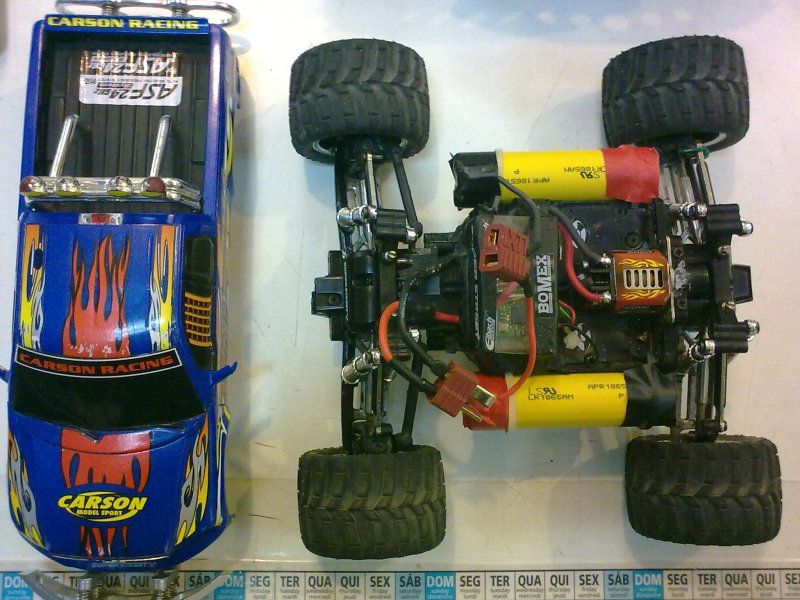 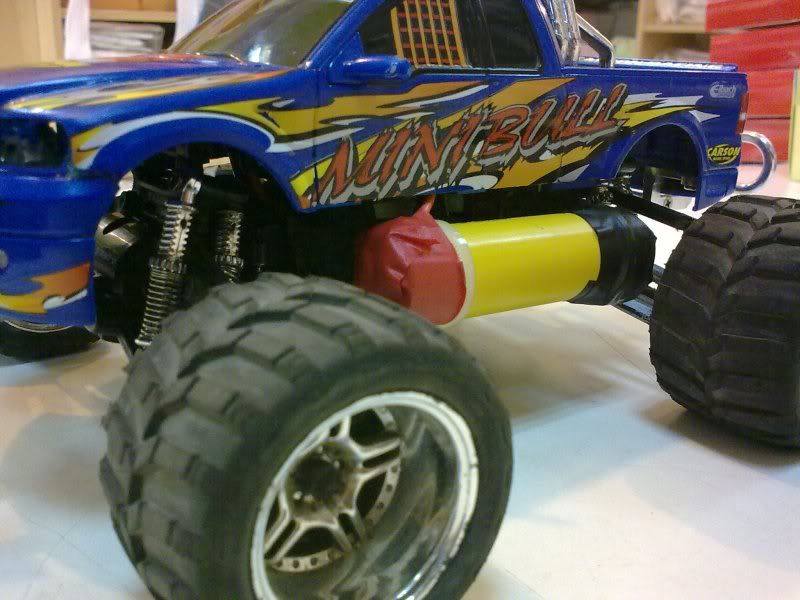 -Puted a Chilli and the playtime was 3 minutes for large months...... urghhhh. Need to solve that! So found these 18650 Li-fe with 1100mah... and now get almost 15minutes with the Chilli not even warm on the end! Perfect speed and Still kicking! |
|
#20
|
|||
|
|||
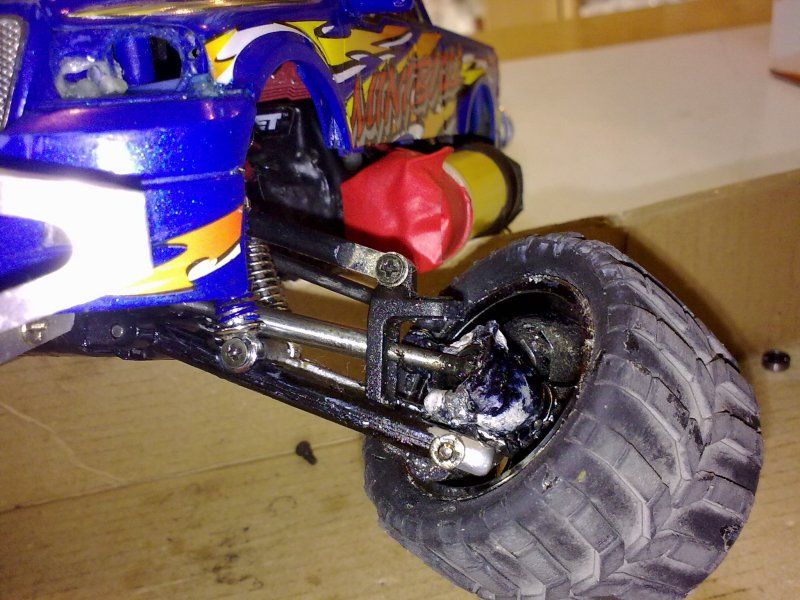 -This is the part that broke.... :bump: 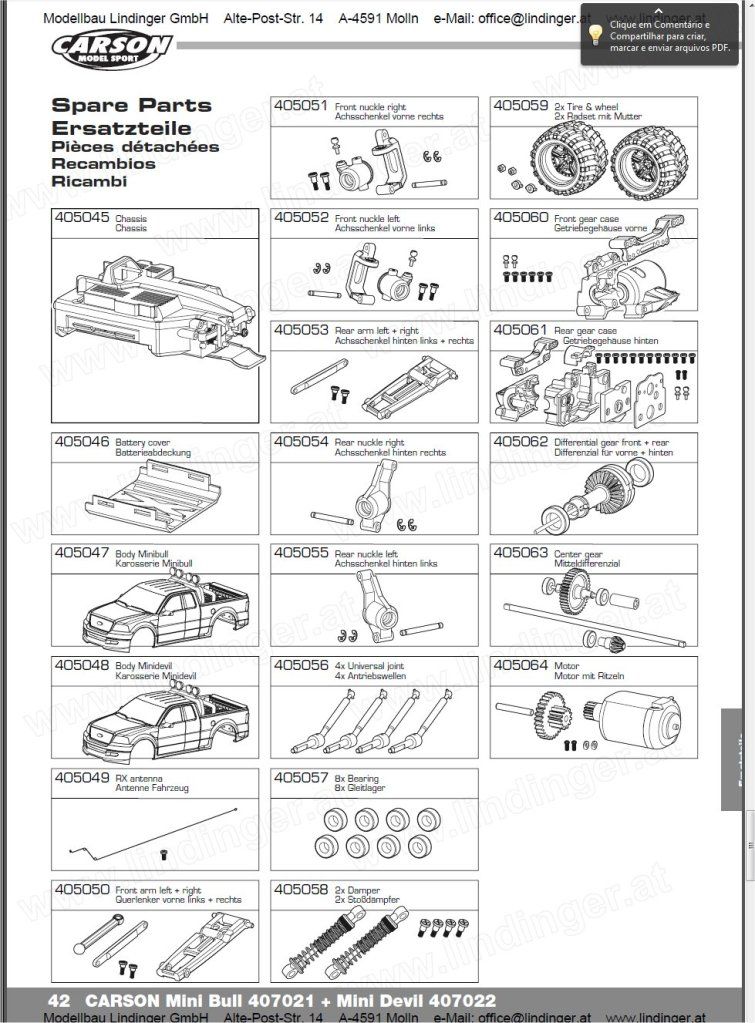 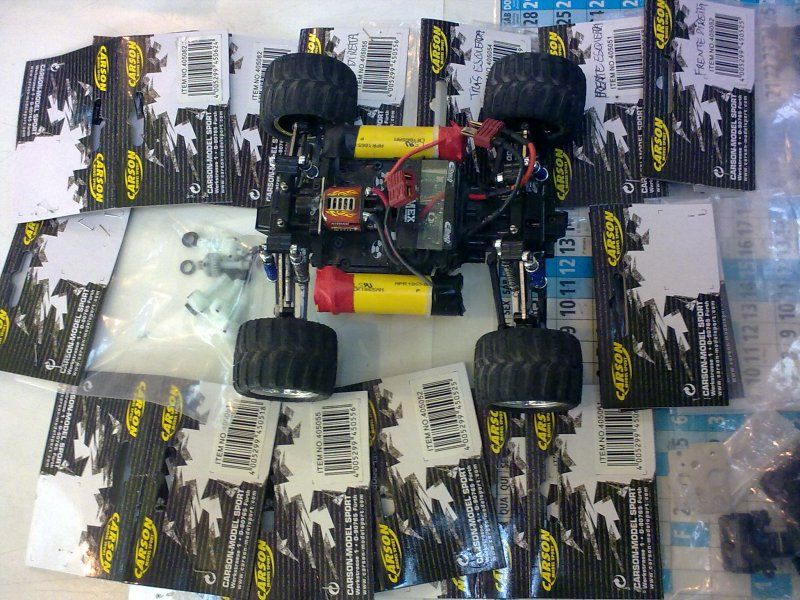 - :::::::::::::::::::::: 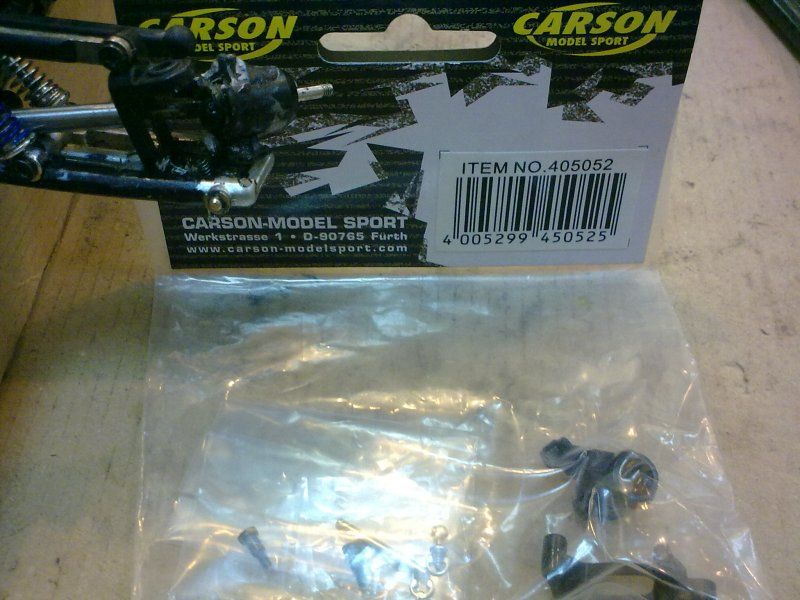 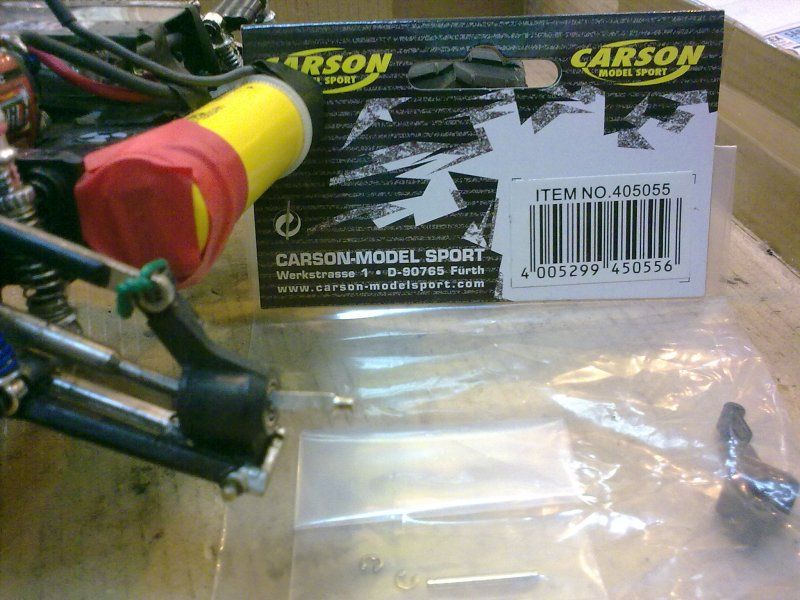 -This one i solved one year ago with geto solution, but now will get the right part 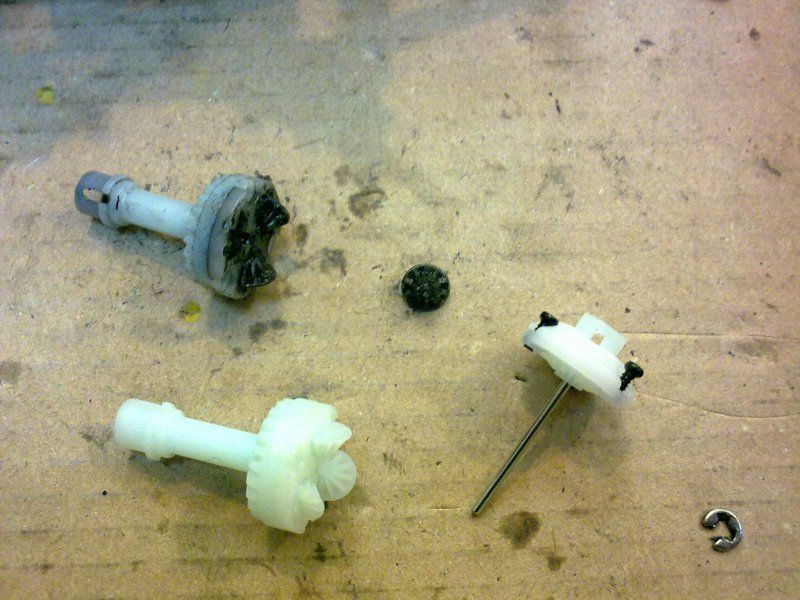 -The gears in my front diff are eated... Now i know why it had the crack sound... not the miss of a shim on the diff, but all the gears inside where eated, lol! Even lubed very well... but it played for 2 years in a row.. not bad! 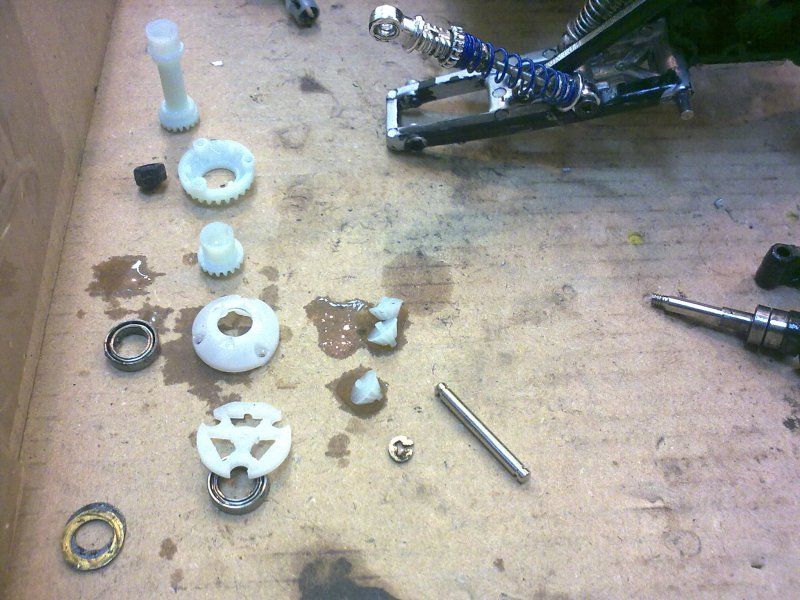 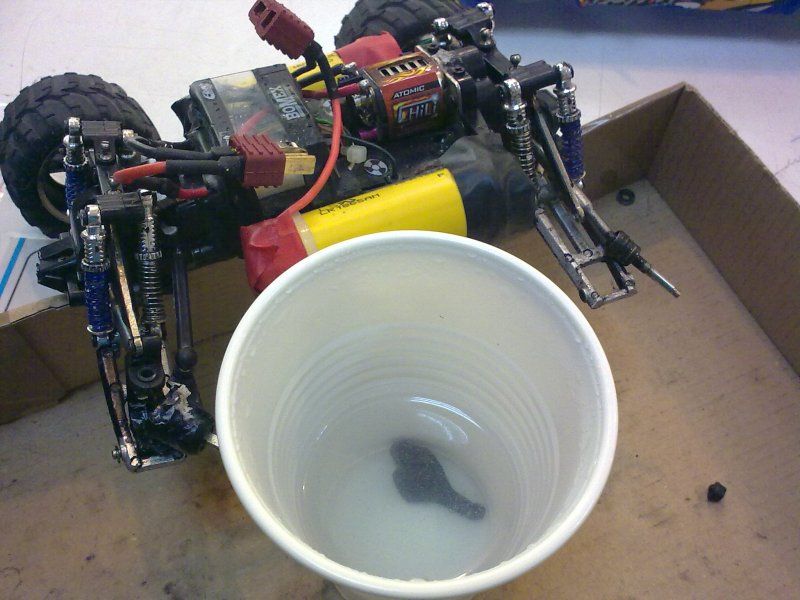 -Problem solved! And for this new stock parts, i boiled in water all them. Puted a plastic cup on a microwave filled with water for 4 minutes, take it out, put the plastic parts on boil water for 10minutes. They say it will be more resistence to break. So i tried boiling now Ready for videos with the "bazuca" Li-fe 18650 power. |
 |
| Currently Active Users Viewing This Thread: 1 (0 members and 1 guests) | |
|
|