
|
|
|
#21
 11-07-2009, 12:54 PM
|
|||
|
|||
|
Thanks guys!
Update: Bye Bye, old xmods parts. 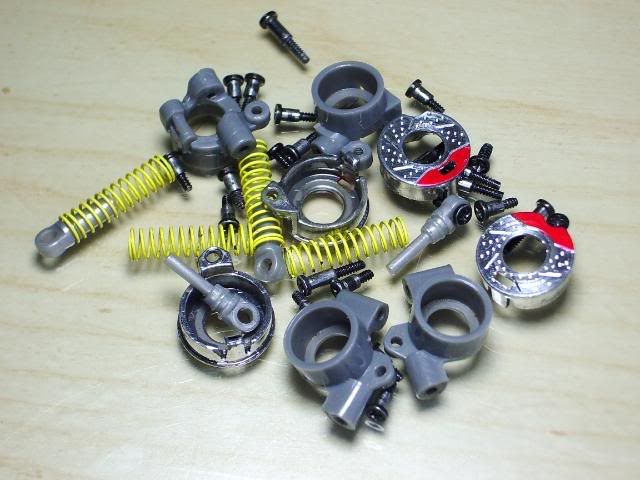 Hellooo, new GPM.  I also put spacers between the bearings and knuckles, to keep everything nice and tight, it also helps keep the dirt off the bearings. 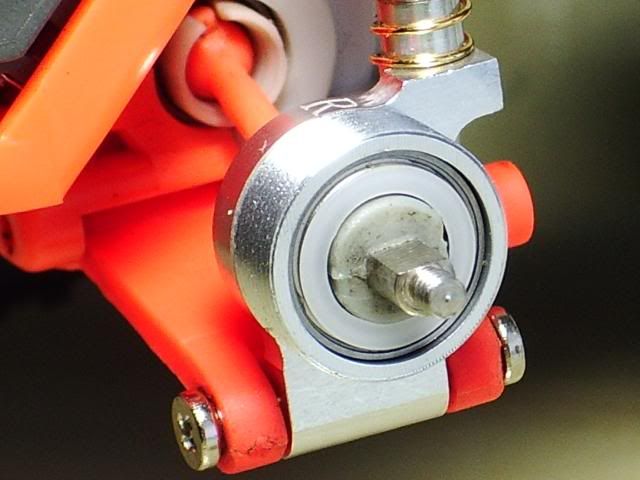 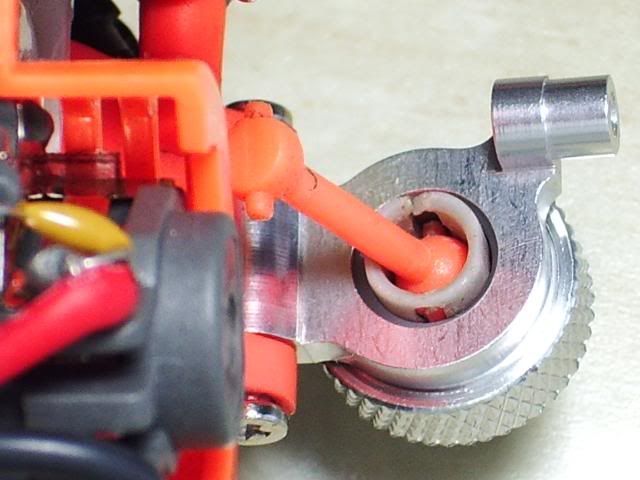 Took out the xmods shocks and use cut down gold GPM springs and put it on top of the knuckles. 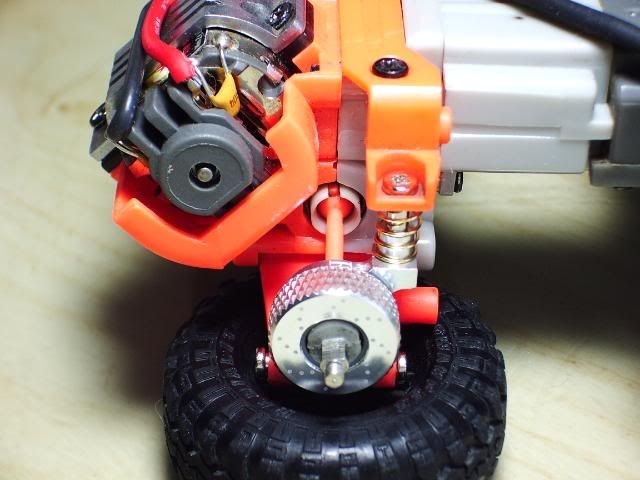 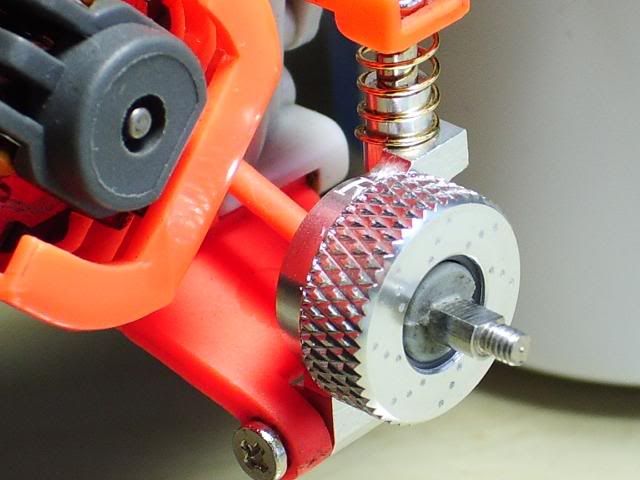 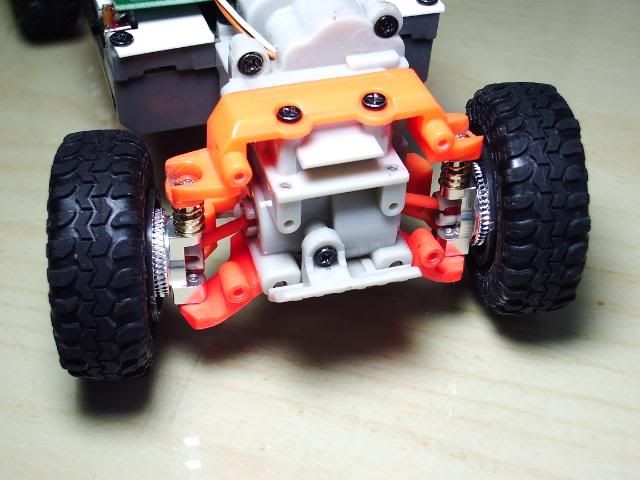
__________________


|
|
#22
11-07-2009, 01:45 PM
|
||||
|
||||
|
lookin great I love the shineness of GPM lol.
__________________
Quote:
Quote:
SNOW PLOW HUMMER DROP HITCH DULLY TIRE TUT
|
|
#23
11-07-2009, 07:05 PM
|
|||
|
|||
|
Thanks man.
Update: Front wheel well finished. 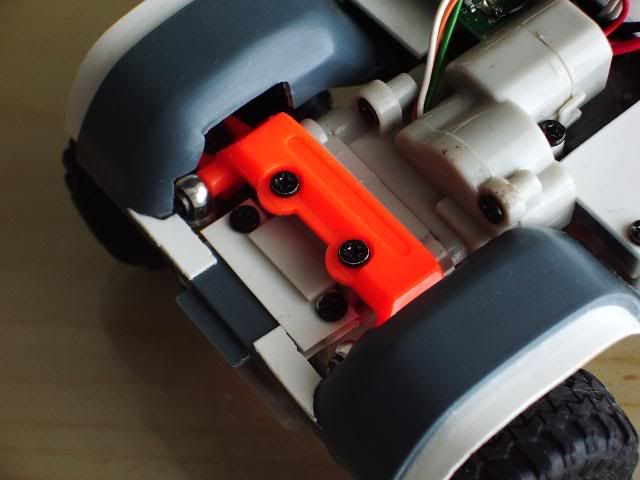  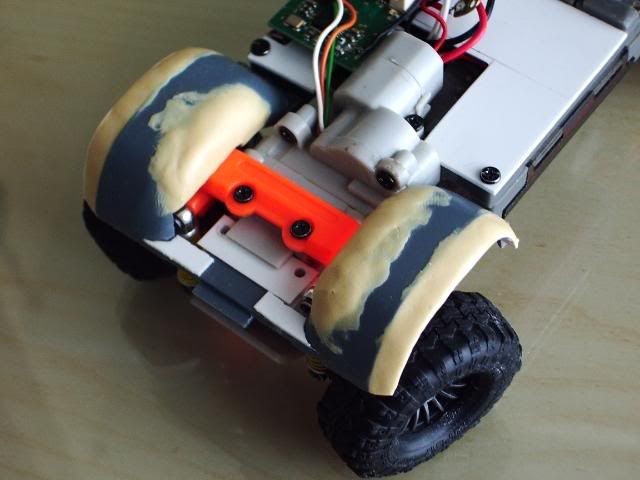 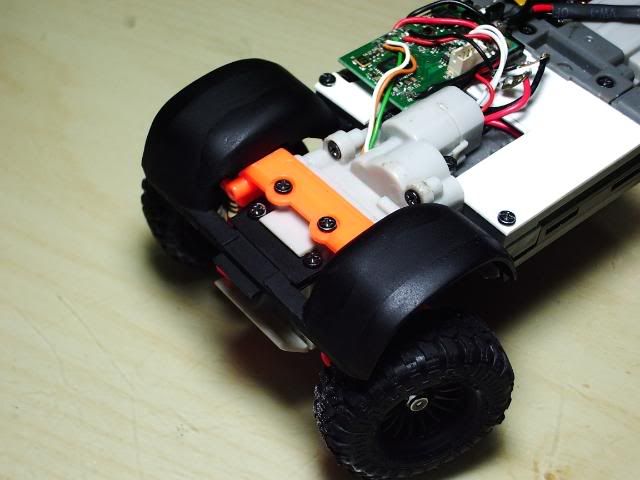 It also work as a front body mount. 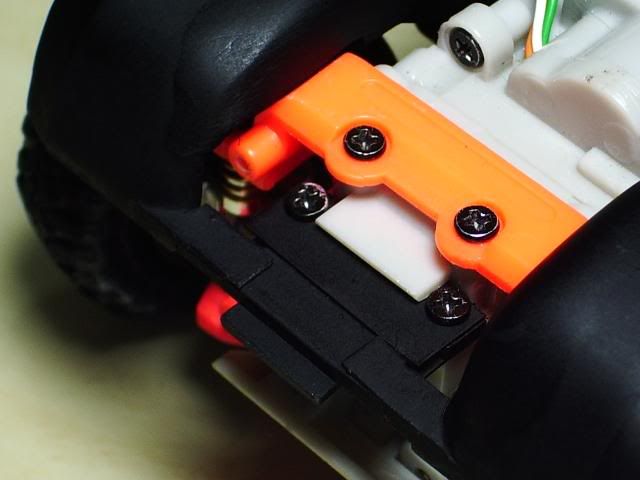 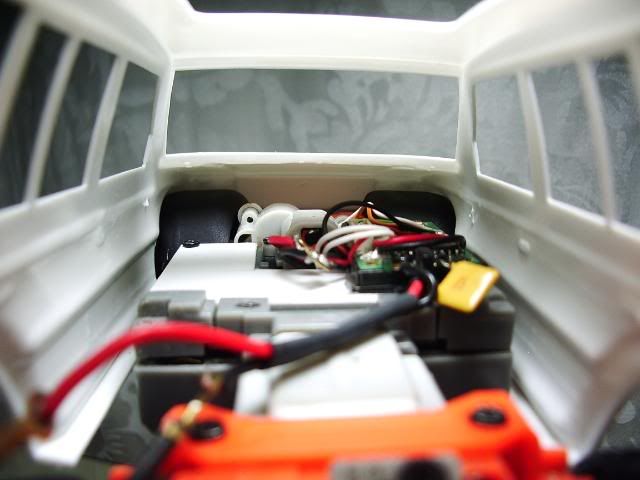 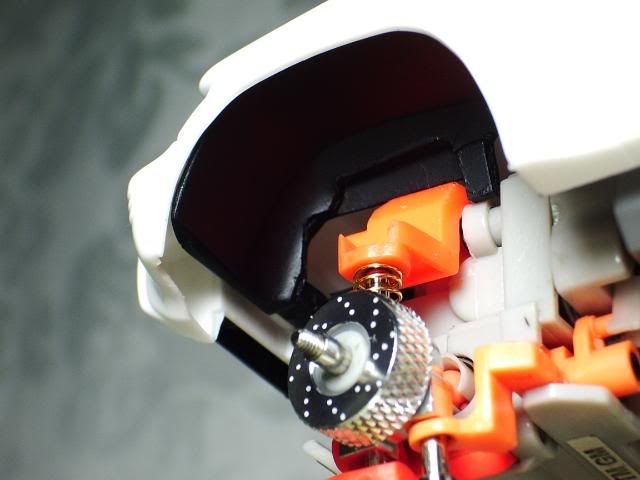
__________________
|
|
#24
11-08-2009, 10:51 AM
|
||||
|
||||
|
I definitely recommend getting some GPM dogbones as well.
__________________
Woah.

|
|
#25
11-08-2009, 12:43 PM
|
||||
|
||||
|
that's some of the most amazing work that i've seen on an Xtruck so far, keep it up bro. i can't wait to see the finished product! =)
|
|
#26
11-09-2009, 10:49 PM
|
|||
|
|||
|
Thanks guys, as for the the GPM dogbones, I have hear they are too short for the lift kit, and they will just pop out when running, is that true? If not, then I'll definitely getting a set.
Update: Re-design the PCB area. It was kinda messy earlier, with all those wires sticking out. So now I have made the PCB sit lower, and made a case for the PCB and for the other side, I used a flat piece of styrene to hide all the wires. This way it looks better, and also help save some space for the interior.  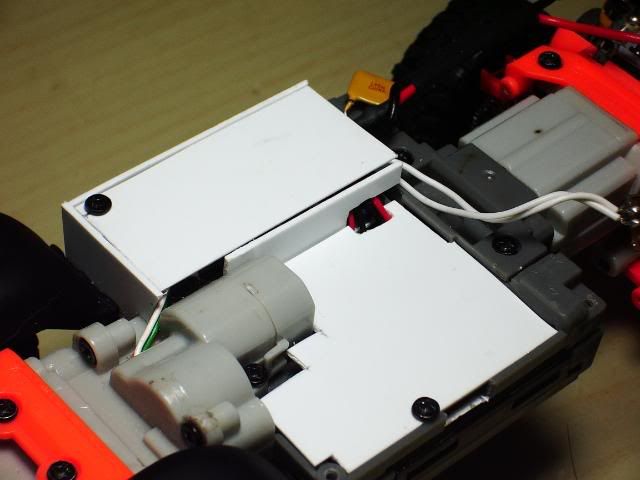 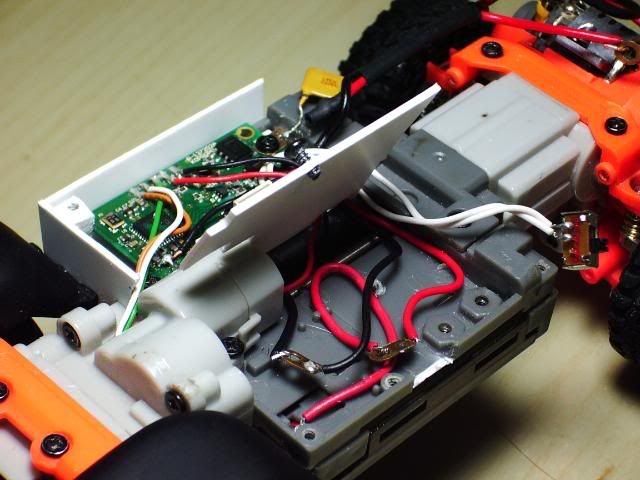 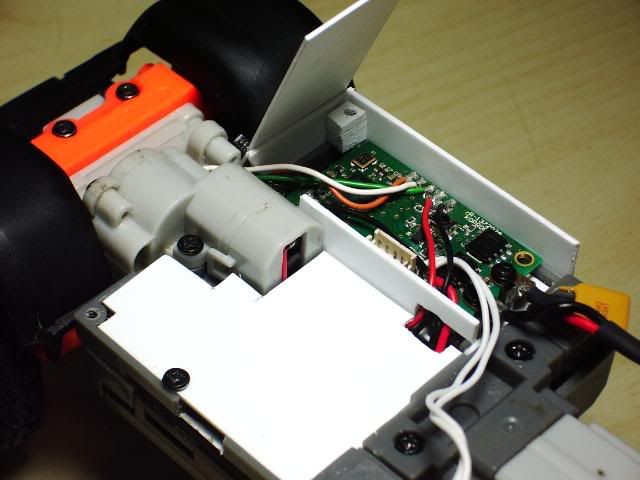 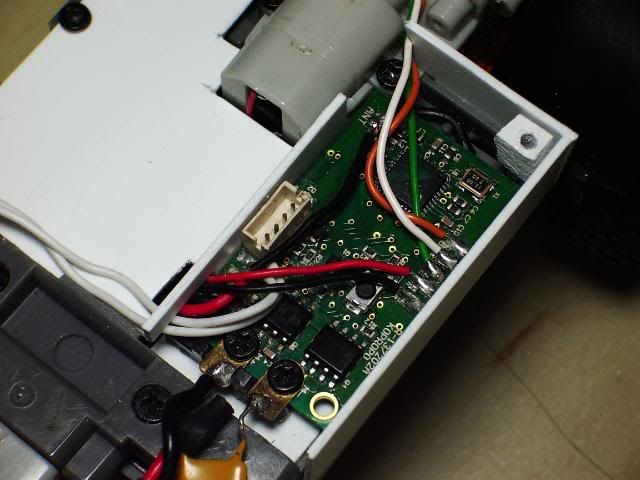
__________________
|
|
#27
11-09-2009, 10:52 PM
|
||||
|
||||
|
Off to a very clean start. Can't wait to see what your plans are for the body!
__________________
XMS Rules & Guidelines | B/S/T Rules | How To Post Pictures Greyscale Racing Member
 The Collection: Mitsubishi Pajero | AE RC18MT TLMicroCrawler | Xmod ShowRoom | 'Yota XTruck "The fun begins when the pavement ends."
|
|
#31
11-11-2009, 09:13 AM
|
||||
|
||||
|
this thing is amazing! i love the wheel wells
__________________
New project: '65 Drag Mustang mods to be made: pro street rims some sort of suspension upgrade (message me if you have suggestions) soft drag slicks Titan: mods to be made: CF driveshaft composite driveshaft gears
|
|
#33
11-11-2009, 06:41 PM
|
|||
|
|||
|
Thank you for the great feedback guys! The wheel wells came with the model kit, but i extended it, made it wider by using styrene and putty.
Update: Start to work on the interior. 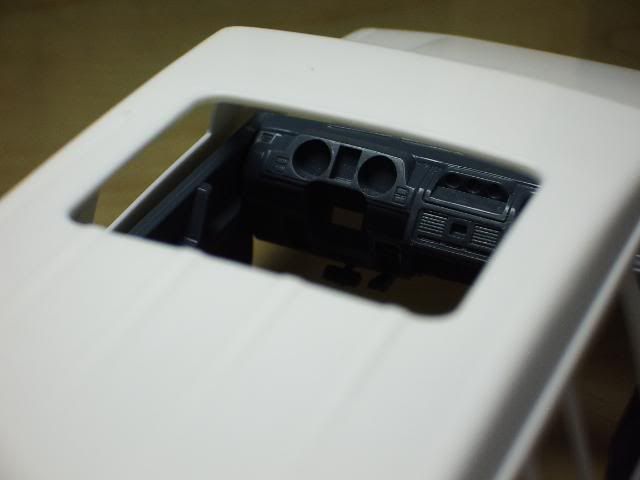 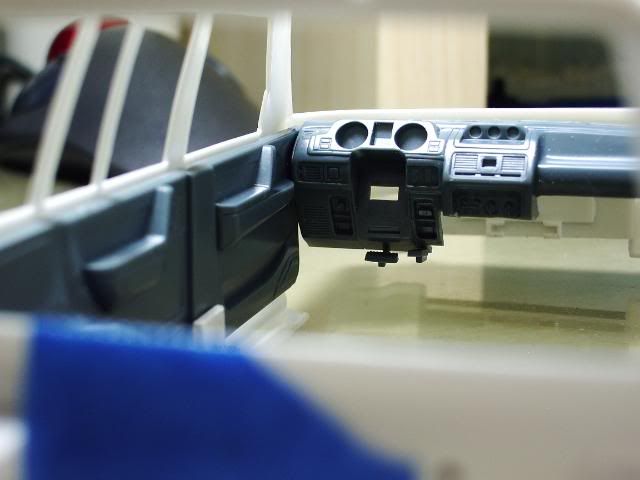 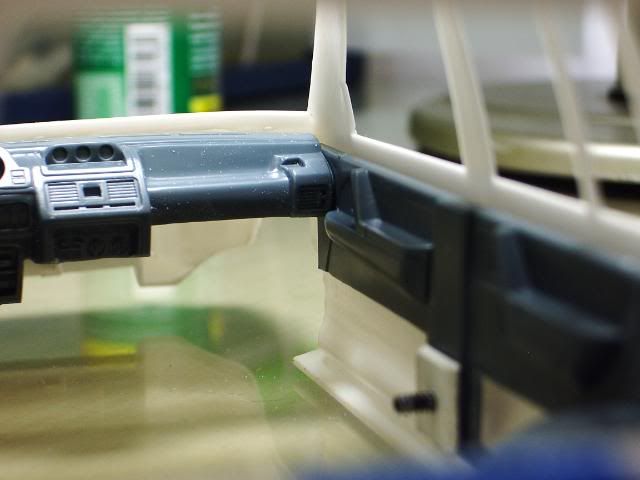 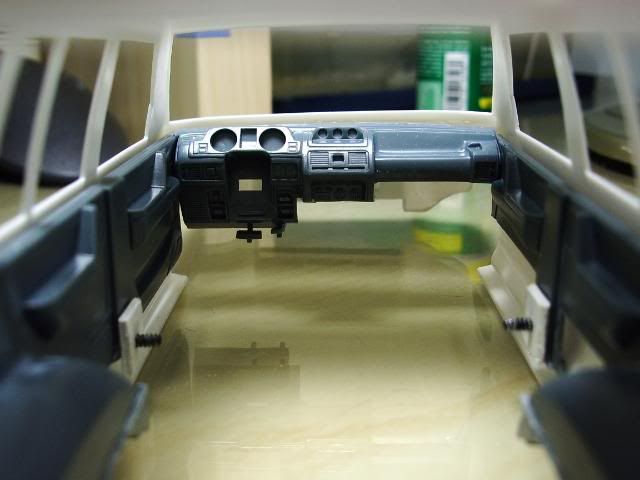  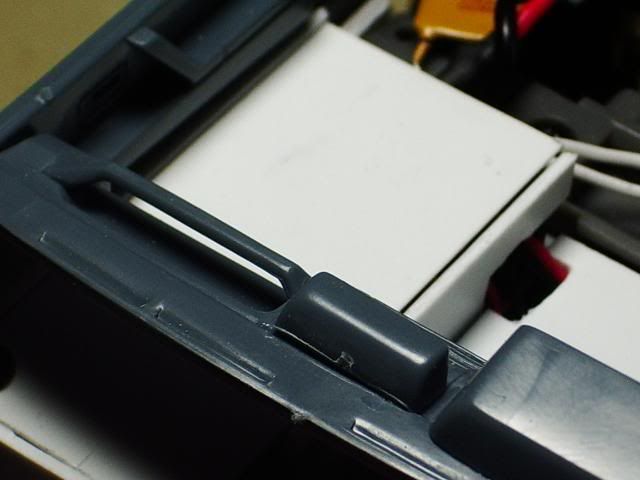  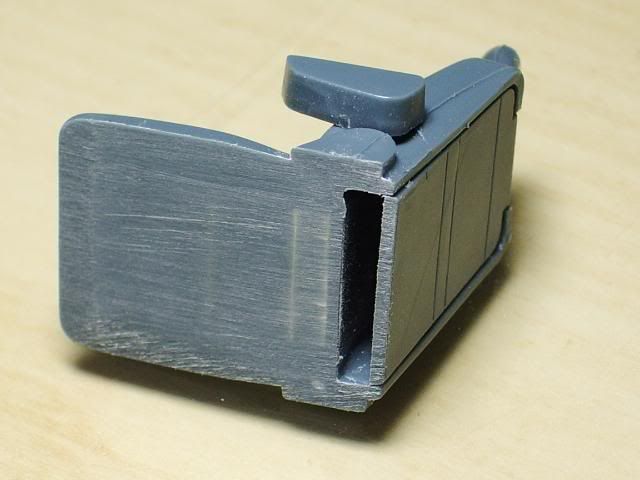 Interior carpet. 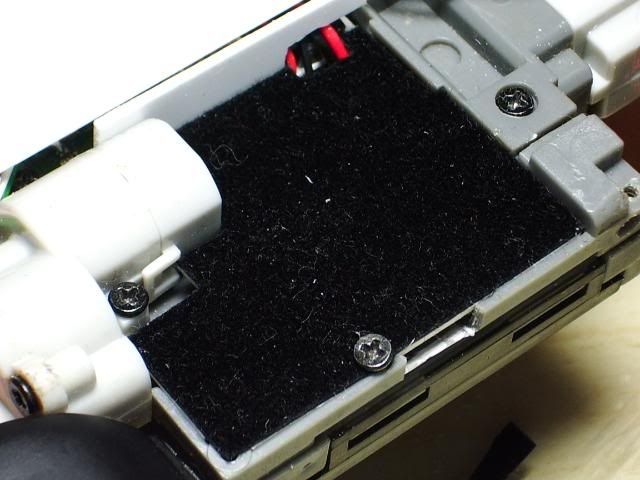 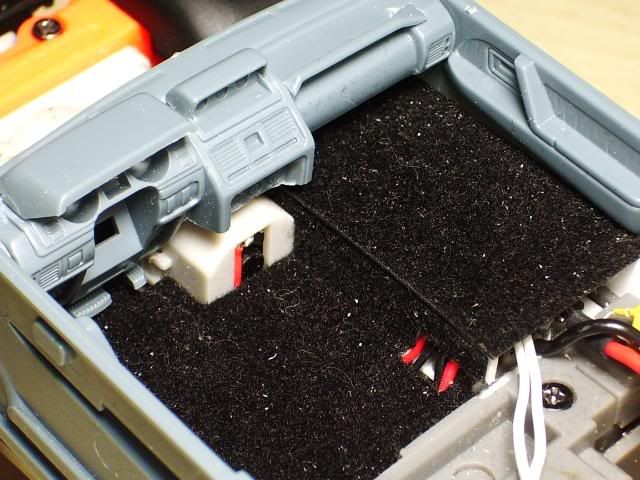 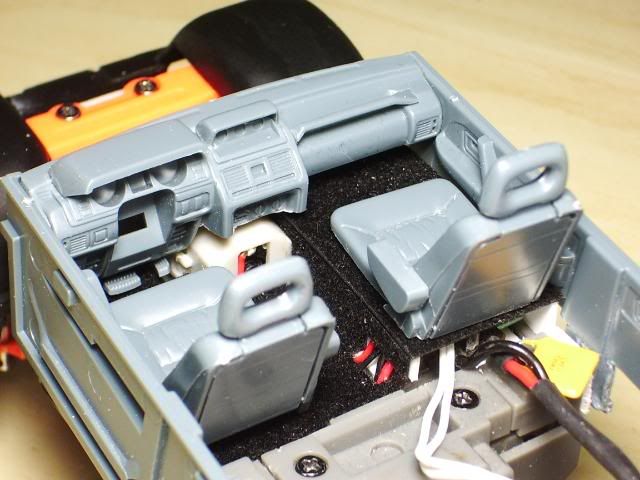 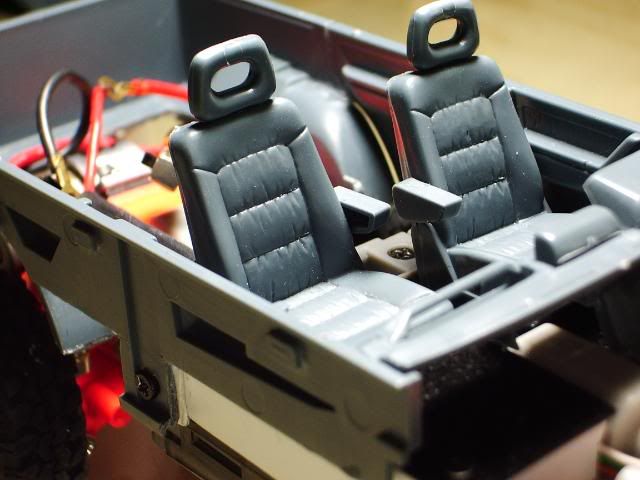 Relocated the power switch. 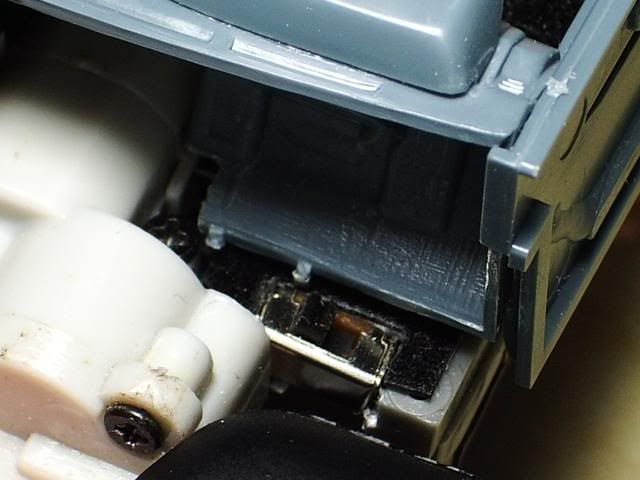 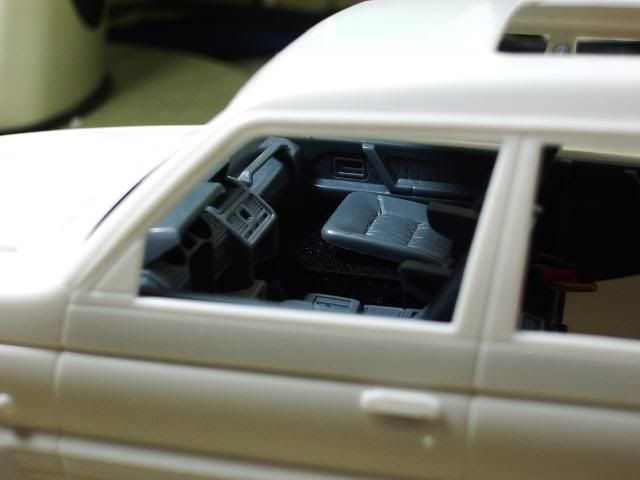
__________________
Last edited by Dr. Kustom; 11-11-2009 at 07:40 PM..
|
|
#34
11-11-2009, 07:04 PM
|
||||
|
||||
|
DANG That is on such a high level of awsomeness man. Great work on the carpet and everything else. Looks like a scale rig already
Keep up the good work
__________________
Quote:
Quote:
SNOW PLOW HUMMER DROP HITCH DULLY TIRE TUT
|
|
#36
11-13-2009, 08:09 PM
|
|||
|
|||
|
Thanks guys!
Update: Build a few different types of fog lights, let me know which one ya like the best. Type 1: 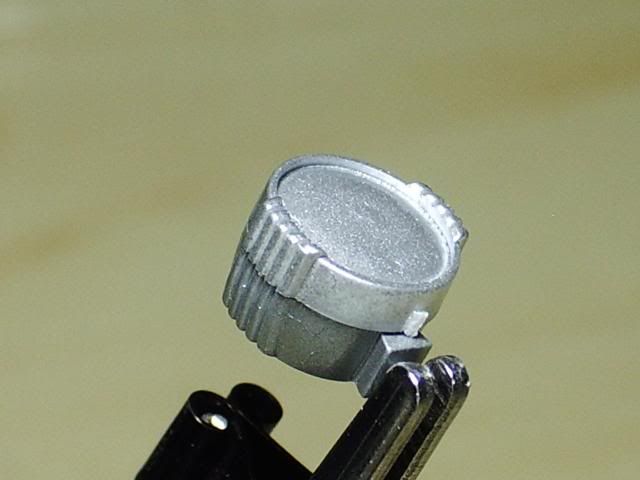 Type 2: 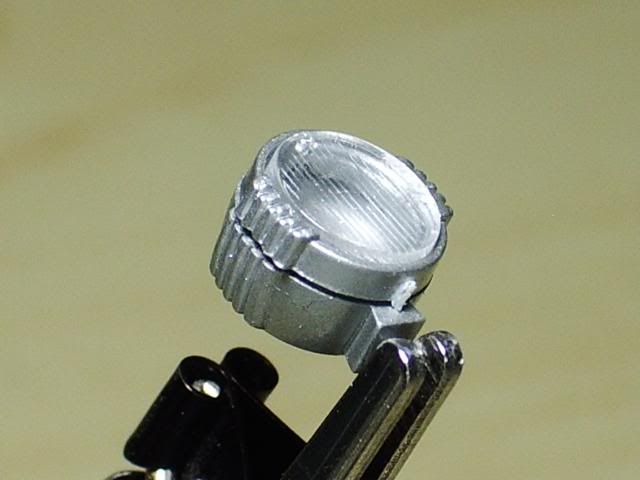 Type 3: 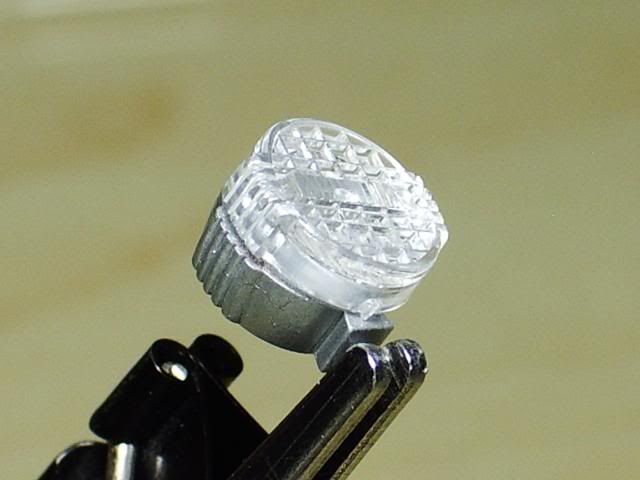 I personal think type 3 looks the best for this project. And here a little something I have been working on... can't show much since I'm only working on 1 wheel arch. 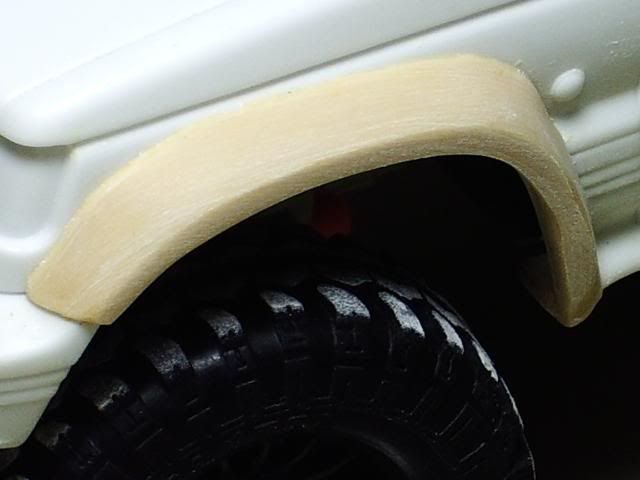
__________________
|
|
#37
11-13-2009, 08:22 PM
|
||||
|
||||
|
That just looks really really good. I say number 3.
Your work never ceases to amaze me keep up the good work
__________________
Quote:
Quote:
SNOW PLOW HUMMER DROP HITCH DULLY TIRE TUT
|
|
#40
11-13-2009, 11:50 PM
|
|||
|
|||
|
Thanks guys, at first, I like the type 3, but the more I look, the more I like the type 2, so I went with the type 2.
Update: I made up my mind and went with the type 2 fog lights. I also added more details on the lense and clear coat it. 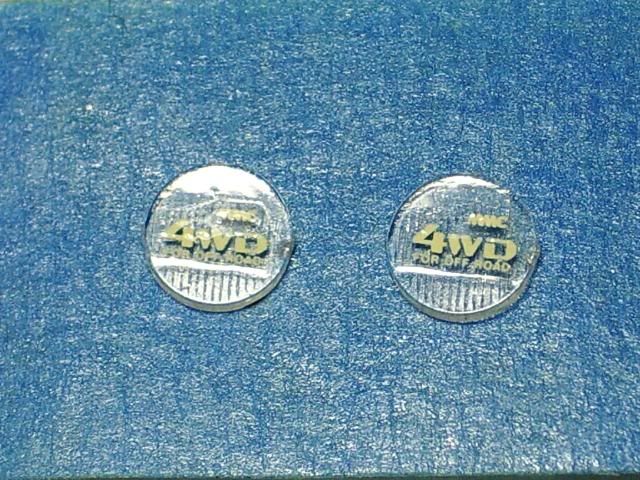 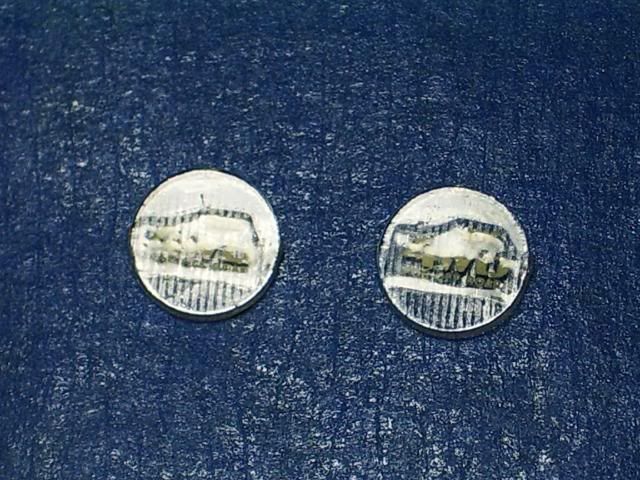 Then I sand down the case to get rid of those part tree tabs, and drilled a hole for LED. ( I will be re-painting the case silver. )  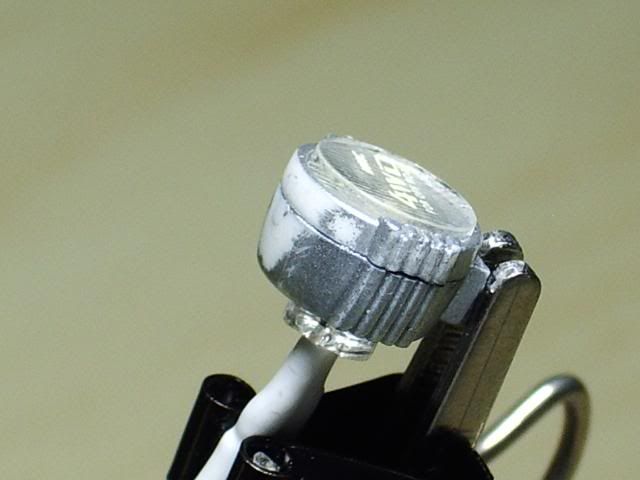 And here's a little teaser. 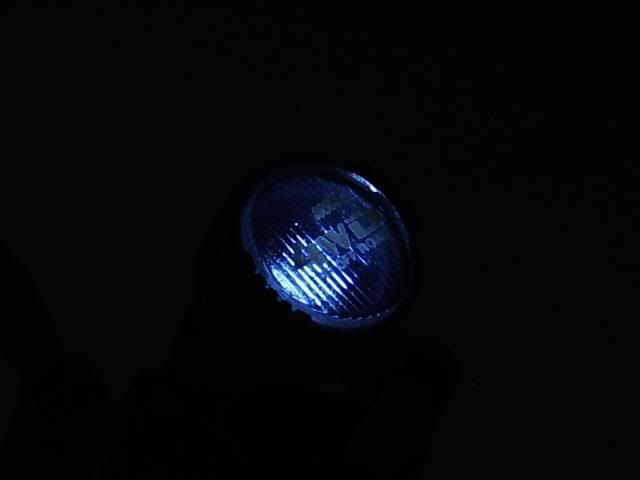
__________________
|
 |
| Currently Active Users Viewing This Thread: 1 (0 members and 1 guests) | |
|
|


 Linear Mode

