
|
|
#121
|
||||
|
||||
|
She's looking great.
__________________
 XXX FREE modding Service: http://www.xmodsource.com/forum/showthread.php?t=17800 PM me for a quote or any questions. HAPPY MODDING 100% Positive Itrader feedback http://www.xmodsource.com/forum/itrader.php?u=6901 |
|
#122
|
||||
|
||||
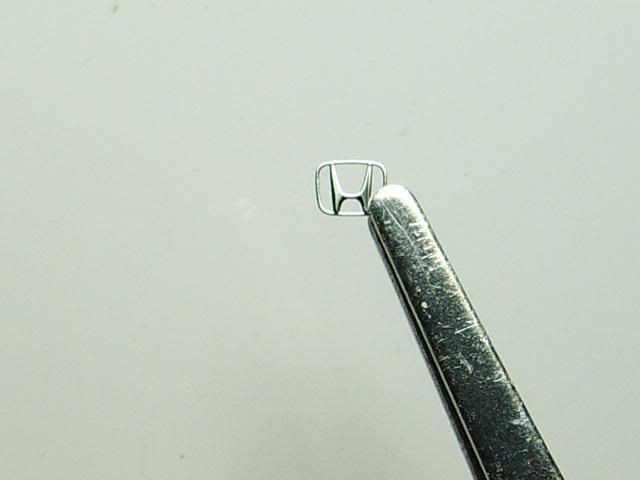
 That's astounding how tiny it is! I can barely fumble on water slides, much less tiny chrome badges
__________________
You know what I'm gonna do? I'm gonna get myself a 1967 Cadillac Eldorado convertible, hot pink, with whale
skin hubcaps and all leather cow interior and big brown baby seal eyes for headlights. Yeah! And I'm gonna drive around in that baby at 115 miles an hour, getting 1 mile per gallon. I may be king of the idiots, but my kingdom is vast and my subjects are everywhere |
|
#124
|
||||
|
||||
|
the detail is insane you took everything into consideration, good job, i love it.
__________________
 |
|
#125
|
||||
|
||||
|
That's just amazing. It's going to be hard to tell the difference between this car and the 1:1 by the time you're finished. If people took more time on their projects instead of slapping things together, they'd have something epic like this.
|
|
#127
|
|||
|
|||
|
Thanks guys!
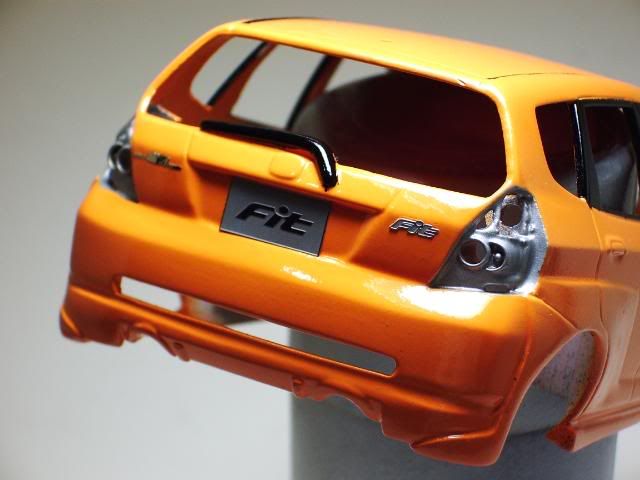
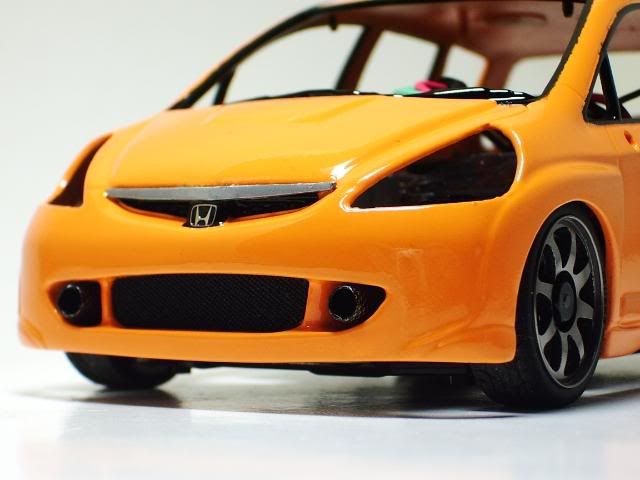
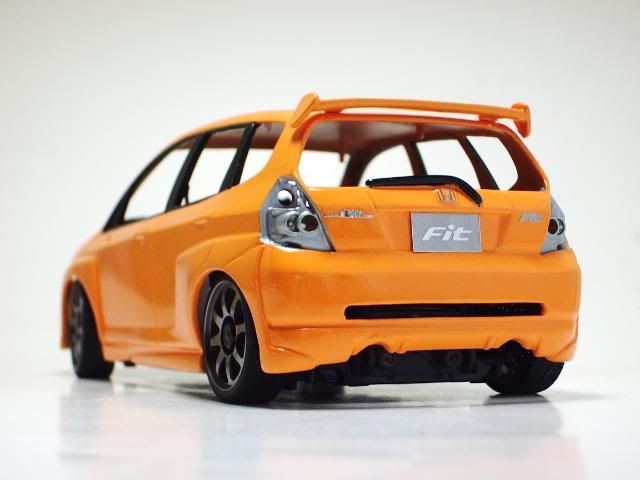
Update: This project is finally coming to the end, I painted the rear light house silver, and painted the rear wiper and front grill black, then I started to re-install all the detail parts... 
__________________

|
|
#128
|
||||
|
||||
|
OMG!!!!!!!!!!!
__________________
7mm front suspension travel from my EVO!!! see how I did it here! http://www.xmodsource.com/forum/show...342#post249342 |
|
#131
|
|||
|
|||
|
Thank you very much guys!
@ XMDrifter - For the CF decal, I just lay it down on the object's surface using water, then press the decal down to take take out all the water, then I applied a few coats of clear coat on it.
__________________

|
|
#132
|
||||
|
||||
|
ah, i see. have you considered decal fluid though? it kinda softens the decal so it comforms nearly perfectly too the surface. a lot less hassle than cutting the decal and trying to get it to wrap all the way around
__________________

|
|
#134
|
||||
|
||||
|
jeeze that thing is amazing! the detail on it is insane! how much have you spent on that thing total now?
__________________
 2010 Mustang EVO ----- 65 Mustang EVO Z06 Corvette EVO ------ 350z Gen1 |
|
#135
|
|||
|
|||
|
Quote:
CF and rims added 1000hp, and 900 tork! Quote:
*Kyosho Mini-Z MA-010 RC Chassis Set (2.4GHz ASF) - $130 *Kyosho Mini-Z MA-010 SP Color Chassis Set - Gray/Blue -$23 *Kyosho Mini-Z MA-010 Ball Differential Set (front/rear) - $76 *Kyosho Mini-Z MA-010 Bearing Set - $39 *Kyosho Mini-Z Real Action Light System for MR-02/MA-010 - $107 *Kyosho Mini-Z MA-010 Alloy 8 Spoke Wheel Set - AWD - Gun Metal - $30 *Kyosho Mini-Z Honda Fit White Body Set - $70 *Kyosho Mini-Z MA-010 AWD Brake Rotor - $6 *Kyosho MZW37-20 Mini-Z Radial Tire #20 - $10 *Kyosho MZW13BK Locking Wheel Nuts - Black - $6 *Kyosho Mini-Z AWD X-Speed V motor - $19 *R1Wurks AAA NiMH Competition Batteries 990mAH - $10 *Tamiya White Fine Surface Primer Spray Can - $9 *Tamiya Brilliant Orange Lacquer Spray Paint (x2) - $12 *Tamiya Matte Black Lacquer Spray Paint - $6 *Tamiya Aluminum Silver Lacquer Spray Paint - $6 *Tamiya Clear Lacquer Spray Paint - $6 *Tamiya Epoxy Putty (Quick Type) - $6 *Crazy Modeler Honda Fit Alum. emblems - $10 *Crazy Modeler Honda logo lot - $15 *Crazy Modeler CF Decal (I only used a little piece of it) - $12 _______________________________ Total - $608
__________________

Last edited by Dr. Kustom; 02-12-2010 at 01:14 AM.. |
|
#137
|
||||
|
||||
|
how about some crazy modeler etched brake discs? the ones that are a complete and utter pain to bend the 30 some vent vins and fit into the disk halves and are like, 6 parts for each brake disc?
__________________

|
|
#138
|
|||
|
|||
|
@ XMDrifter - I saw those crazy modeler dis brake, the details on them are amazing! But I don't plan on getting them for this project since I already have the Kyosho brake rotor installed.
Update: Most details are re-installed back to the body, now its time for some clear coats and then polish.  
__________________

|
 |
| Currently Active Users Viewing This Thread: 1 (0 members and 1 guests) | |
|
|