
|
|
|
#22
 03-15-2008, 07:49 AM
|
|||
|
|||
|
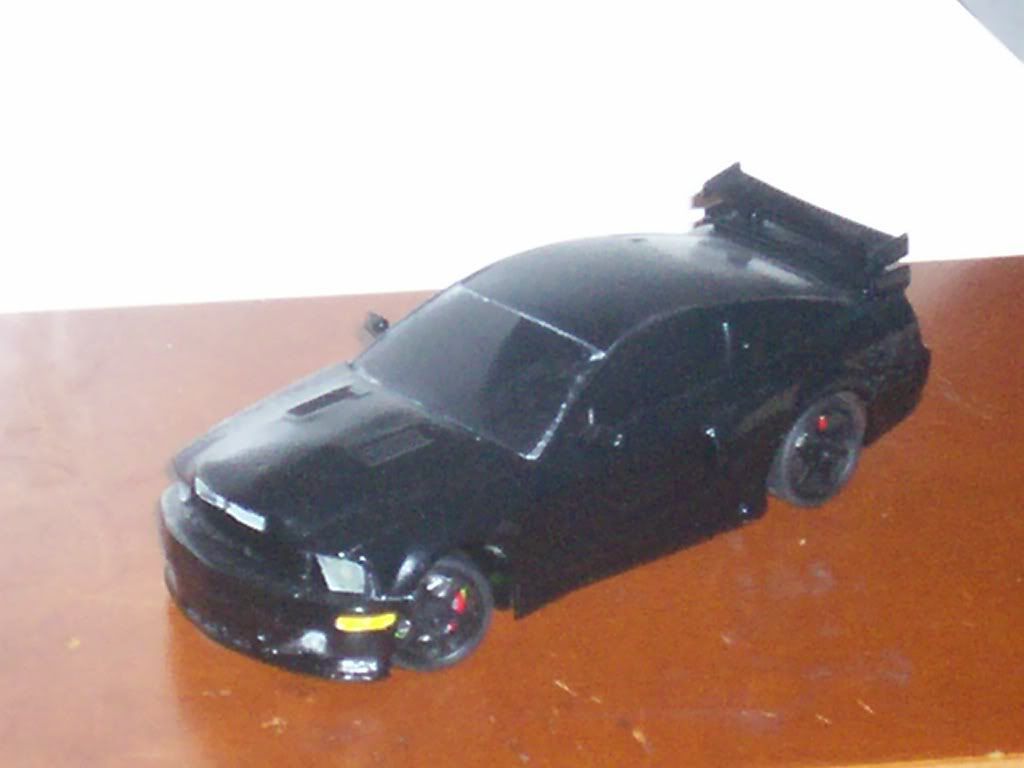
As you can see, in this image
Quote:
Whereas in this pic  the scoop is low and wide Also, this link is how to build the scanner, I skimmed through, and it seems like you could make it smaller for use in a Xmod... http://www.musclecarblog.com/story-1...owd_they_do_it Last edited by Patrol; 03-15-2008 at 07:57 AM.. 
|
|
#24
03-15-2008, 08:45 PM
|
||||
|
||||
|
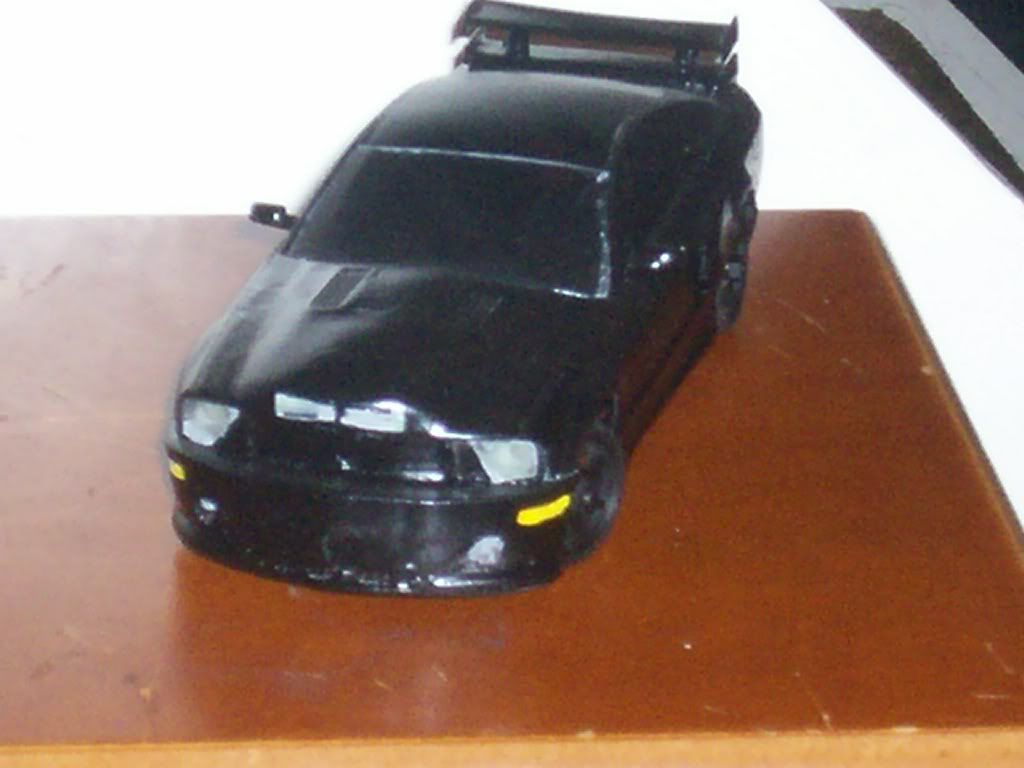
nice but the hood is a little to tall i made one and it turned out pretty good
|
|
#25
03-15-2008, 09:49 PM
|
|||
|
|||
|
It's looking good so far, remember to be patient with the sanding, otherwise you'll mess up a detail and start all over again. Post updates soon, and good luck.
BTW, I like the Mace Windu Lightsaber in the BG ^_^ lol
__________________

|
|
#26
03-16-2008, 01:31 PM
|
||||
|
||||
|
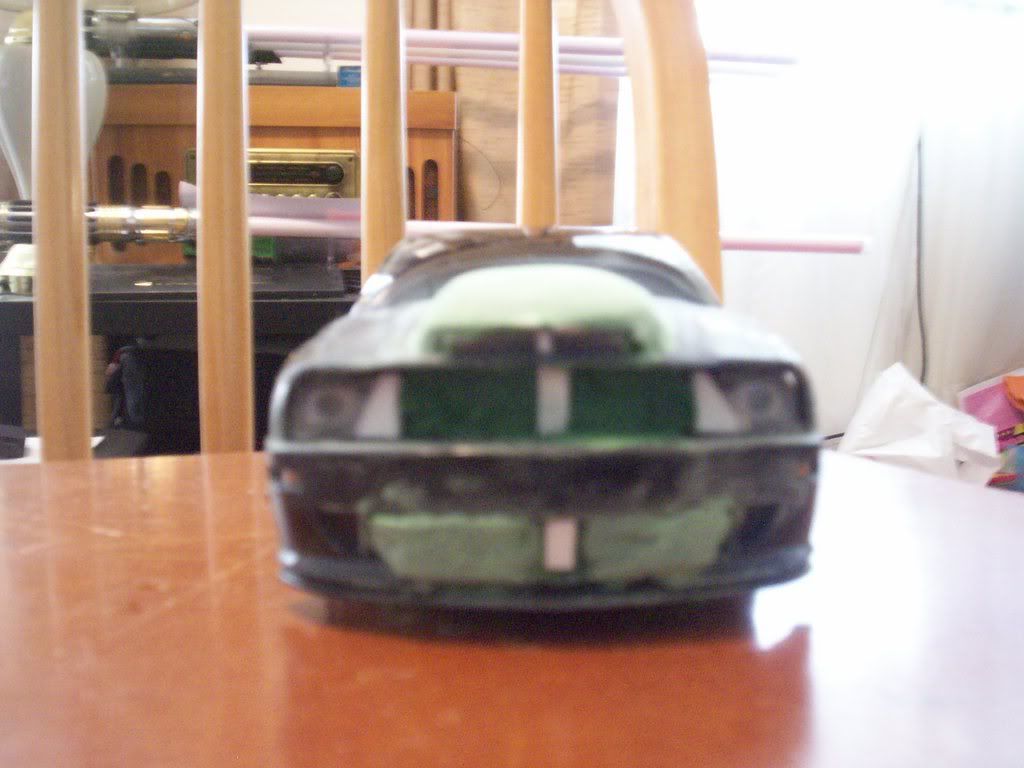
Well the green stuff is a type of putty I am using and Kaze your right, the sanding is a pain in the neck and when I feel myself getting impatient I put it down and work on one of the other ones or just leave it for a day or two till' I get bored enough to go back to it. I will have more updates this week and the new chassis should be here so I can start work on that and see what I can come up with on that, I just plan on screwing around with it for a while but the start is the audley and then I will go from there. And Kaze you missed seeing the other lightsabers just above the Mace Windu one.
|
|
#27
03-16-2008, 01:58 PM
|
|||
|
|||
|
Quote:
Yea no kidding, oh also remember you should add some putty, only slightly more than what you need (not too much like you seem to have there). Then sand it down a bit, if it doesn't seem to be enough add a little more. Trust me, it's the best advice I read while working on my Z convertible, and its deffinately worthwhile. Good luck once again and can't wait to see those updates.
__________________
|
|
#28
03-24-2008, 06:28 PM
|
||||
|
||||
|
The latest updates for the project: still have to put the remaining spoilers and spoilers on but here is where I am at so far. Be advised that I am still working on it so it still looks a hot mess^_^
|
|
#29
03-24-2008, 06:37 PM
|
||||
|
||||
|
thast sick how'd you get the leds like that
__________________
http://www.xmodsource.com/forum/show...d=1#post151509help moding
|
|
#30
03-24-2008, 07:14 PM
|
||||
|
||||
|
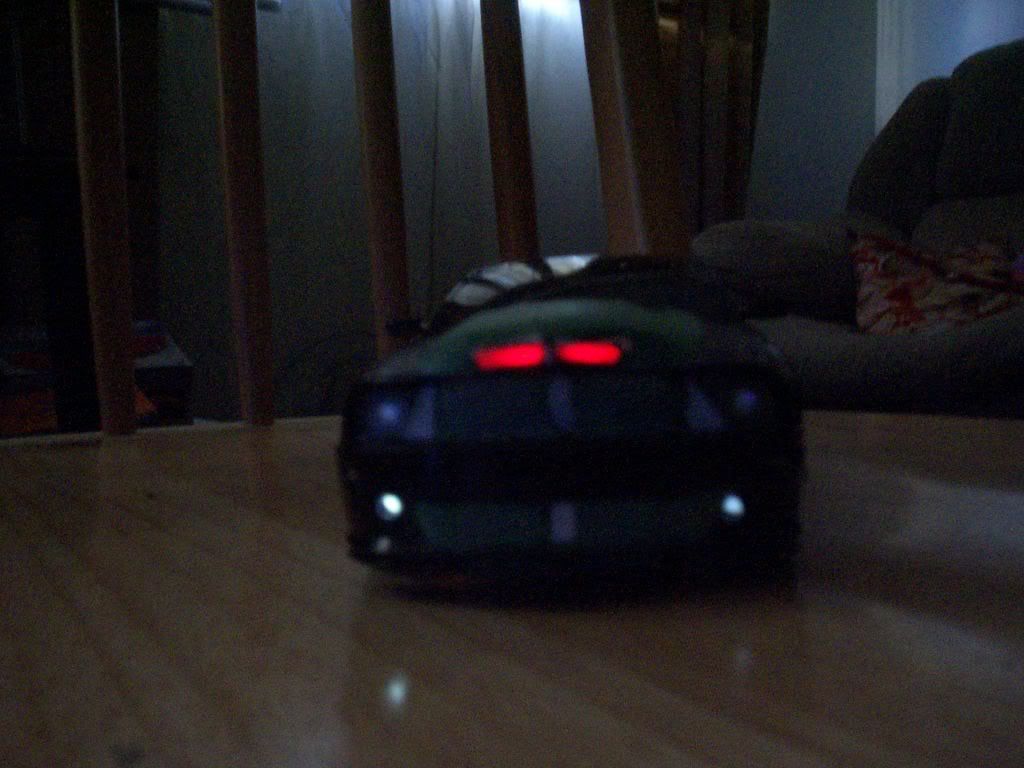
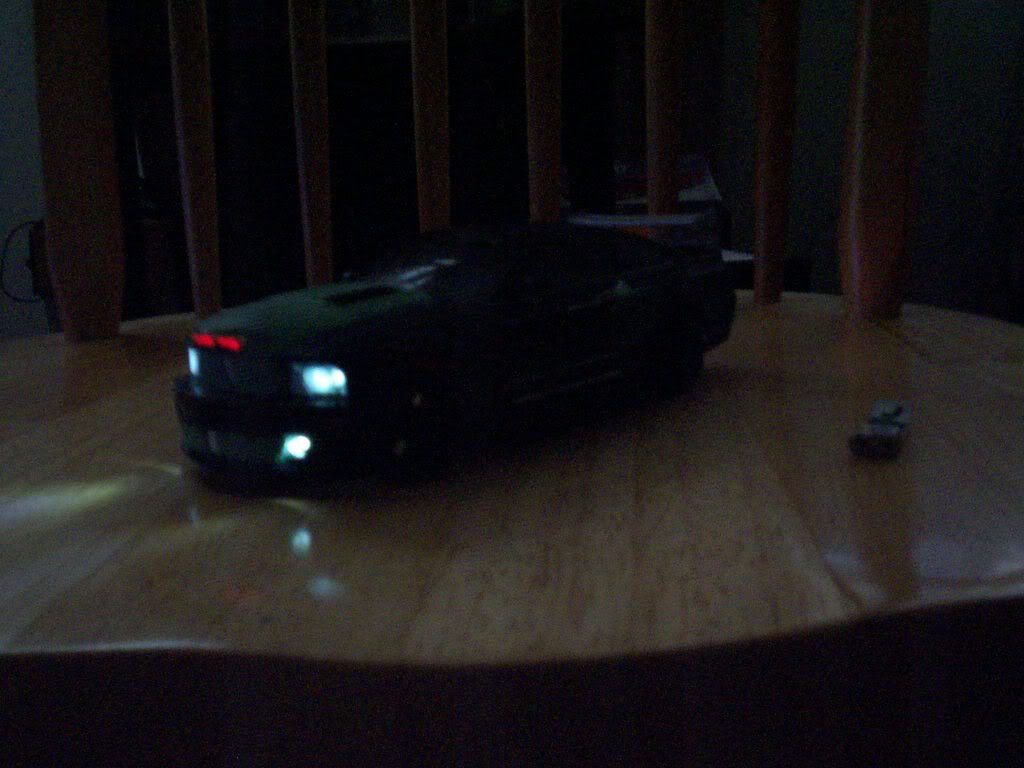
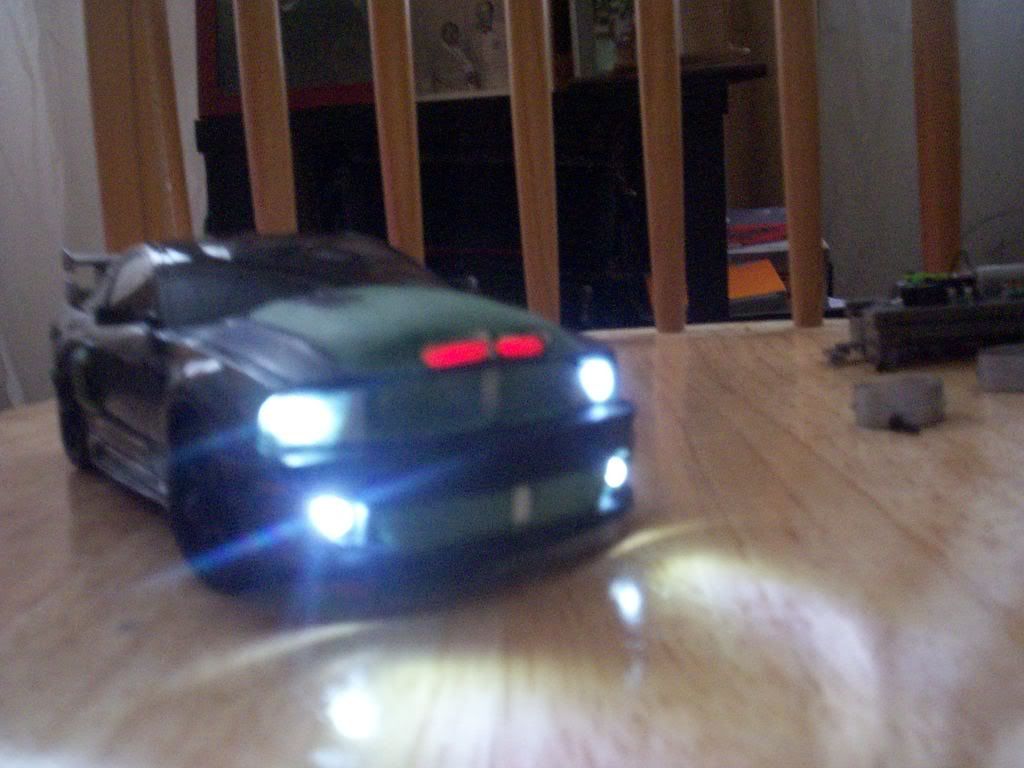
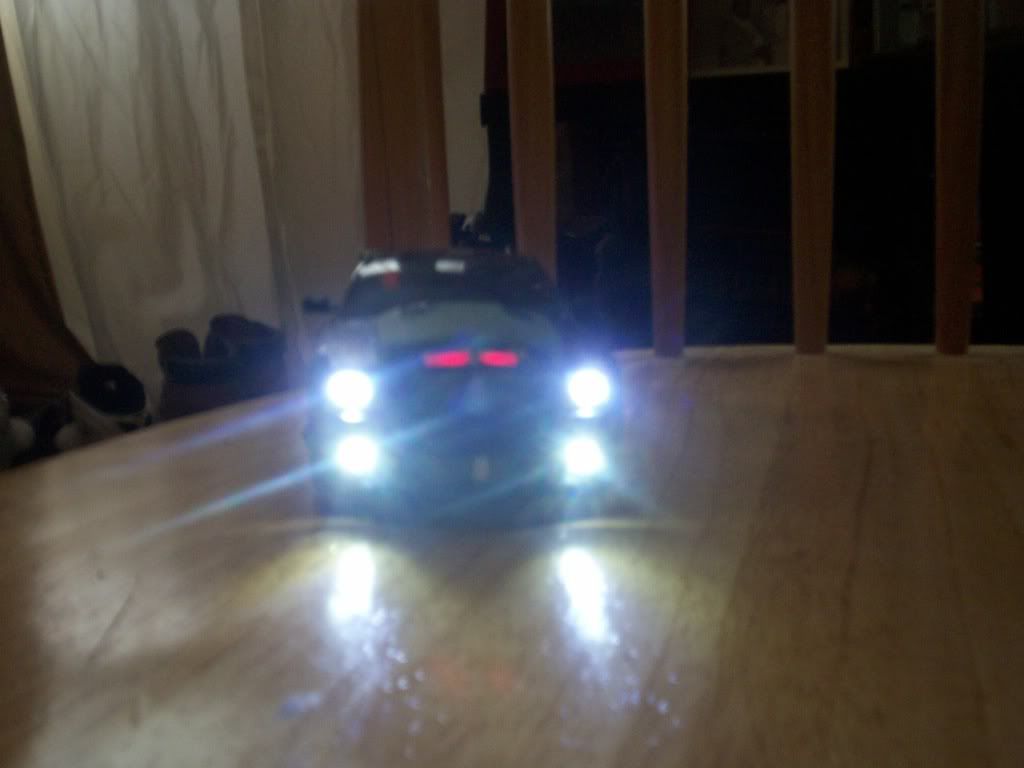
I used 2 sets of the command light sets since I needed headlights and fog lights and two sets of red for the scanner and rear lights. As for putting them in I pre-drilled the hood and set up a few small pieces on the hood for the shape of the scoop which is why it sits a little higher than it really should but I wanted the light to show throught the hood vents and not the bottom of the car. I will post more pics as I get closer to finishing it. It got on my nerves today so back to the table with the rest until I am ready to go to work on it again.
|
|
#31
03-24-2008, 10:48 PM
|
||||
|
||||
|
**** dude this looks friggin amazing!!!
and who the hell cares if its not exactly like the actual kitt its close enough and plus i could understand not getting it exact because it would drive me nuts!!! and the led scanners look cool as hell too GREAT JOB!!!
__________________
WE ARE THE NOBODIES WHO WANA BE SOMEBODIES
|
|
#33
03-25-2008, 04:45 PM
|
||||
|
||||
|
Thanks for the comments and actually I can't wait to see how it comes out either. I wanted to start painting last night but impatience will cause me to mess up so I am going to take my time and get it right.
|
|
#34
09-01-2008, 06:59 PM
|
||||
|
||||
   It has a all black chassis, fog lamps, hood lights, and a upgraded motor with the tlp turbo. As soon as I get done with everything else I may go back to this one. Just having had my son born ate up a lot of time so I was off the site for a while. Look for my next thread and I will show you what the other project was. The car still needs work but it is the first time I have touched it in almost 3 months.
|
|
#36
09-01-2008, 07:15 PM
|
||||
|
||||
|
The spoiler's on because KITT had it. Keepin it real. istic.
__________________
ಠ_ಠ I see what you did there
|
|
#39
09-01-2008, 10:14 PM
|
||||
|
||||
|
i love it, i love it, i want it!!! now all you need to do is the lights maybe. just take make/take two KITT(Knight 3000) flashing lights, and place them under the hood.
|
|
#40
09-02-2008, 06:08 PM
|
||||
|
||||
|
The lights are already in the hood, just look at the previous pictures above the new ones. Don't really have time to finish it the way I want to right now but will finish before the year is out(hopefully).
|
 |
| Currently Active Users Viewing This Thread: 1 (0 members and 1 guests) | |
|
|


 Linear Mode

