

|
|
#21
|
|||
|
|||
|
Quote:
|
|
#22
|
|||
|
|||
|
thats why front wheel drive cars make it around better in the snow than rwd. becuase they are constantly being pulled threw it, and not pushed threw it.
take a limp piece of string for example. is it easier to push it, or pull it? Pull it of course. |
|
#23
|
||||
|
||||
|
Quote:
thanks. UPDATE: 11/11/08 got the body mounted: 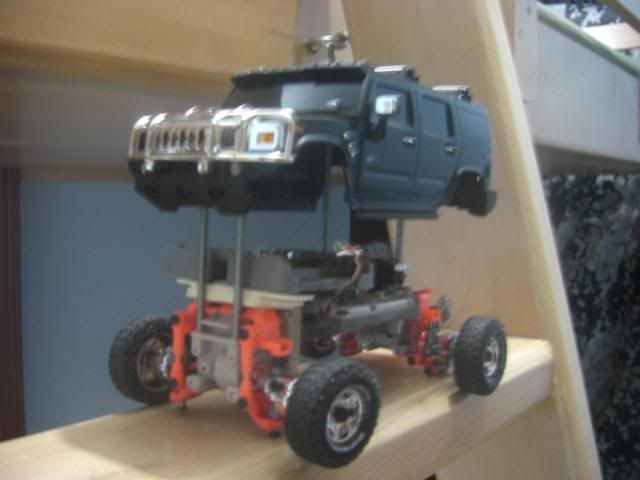 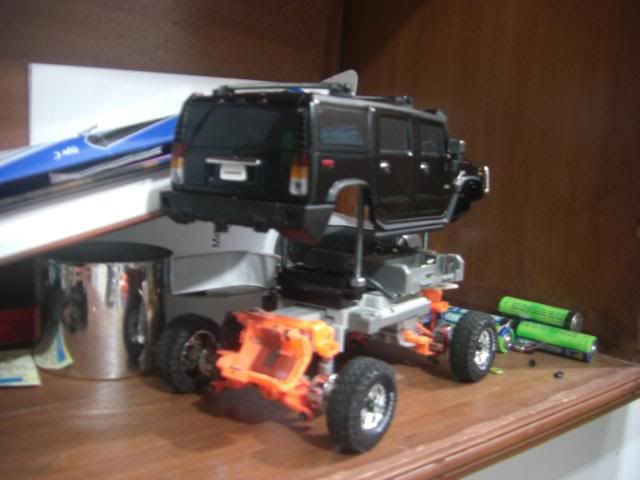 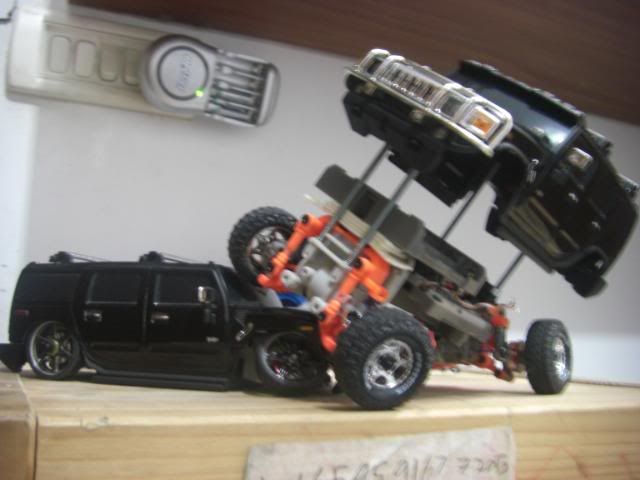 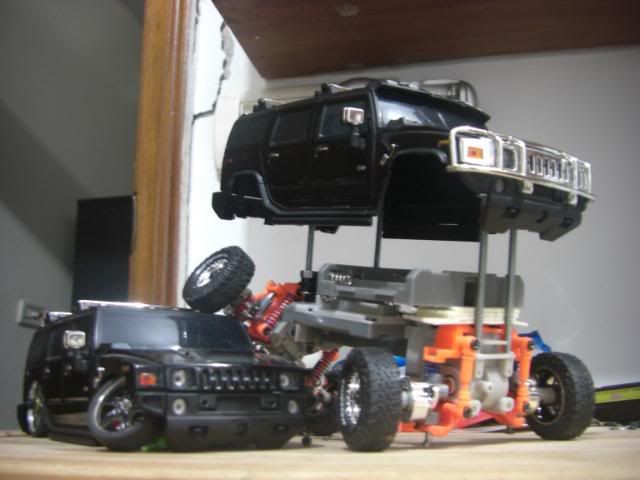 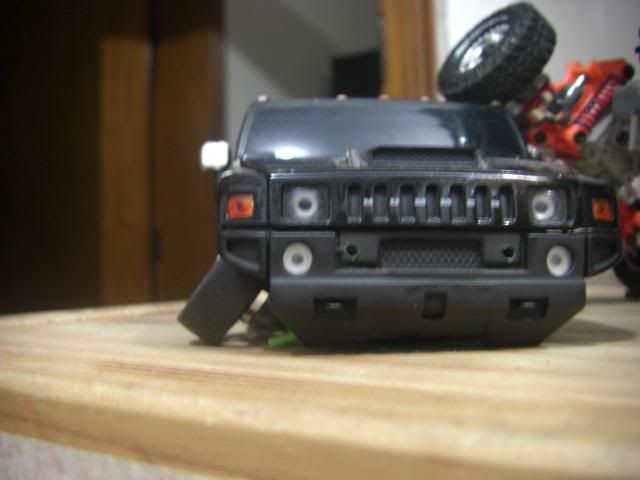 new project *hint hint{look at the camber....} and i couldn't find 2mm screws so i used 3mm hole comparison: 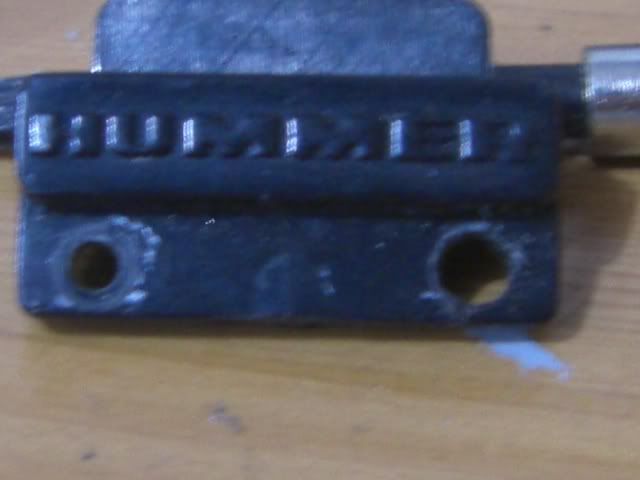 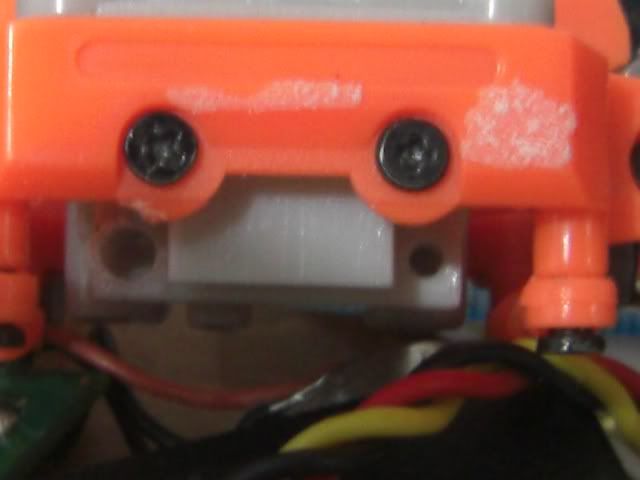 its nearly there. just have to mount the hs-55..... and i MIGHT get some new elecs any suggestions? Later T.I.M
__________________
"Where There's Will, There's A Way" "Many Of Lifes Failures Are Those People Who Did Not Realize How Close They Were To Success When They Gave Up"  |
|
#25
|
|||
|
|||
|
yeah are you seriously going to mount the body that high? it just looks rediculous.
|
|
#26
|
||||
|
||||
|
Quote:
Quote:
http://www.xmodsinternational.com/US...TERTIREKIT.htm just waiting for those and when i get them, i will adjust the body accordingly. Later T.I.M
__________________
"Where There's Will, There's A Way" "Many Of Lifes Failures Are Those People Who Did Not Realize How Close They Were To Success When They Gave Up"  |
|
#28
|
||||
|
||||
|
UPDATE: 12/12/08
I got some bigger tires for the time being: [IMG]http://i181.photobucket.com/albums/x13/tayyab_94/H2% 20Monster%20Truck/DSC05587.jpg[/IMG] They took me noe more than 5 min to cut up and mount:P: 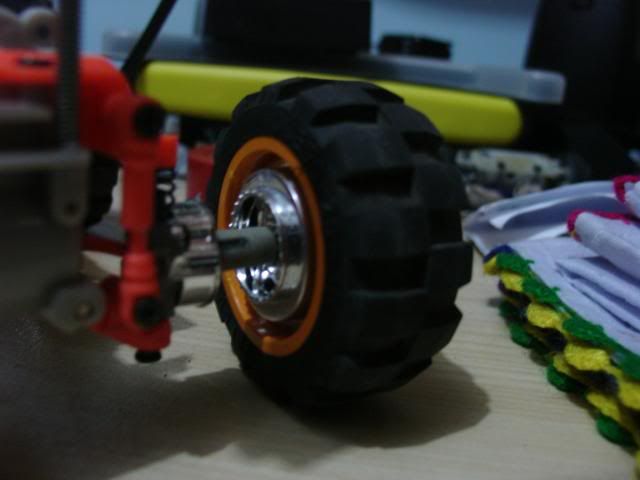 ^ How they are mounted. Flipped truck wheel glued on to the Lego rim. 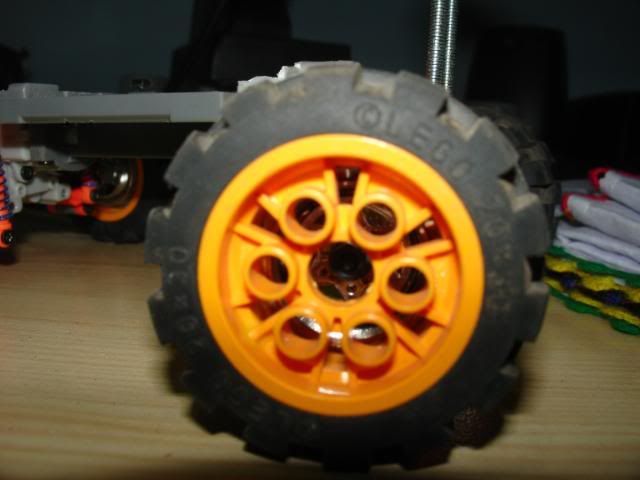 The Lug nut driver fits perfectly through the hole. 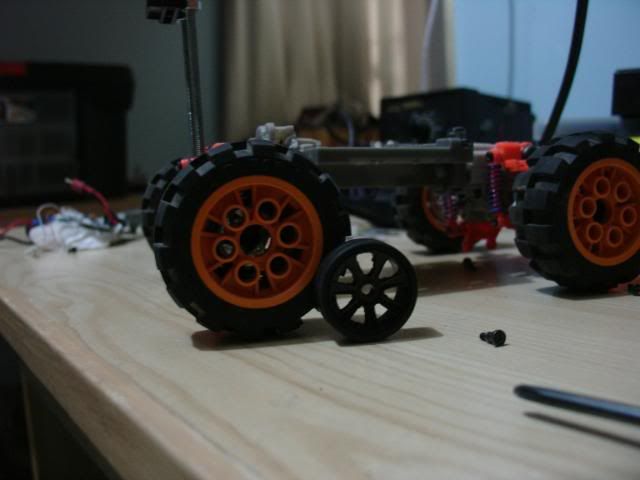 Size comparison. I took out a Gear from a CD drive, mounted it and then this happened after 15 sec.: 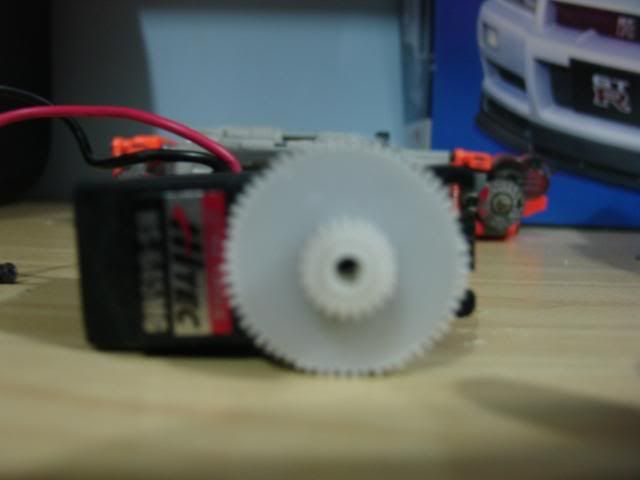 Oh, and BTW guys, I have something VERY special planned for this. I'll let the pics talk: 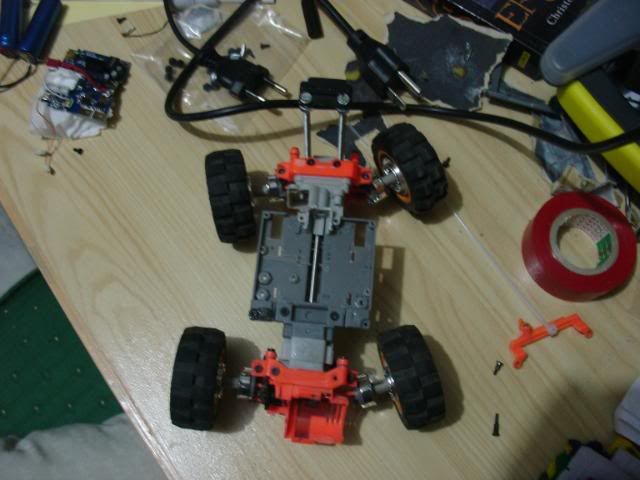 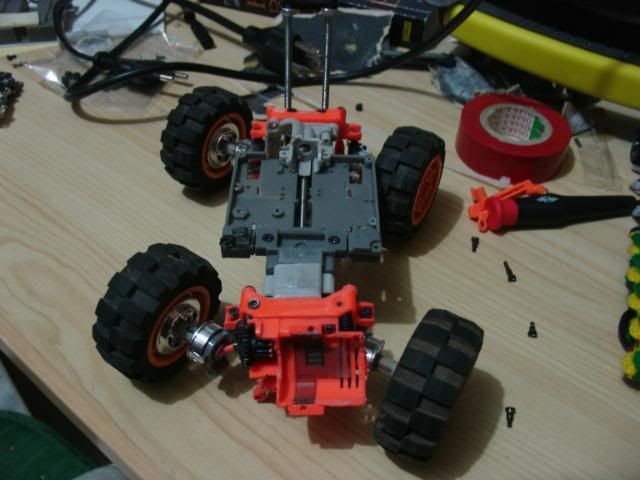 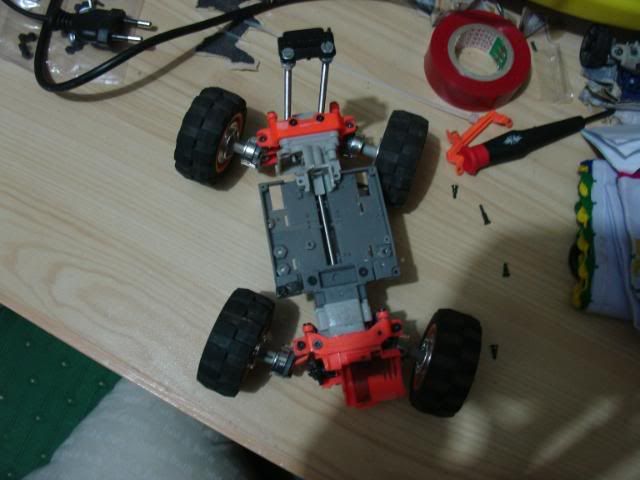  all C&C welcome Later T.I.M
__________________
"Where There's Will, There's A Way" "Many Of Lifes Failures Are Those People Who Did Not Realize How Close They Were To Success When They Gave Up"  |
|
#29
|
||||
|
||||
|
OMG THATS 4WS AND 4WD 44 OMG i hope you get this to work that will look so freaking amazing i would buy that from you so quickly....how are you gonna make that work
|
|
#30
|
||||
|
||||
|
lower the shell because it might just fall while crawling but make sure you have full articulation still.
|
|
#31
|
||||
|
||||
|
rear steer on an xmod!! omg never thought of that! and really it shouldn't be all that hard, but you would have to 6cell to account for the added servo power drainage. actually i might make up some plan to rear steer my crawler
 i'd like to see how you pull it off i'd like to see how you pull it off edit: and also lower that body about 1.5 inches 
__________________
IN NEED OF MONEY FOR MRC!!!! Last edited by amorton94; 12-12-2008 at 06:27 PM.. |
|
#33
|
||||
|
||||
|
Quote:
I am still working on how to do it. Quote:
Quote:
I will be using Li-ions. Quote:
 I was thinking pushrod. Stronger, Easiar and looks cooler I was thinking pushrod. Stronger, Easiar and looks coolerI will PROBABLY not update thisd till the 20th, I have exams till the 19th. ALL C&C welcome. Later T.I.M
__________________
"Where There's Will, There's A Way" "Many Of Lifes Failures Are Those People Who Did Not Realize How Close They Were To Success When They Gave Up"  |
|
#34
|
||||
|
||||
|
I know its been a while since I updated this project. But I don't really have time.
Anyway, I have lowered the body like hell.... I'll let the pics talk..: 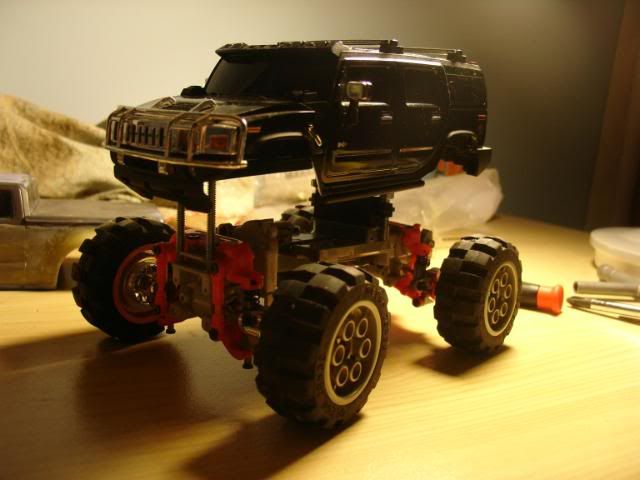 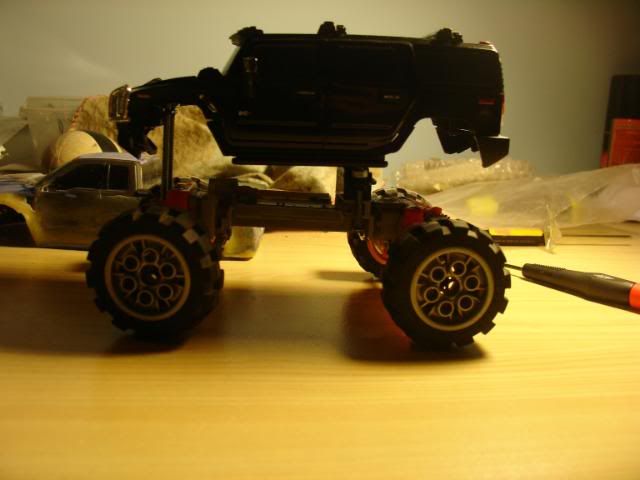 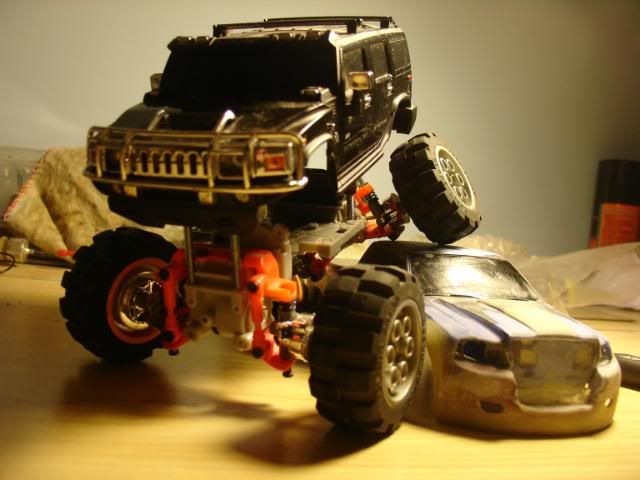 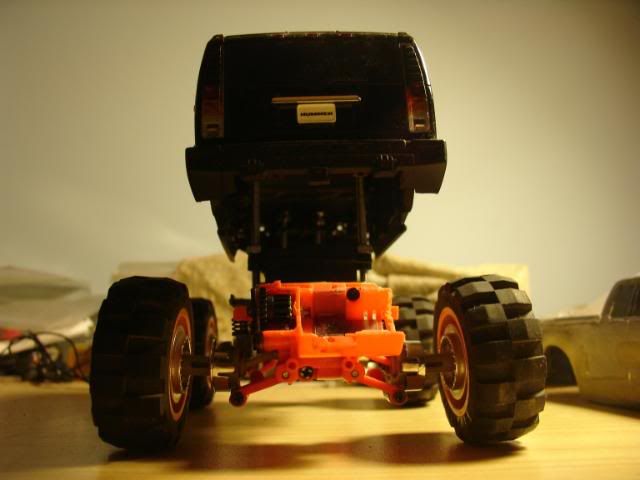 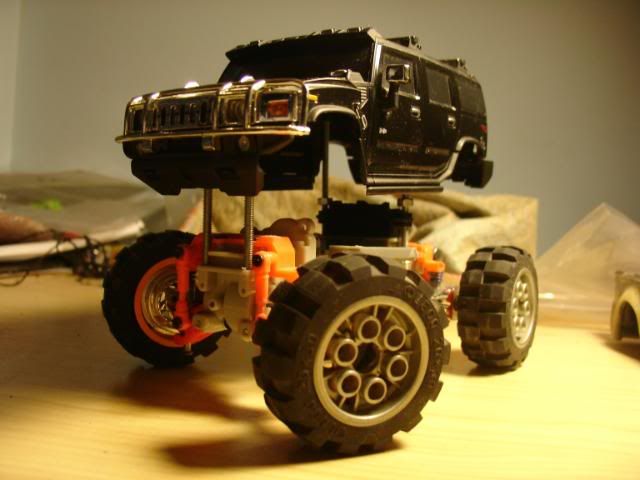 Will update today again, so keep checking it out! ALL C&C welcome! Later T.I.M
__________________
"Where There's Will, There's A Way" "Many Of Lifes Failures Are Those People Who Did Not Realize How Close They Were To Success When They Gave Up"  |
|
#36
|
||||
|
||||
|
UPDATE: 28/02/09
I got some work done. I am doing an HS-55 steering servo mod: Opened up the servo: 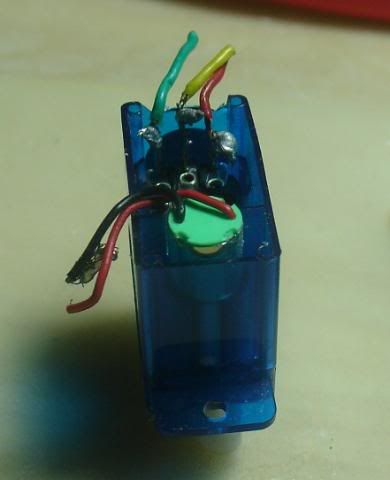 Had to re solder the potentiometer wires. So I took it out for easier soldering: 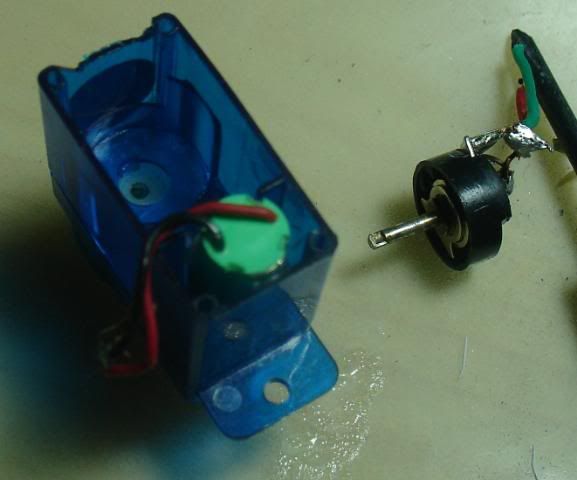 The wire I will be using is the same wire that was originally the connecters wire, pic explains: 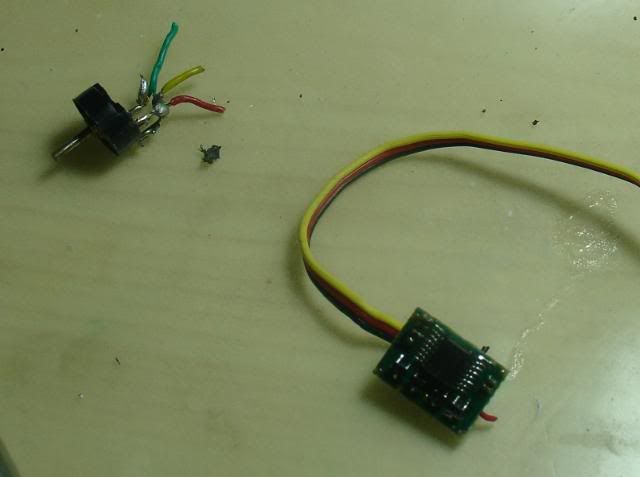 This wire is PERFECT. I recommend ANYONE doing this mod to use this wire. Got it soldered: 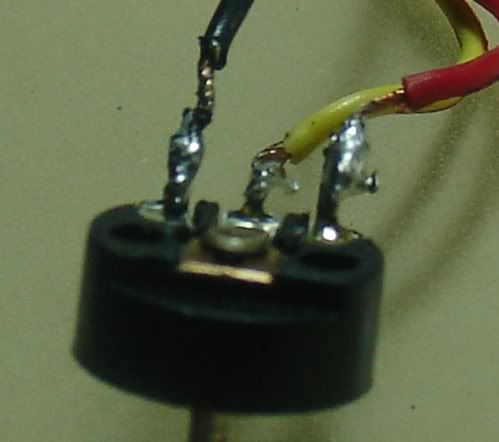 Put everything back together again. Oh, and I also extended the power wires using the same wire: 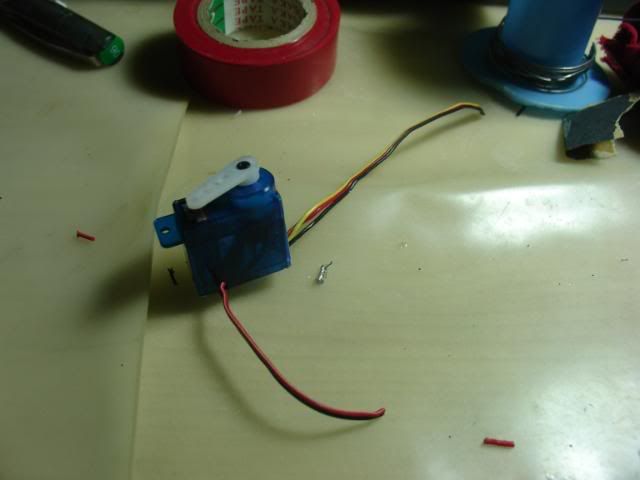 Cut holes for the wires: 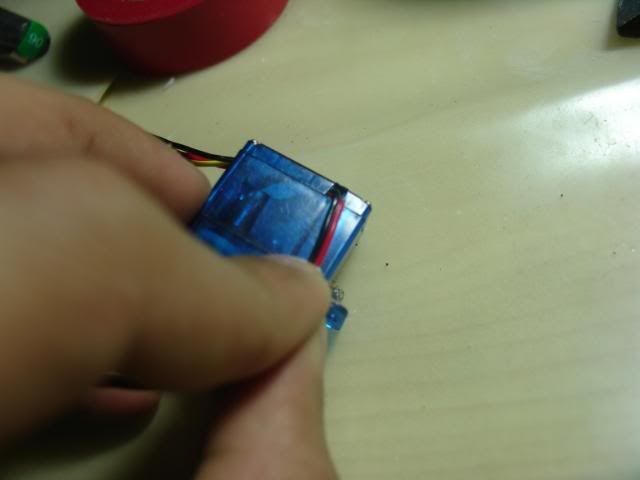 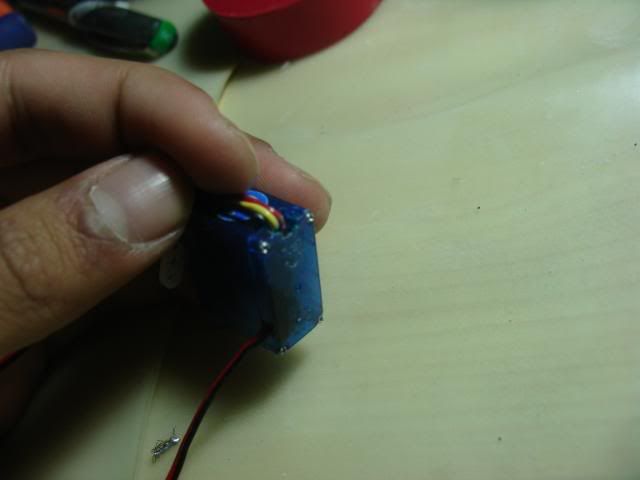 The method I am using for mounting the servo is the method originally posted by XXXmodder(AKAXXX). If you haven't seen the tut, PM me. I will give you a link. THIS IS BY FAR THE BEST METHOD I HAVE FOUND FOR MOUNTING A STEERING SERVO.IT IS EASY TO DO, VERY EFFECTIVE AND STRONG. The cutting I did: 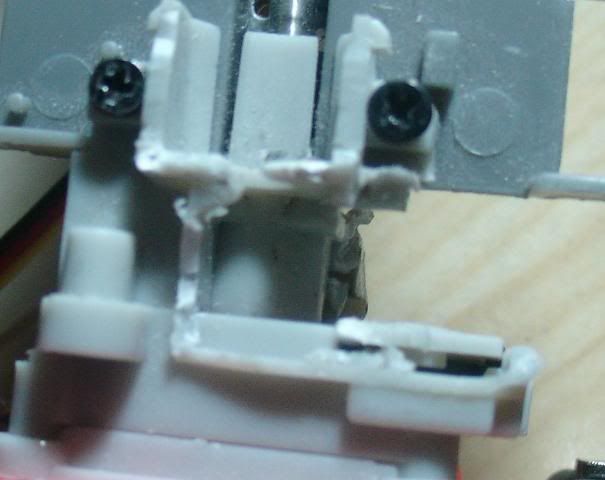 This is the piece that connects the servo and the tie rod: 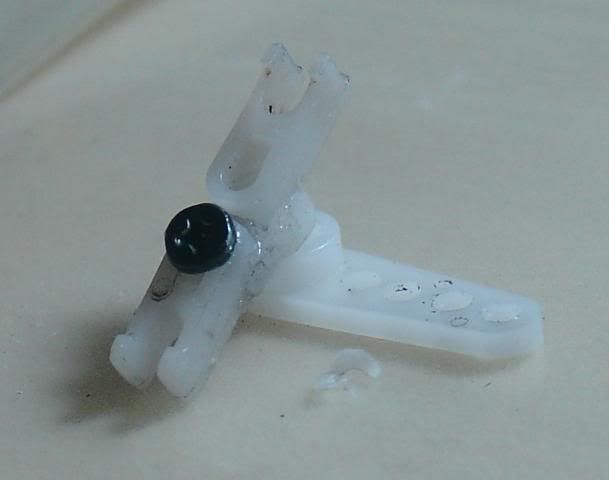 Then I removed all the servo gear housing...But, I left 2 pieces on: 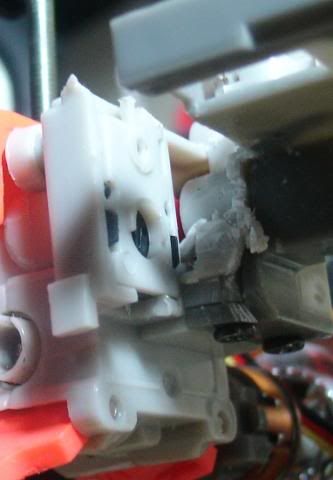 The potentiometer and the cover that hold it in place. Had to add a dab of Superglue to hold it in place. I removed the wires of the potentiometer so they wouldn't get in the way. The servo horn in whole: 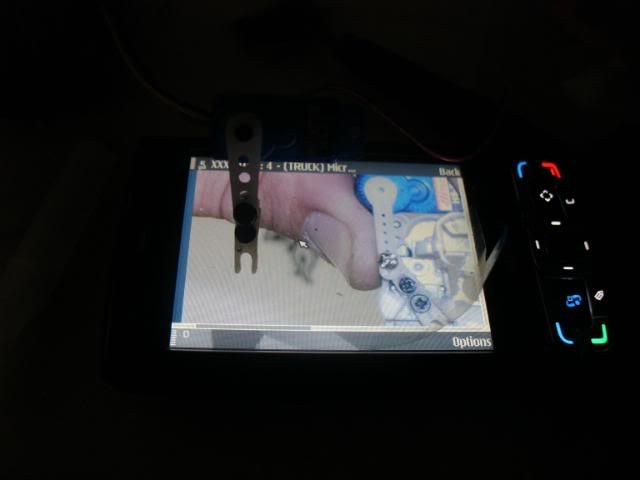 (Who can guess which phone I have? The pic on my phone shows how it works. I will elaborate more on this later if required. The servo mounted using double sided tape(temporary): 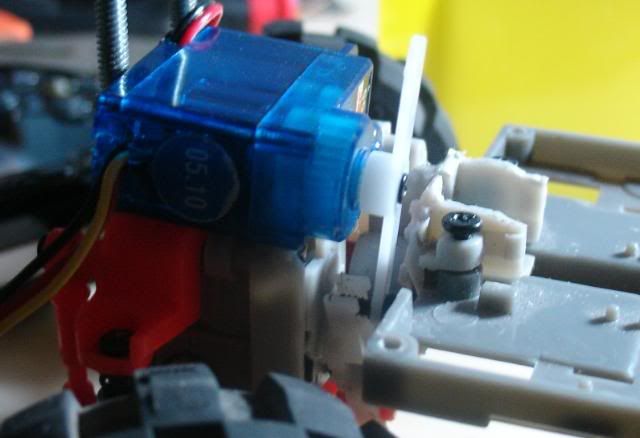 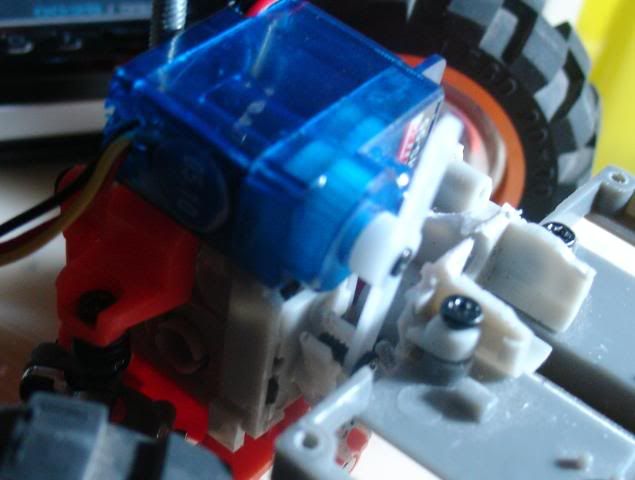 That's it for now ALL C&C welcome Later, T.I.M
__________________
"Where There's Will, There's A Way" "Many Of Lifes Failures Are Those People Who Did Not Realize How Close They Were To Success When They Gave Up"  |
|
#38
|
||||
|
||||
|
Quote:
Well, with all my exams and all, never really got around to updating this... I have found another gear(66t), and fit it on the servo. All is now mounted: 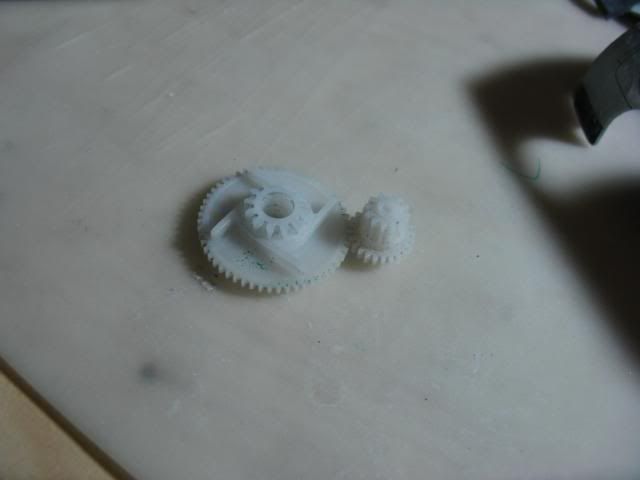 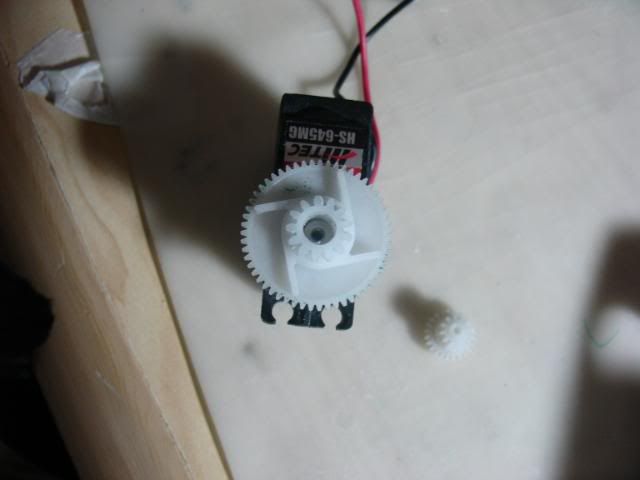 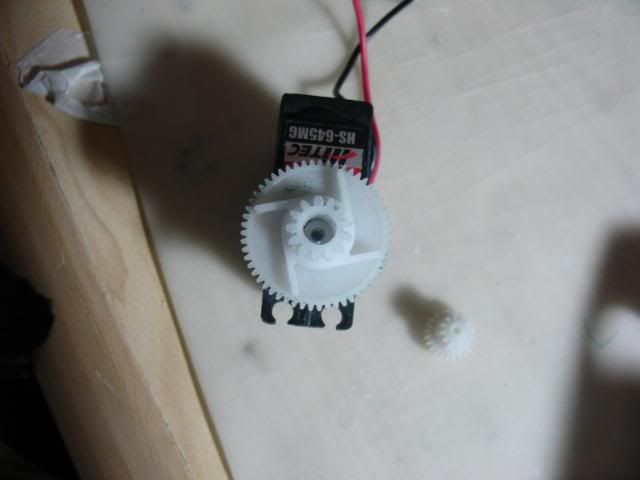 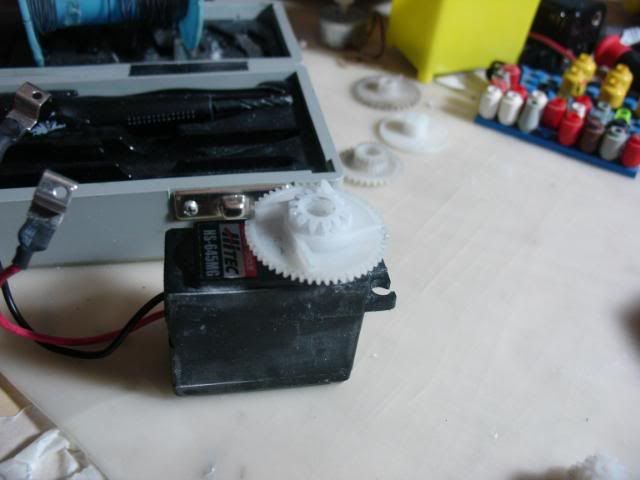 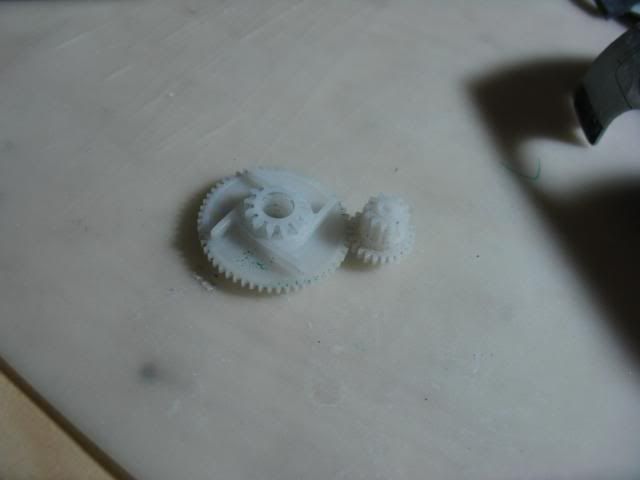 Mounted: 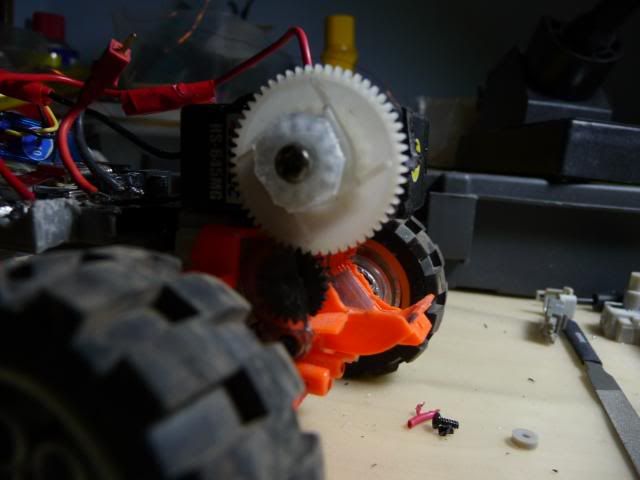 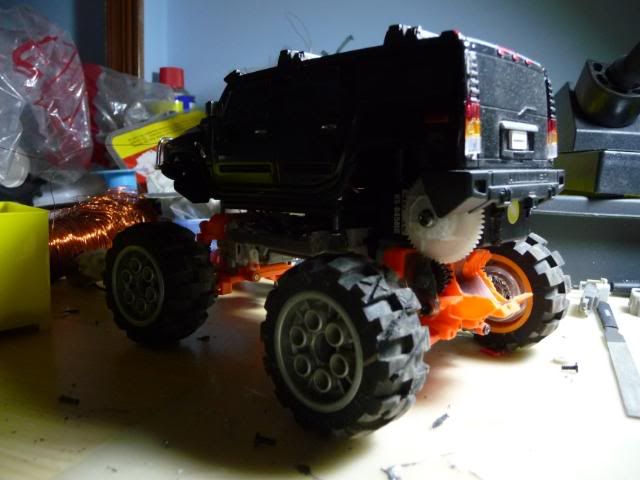 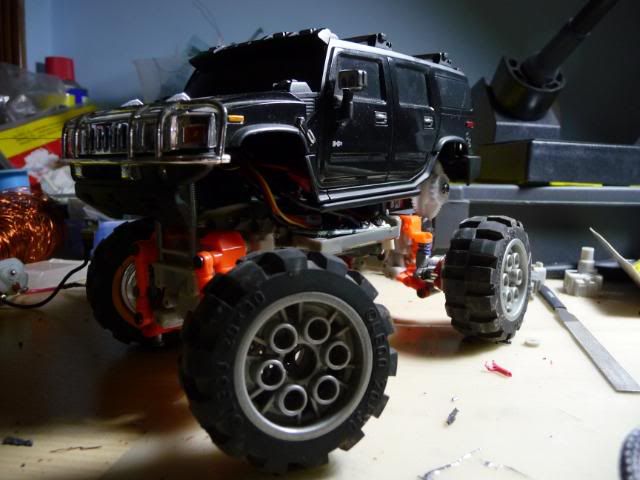 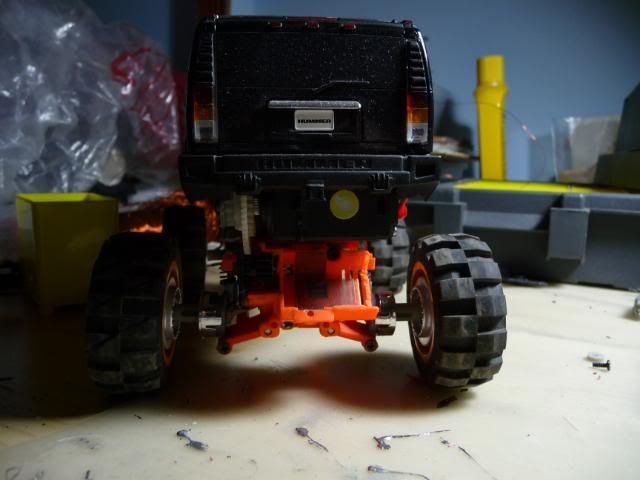 Still get full articulation with no rubbing: 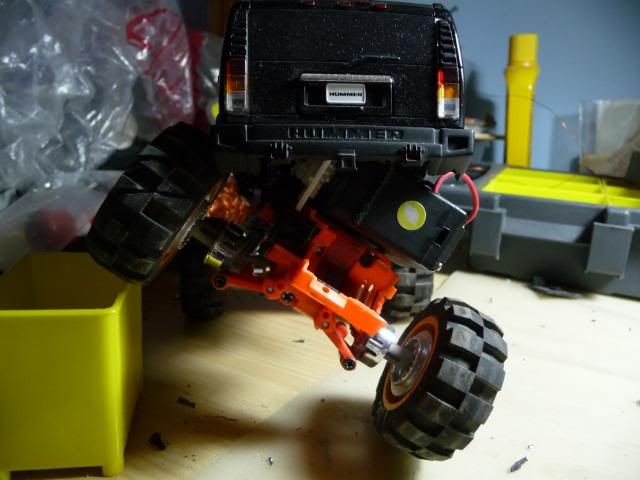 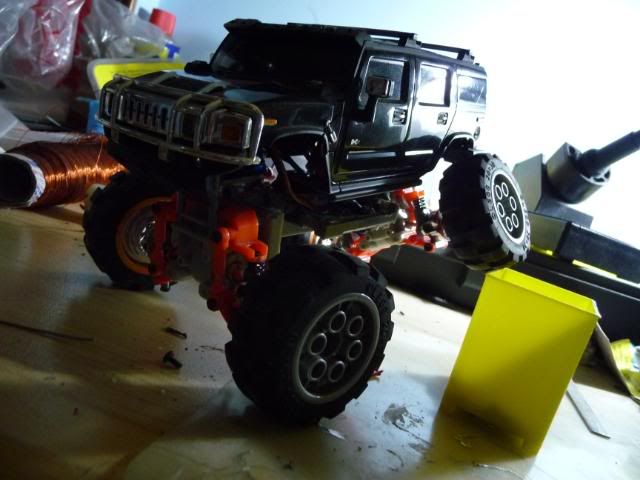 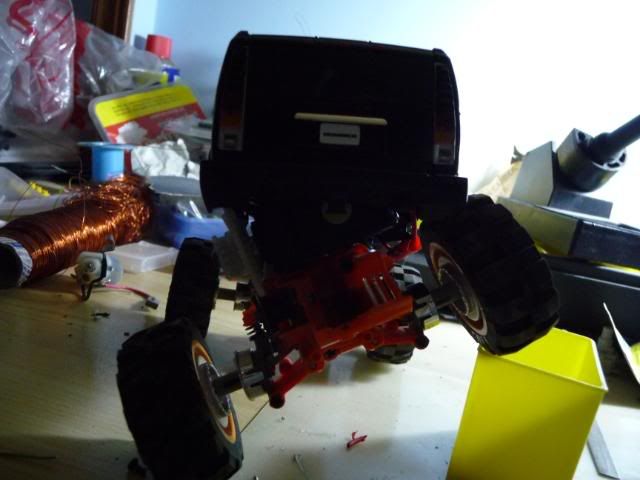 I am adding a tread pattern in the tires, It's rough but it'll get the job done: 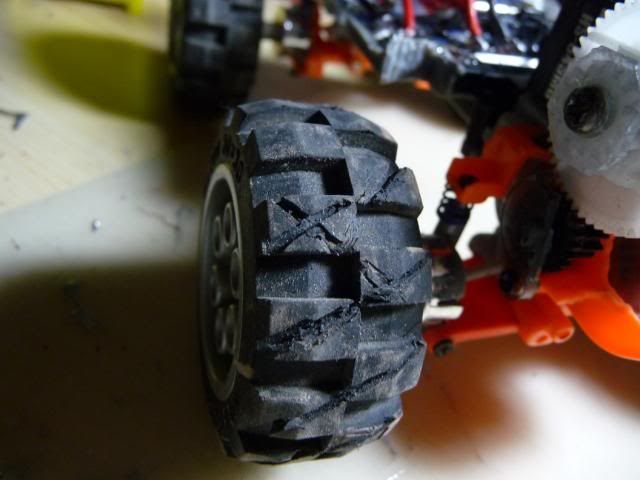 I also lowered the body more: 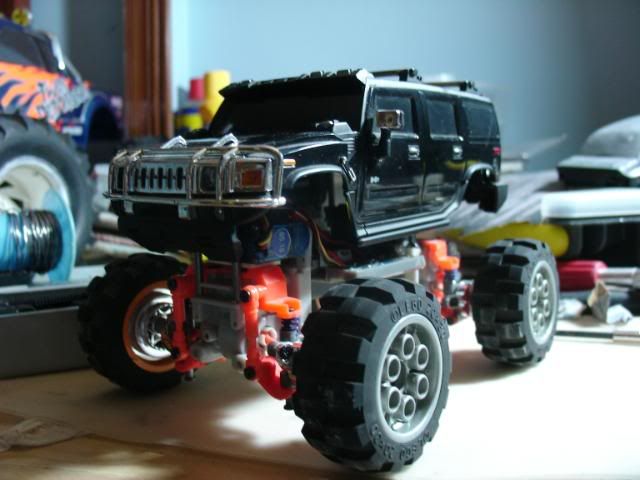 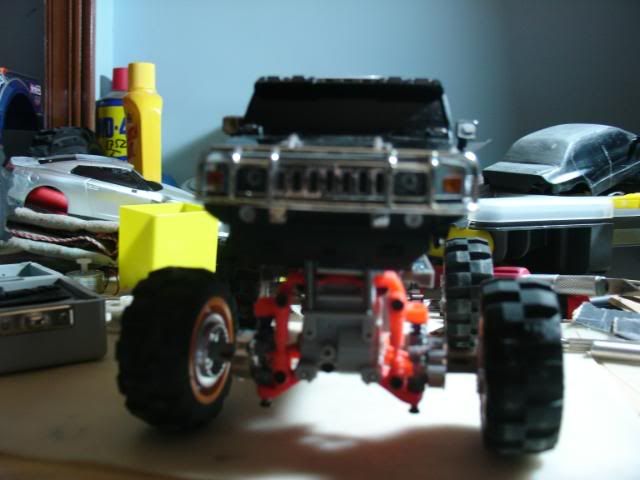 Next to new addition to my collection: 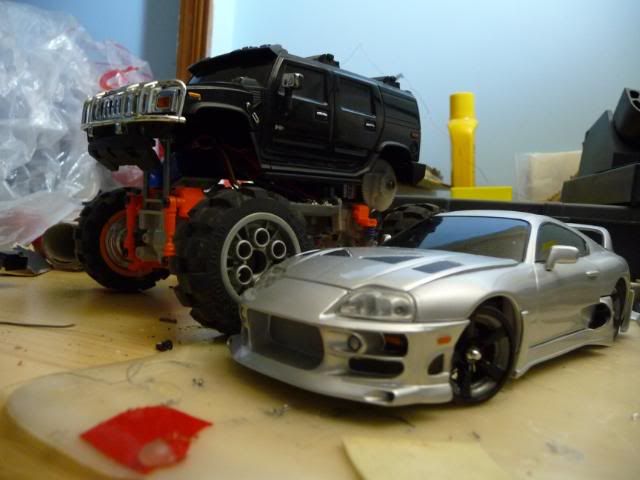 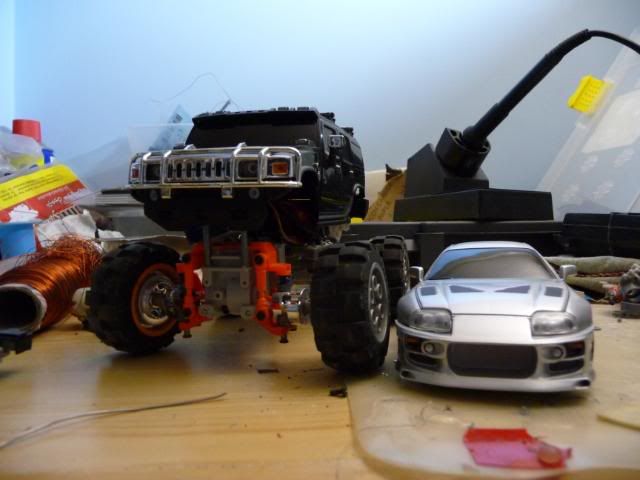 IMO, looks much more to scale now... All comments, suggestions & criticism welcome. Later, T.I.M
__________________
"Where There's Will, There's A Way" "Many Of Lifes Failures Are Those People Who Did Not Realize How Close They Were To Success When They Gave Up"  |
 |
| Currently Active Users Viewing This Thread: 1 (0 members and 1 guests) | |
|
|