

|
|
#22
|
|||
|
|||
|
Quote:
Update: One of my Li-Po battery wire fall off the plug... 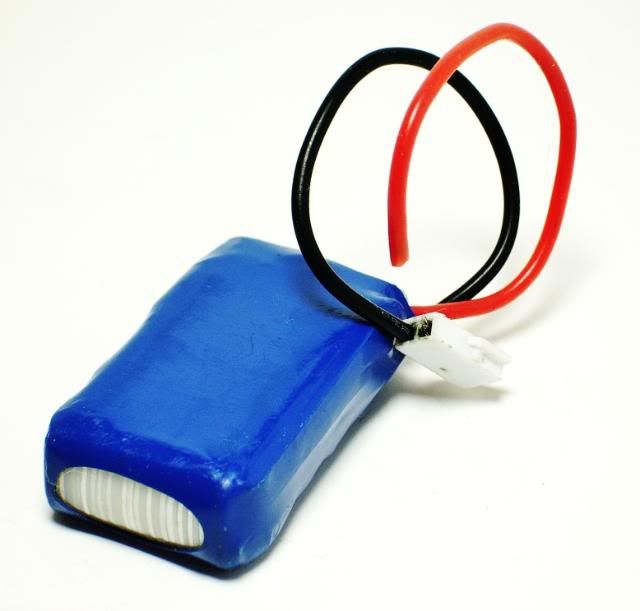 So I decided to make my own AAA battery pack using 2 Gen. 1 battery tray, with this set up, I get a lot more run time, but those AAA's are so much heavier compare to the Losi batteries. 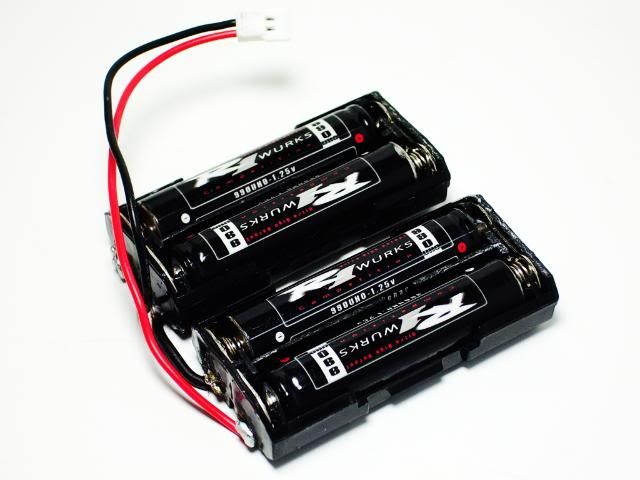 Got my GPM front lower arm today. 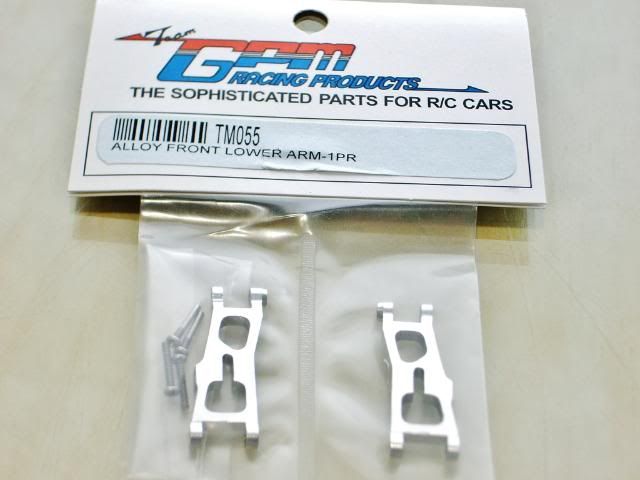 GPM front lower arm installed, with new steering links. 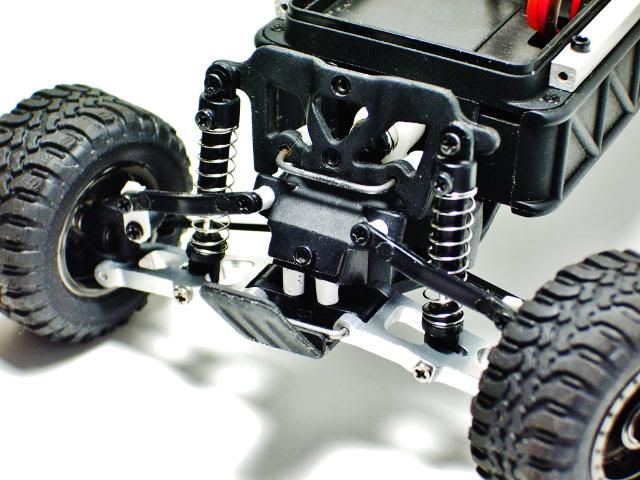 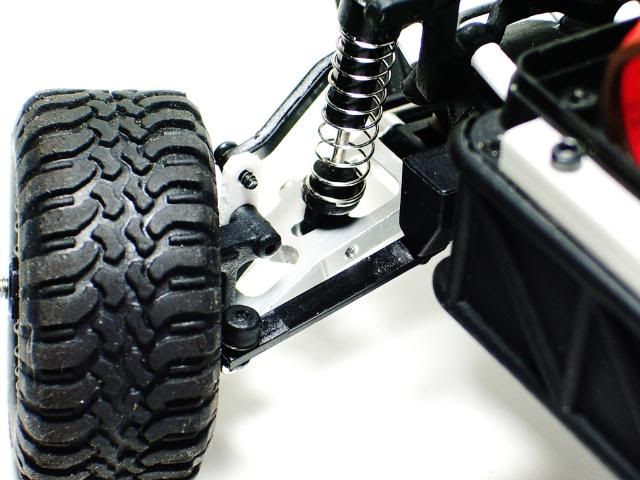 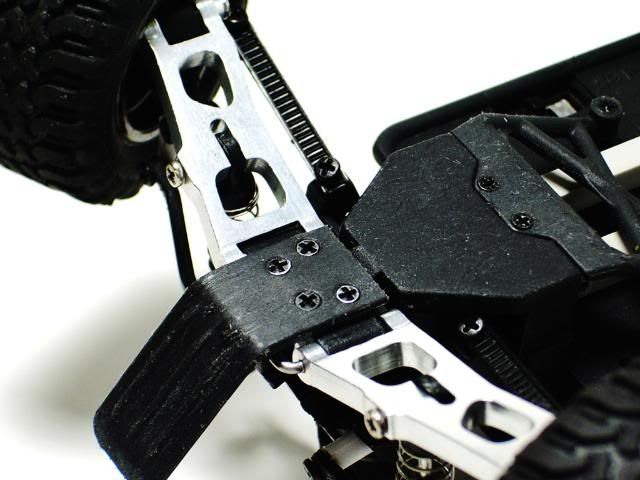
__________________

|
|
#23
|
|||
|
|||
|
Update: Did some more modification to the chassis, got the battery packs to sit right.
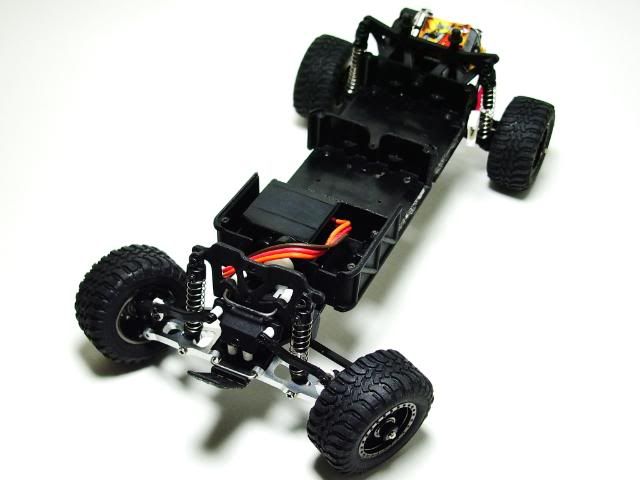 Battery packs can be screw to the chassis to hold them in place. 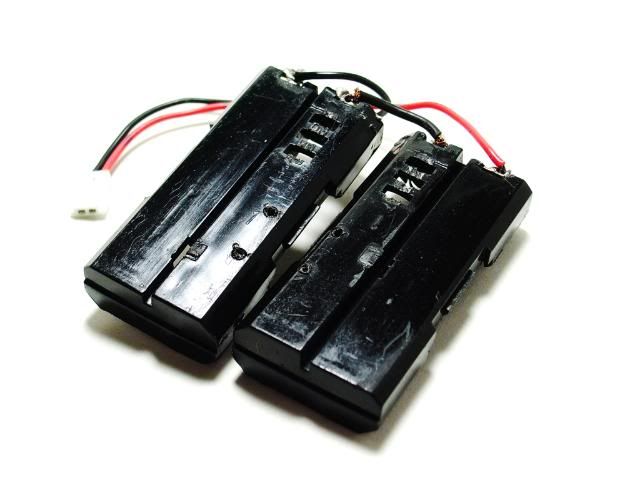 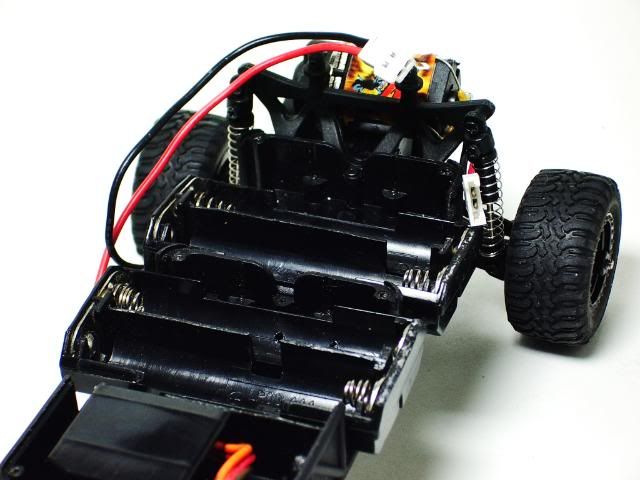 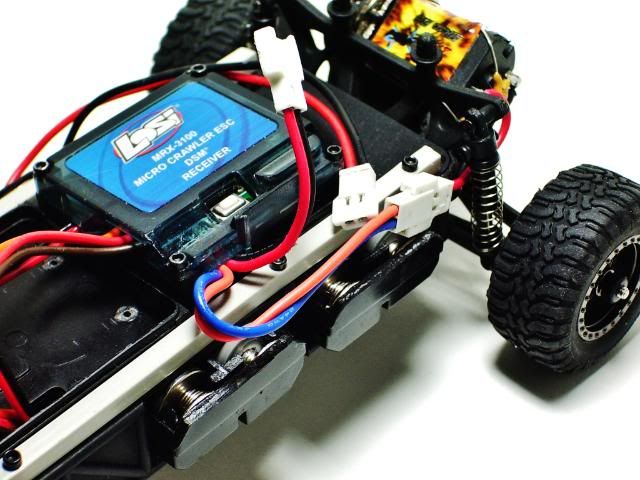 It got some good flex. 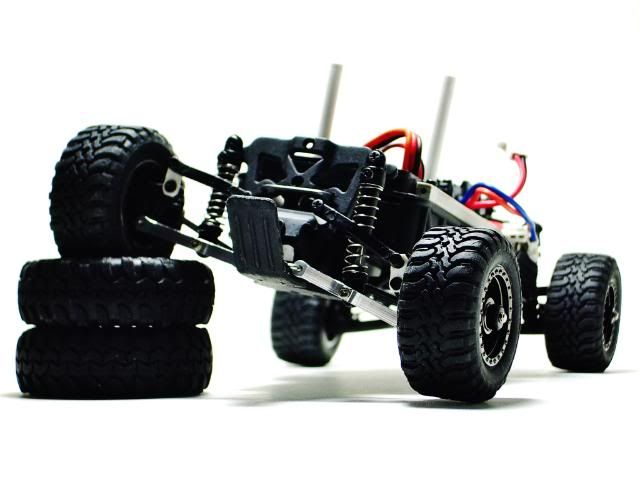 Now for the body mounts. 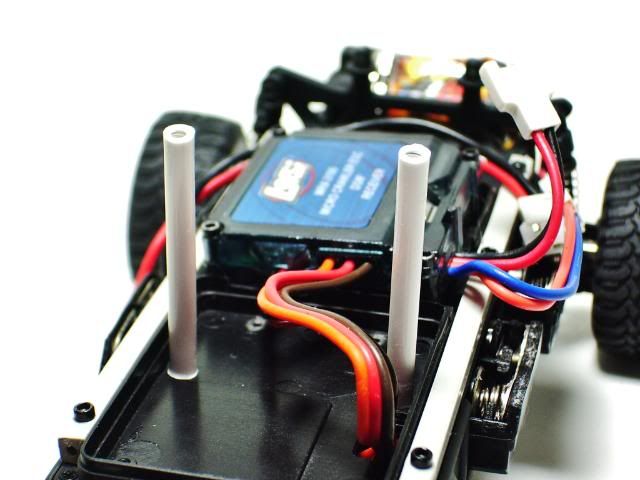 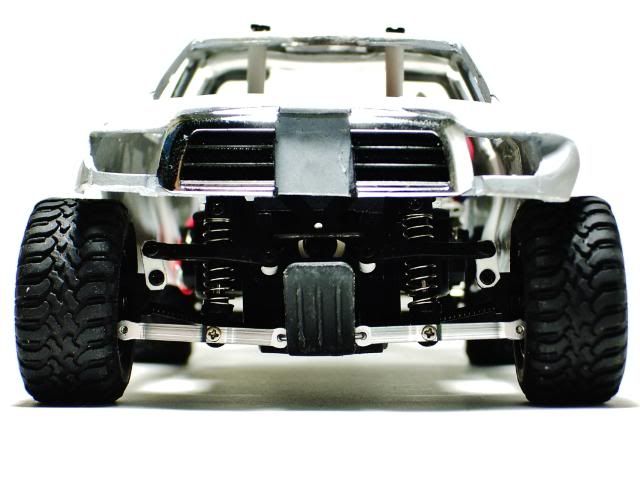 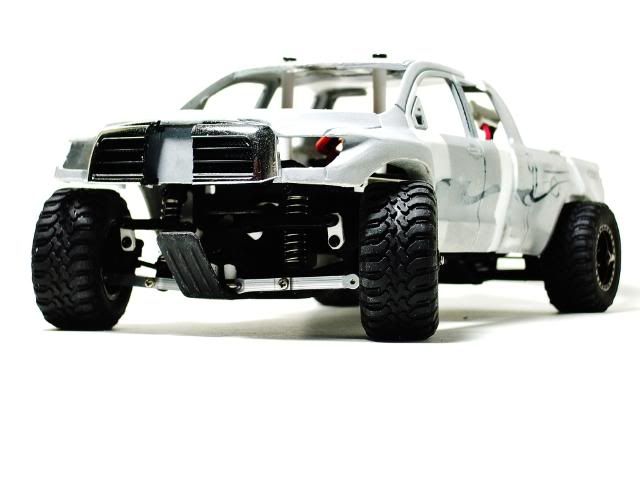 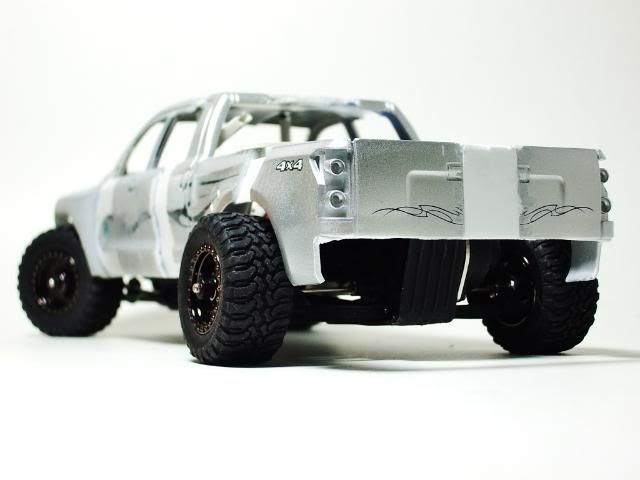 Ride height: 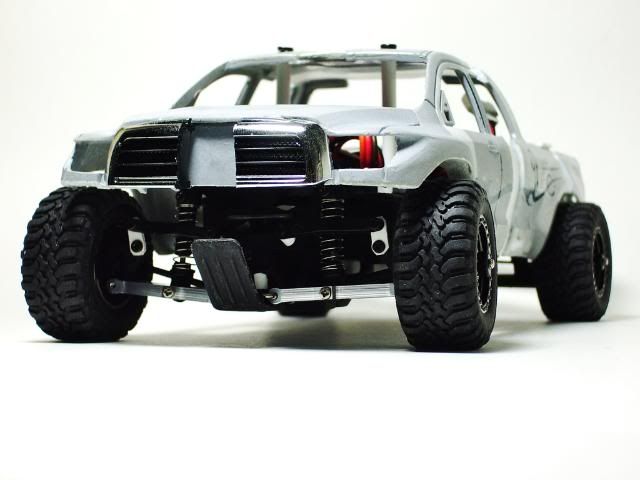 When its in the air: 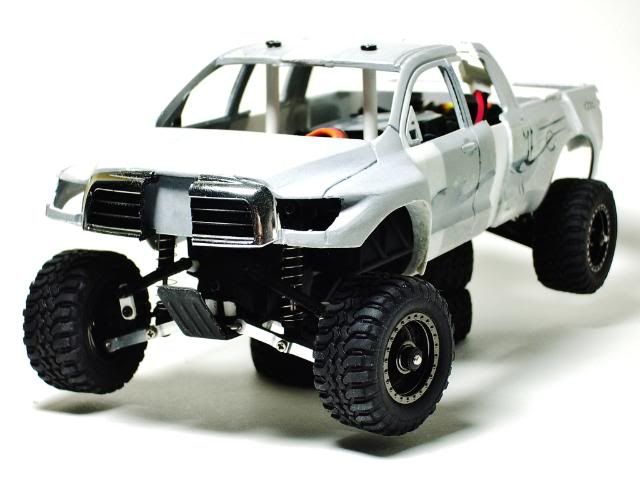 Will bring it to Central Park tomorrow to test it out and see how it works.
__________________

|
|
#24
|
||||
|
||||
|
Dr.k lookin absoulutly gogues I have one concern shouldnt it be just a tad bit higher when its sitting on all fours cause it doesnt look like its got much suspension travel up
__________________
You know its fast when its aleready gone. |
|
#25
|
|||
|
|||
|
Quote:
Springs rate are fully adjustable, I can raise it or lower its some more. But now, I've raised it about 3mm higher. Update: Took it to Central Park today, it was a blast to drive. Did some speed run, rock crawling, mudding, some jumps, it have no problem at all. Video will be post up tomorrow. 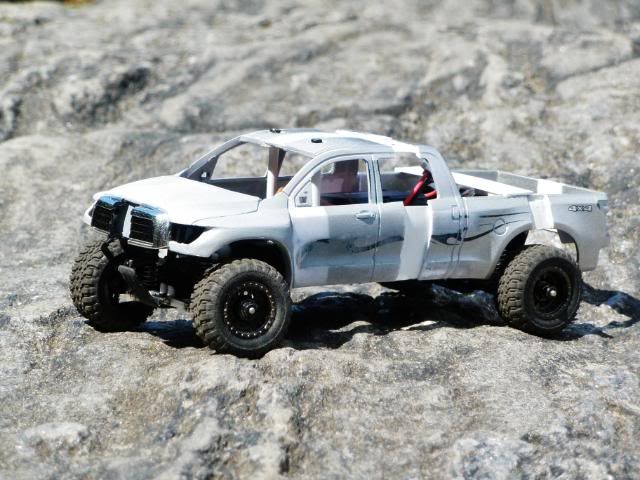 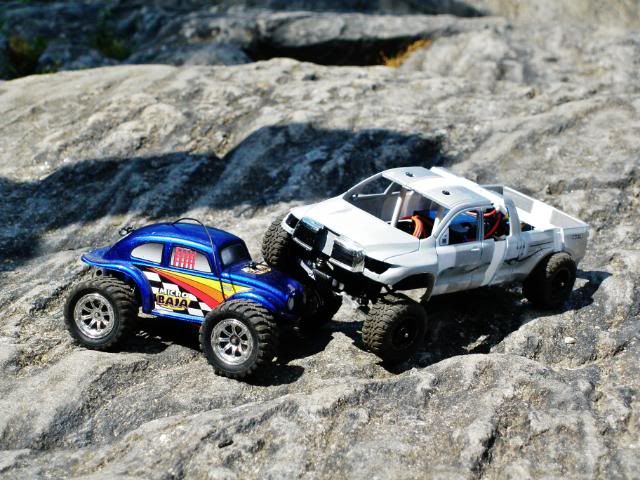 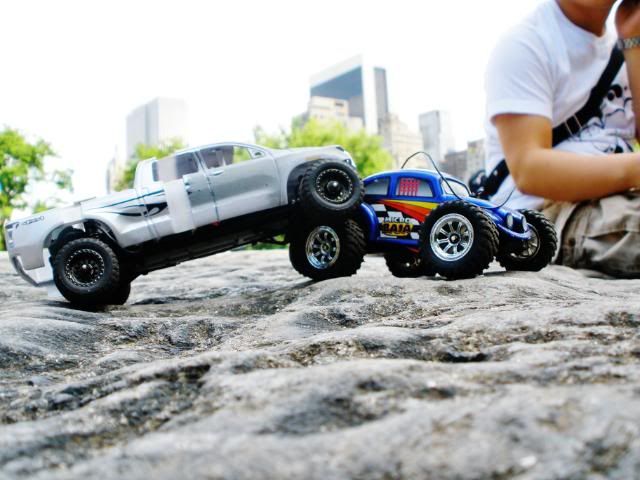 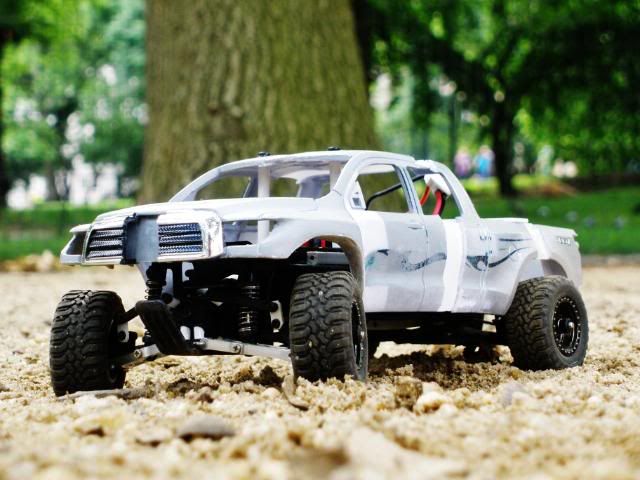 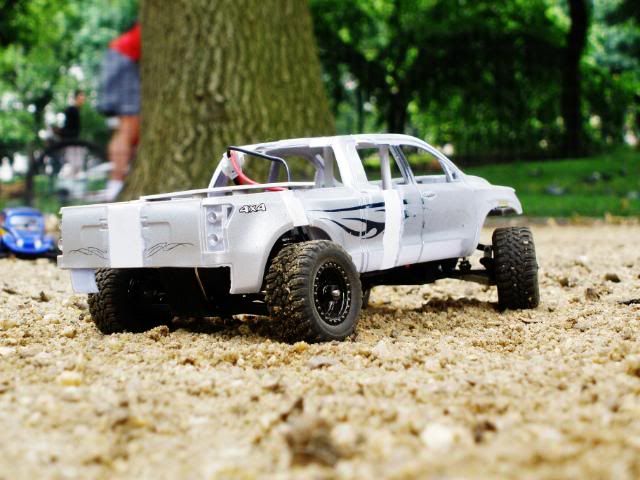 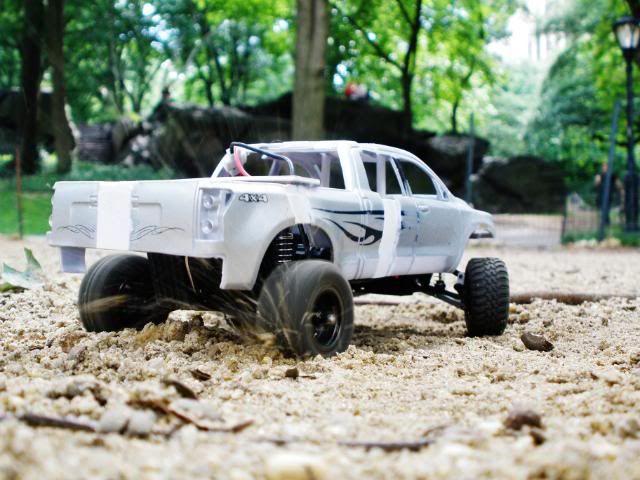
__________________

|
|
#26
|
|||
|
|||
|
__________________

|
|
#28
|
|||
|
|||
|
Update: Getting some more work done on the crew cab. Filled up the gap with styrene and a layer of putty to smooth it out.
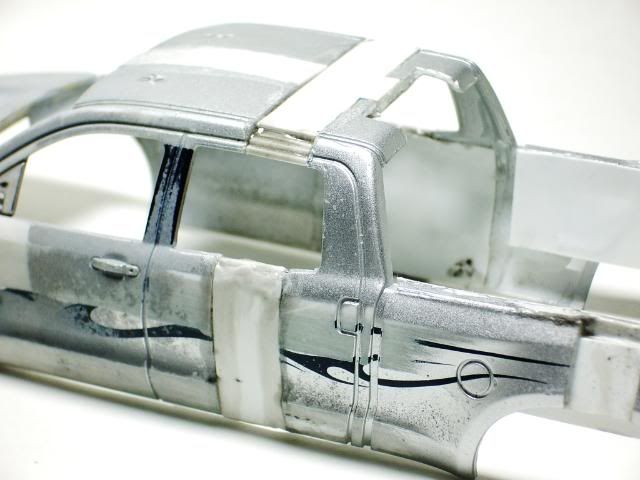 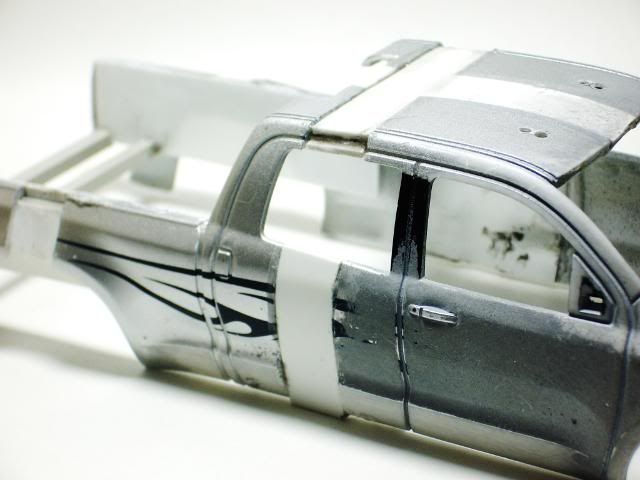 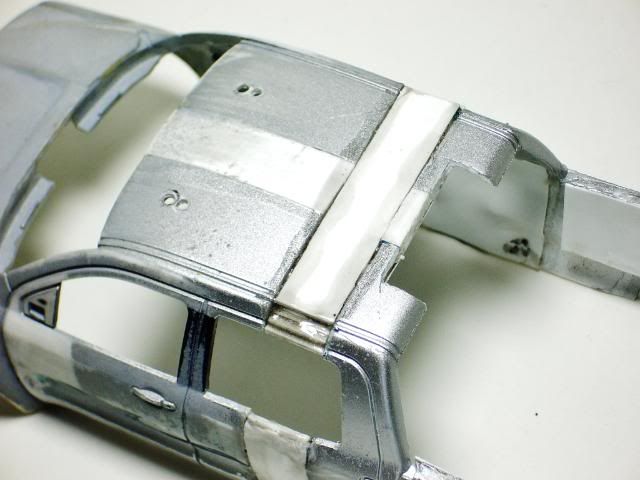 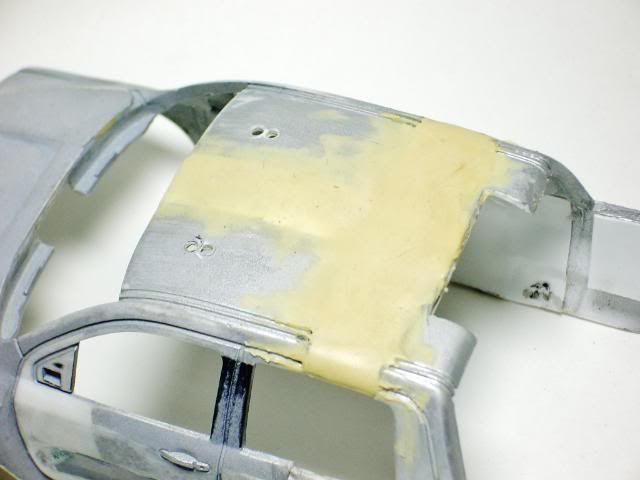 While waiting for the putty to dry, I moved on to the grill. 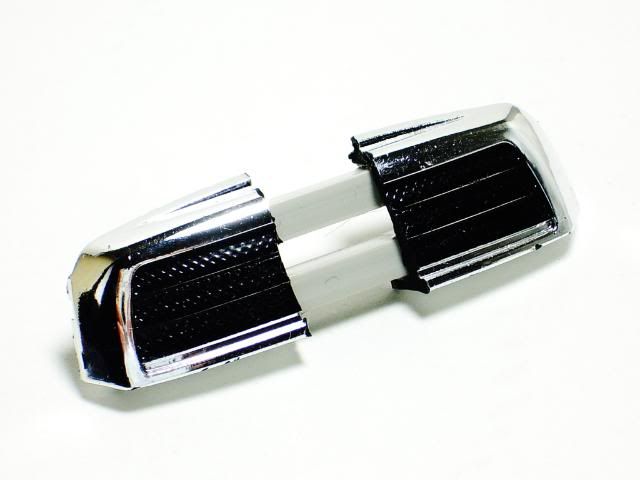 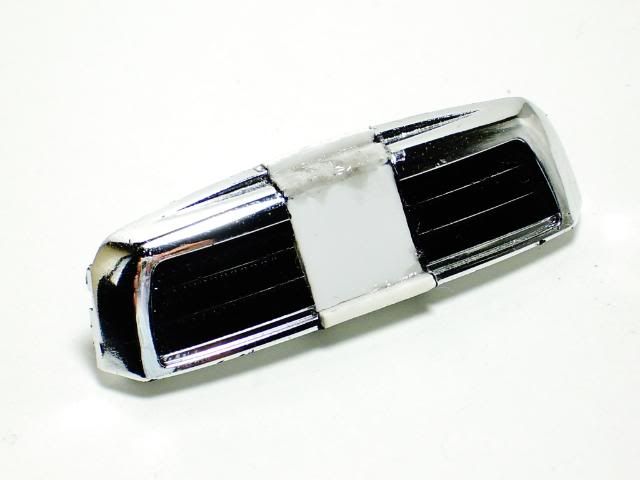 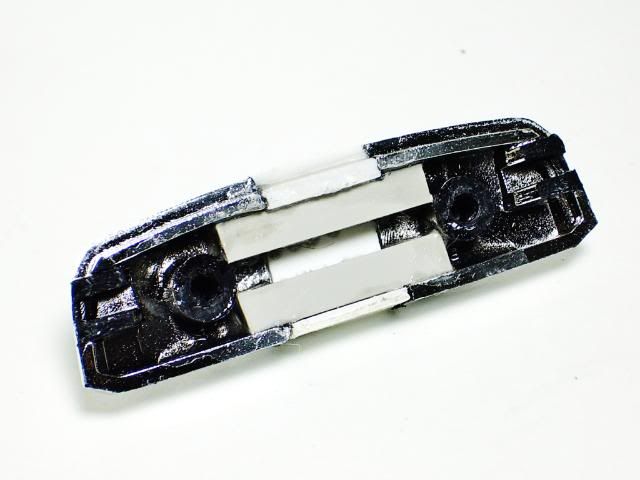 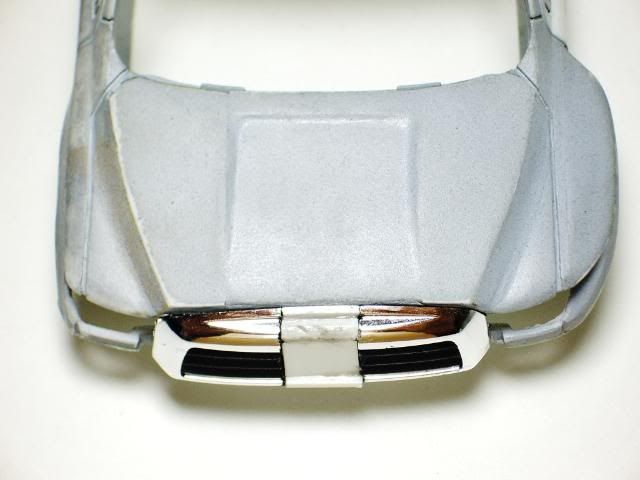
__________________

|
|
#30
|
|||
|
|||
|
Update: It's time for the doors! (Only working on the left side at the moment, one side at a time.)
First layer putty applied. 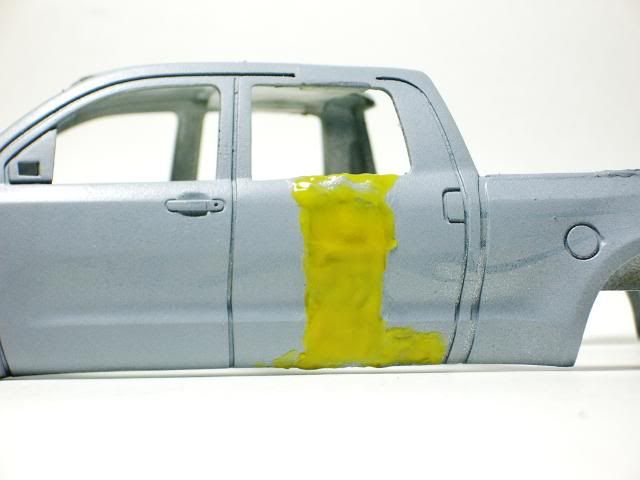 Sand it down. 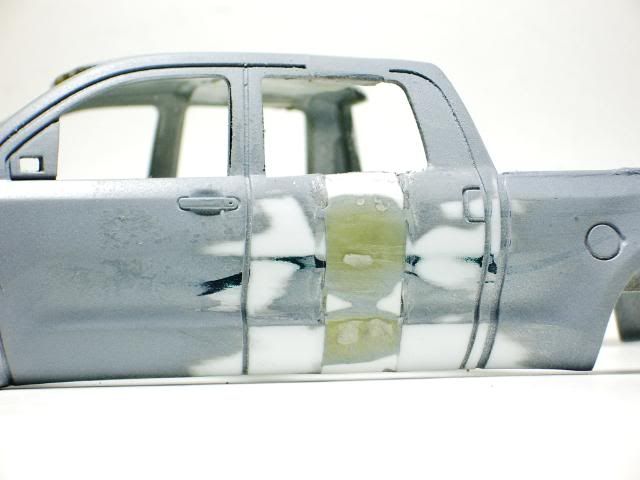 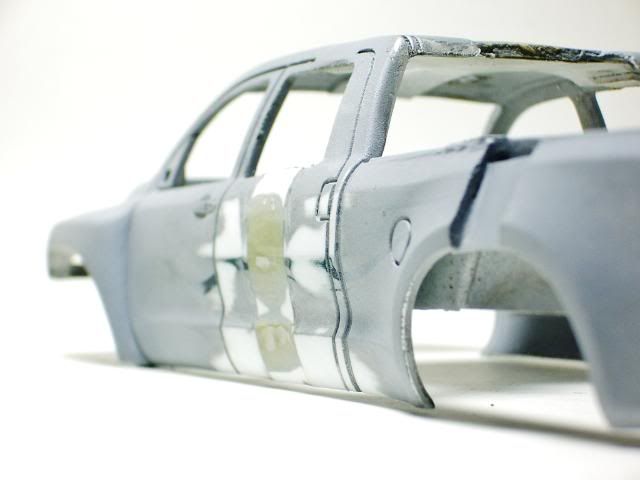 Need more putty. 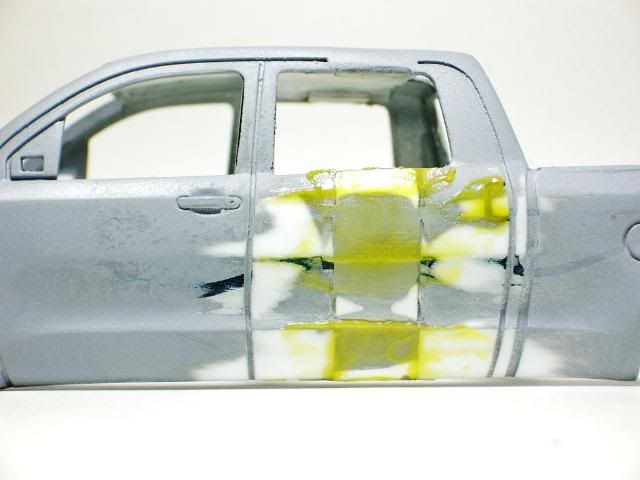 Now that waiting for the putty to dry, time to get some work on the headlights. Both headlight buckets are made, but still need some detailing. 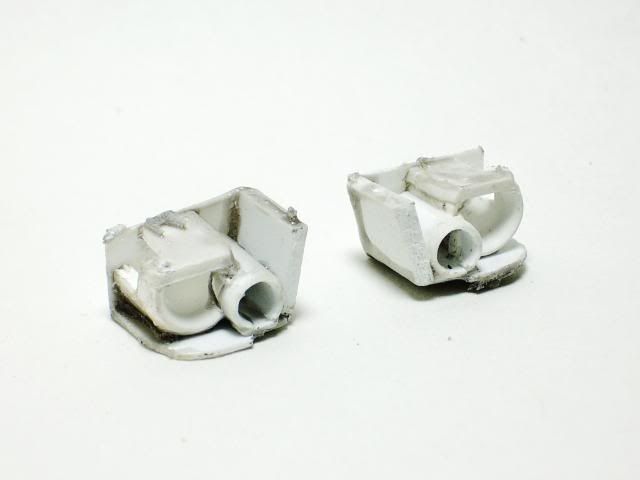 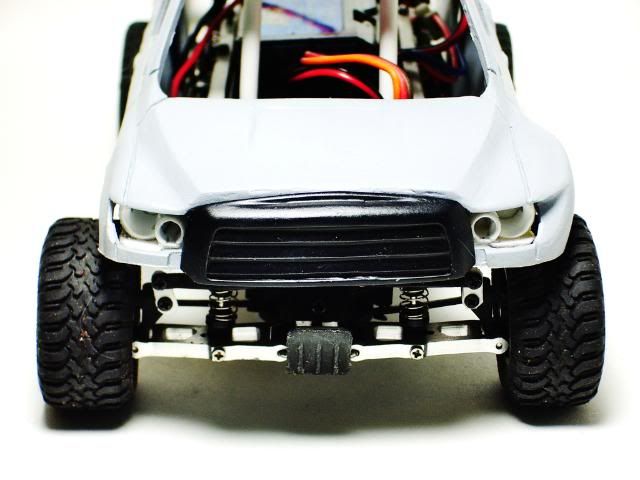 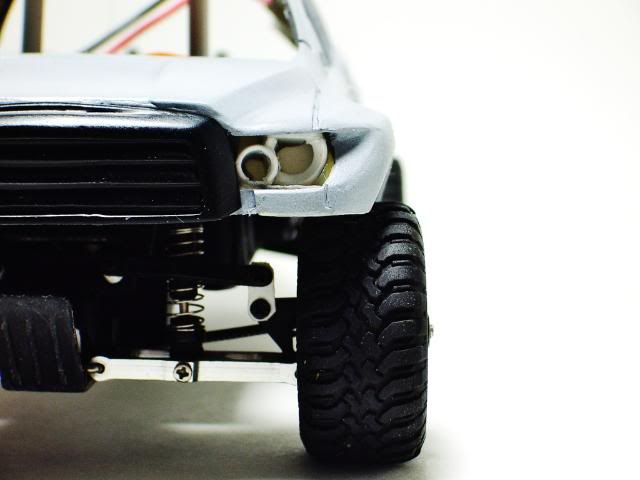 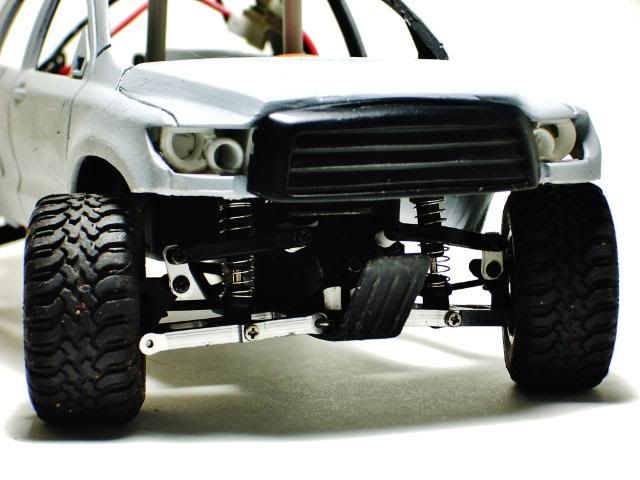
__________________

|
|
#31
|
|||
|
|||
|
Quote:
__________________
 XBL Gamer Tag : Roar Pants |
|
#32
|
|||
|
|||
|
Lol, thanks Robbie!
Update: Continue working on the Tundra from where I left off yesterday. Sand down the second layer of putty. 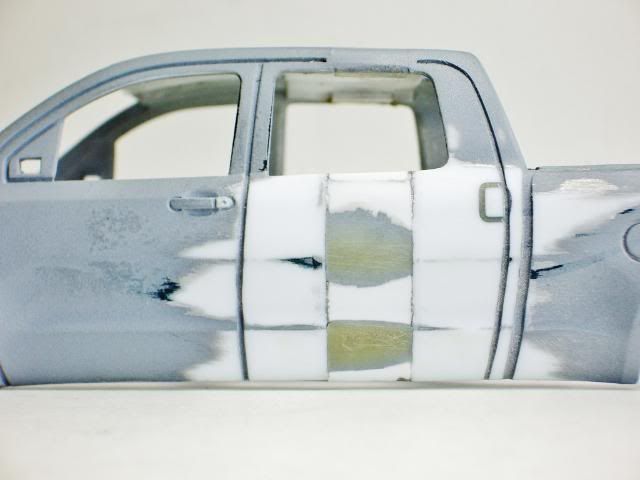 Seems to be smooth enough, but just to make sure, I sharpied the extension section, then sand it off, so I'll know where I need to apply more putty. 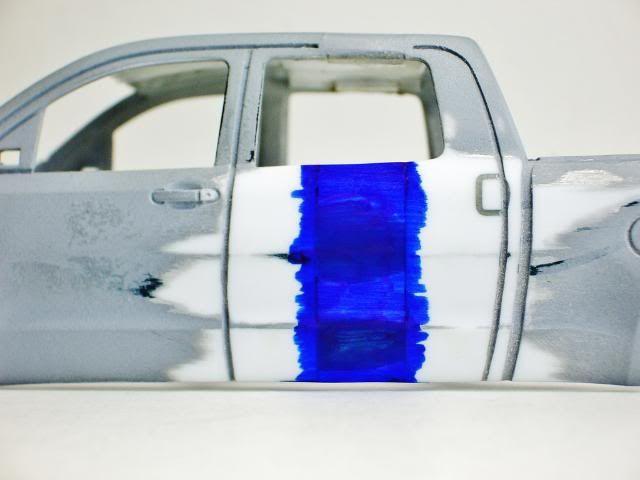 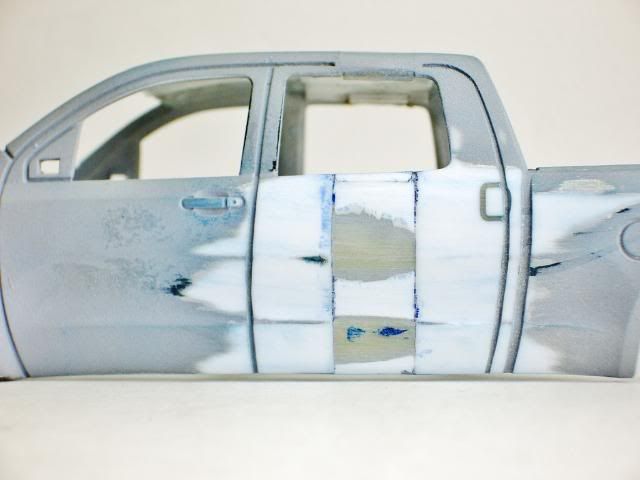 Then applied another layer of putty. 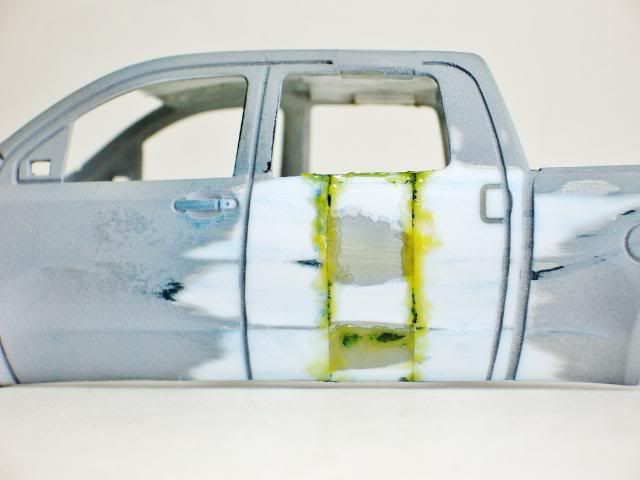 Repeated this steps a few time, spending a good few hours on applying putty and sanding it off, and this is how it came out. 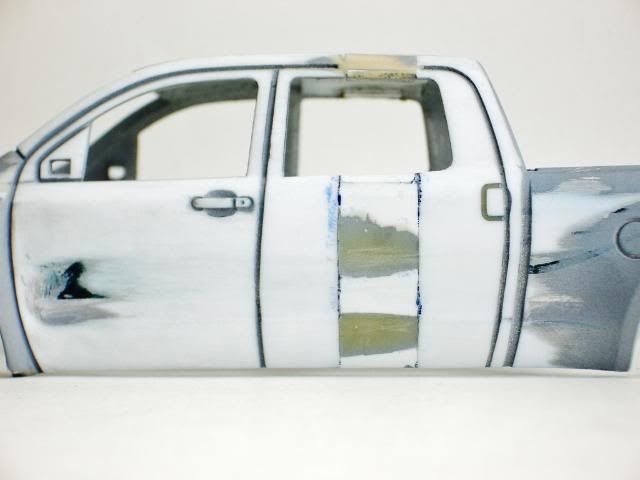 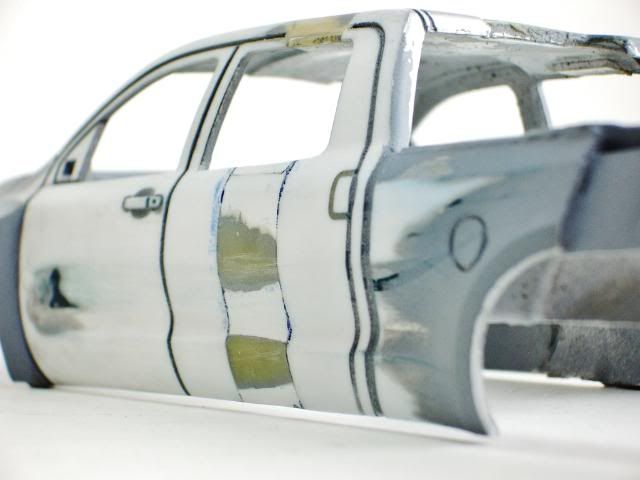 Then I sand down the roof again and applied another layer of putty. 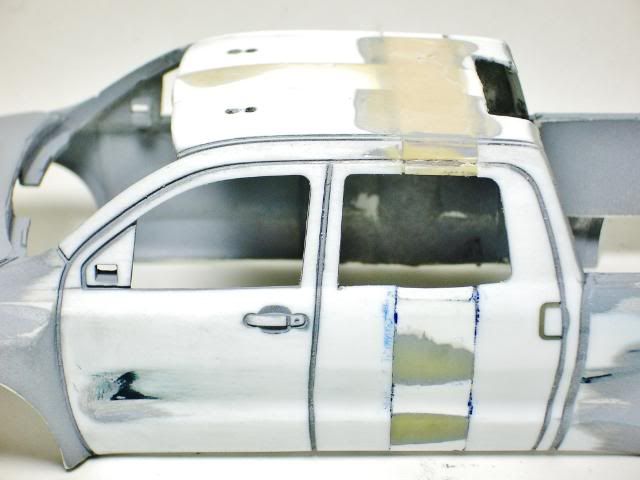 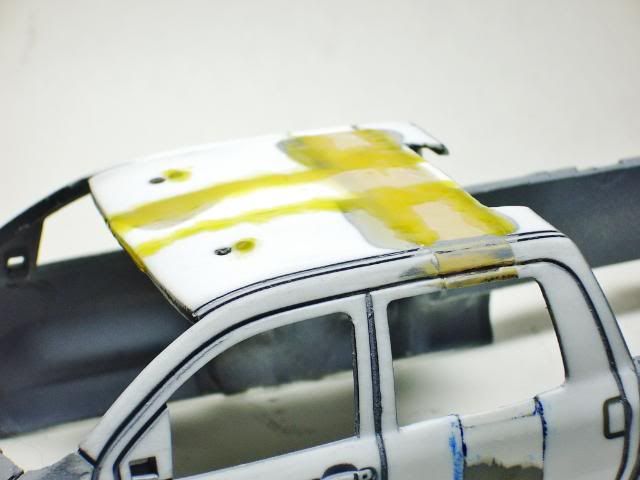
__________________

|
|
#34
|
|||
|
|||
|
Quote:
Update: Nothing much got done today, it's been a long busy day. Have the roof smoothed out, and starting to touching up the body lines. 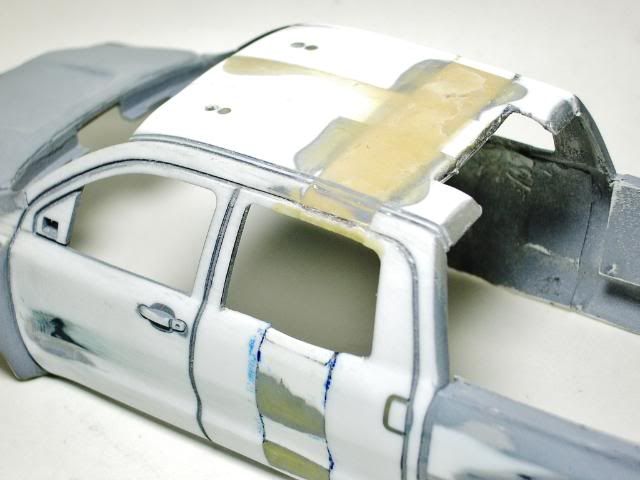 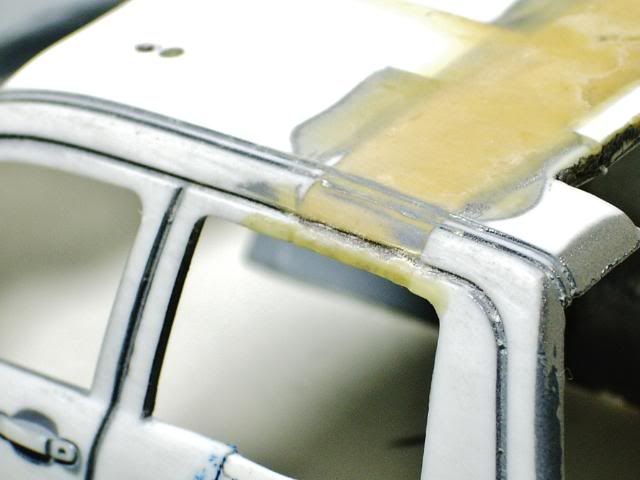 Now that the left side rear door is almost done, time to get to work on the right side. 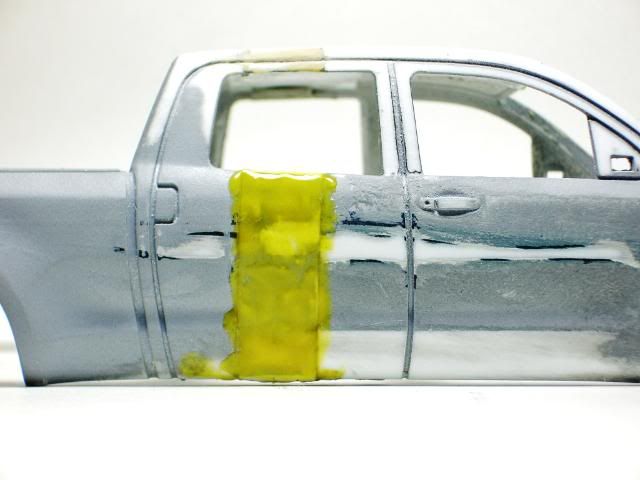 Here's a little bonus. 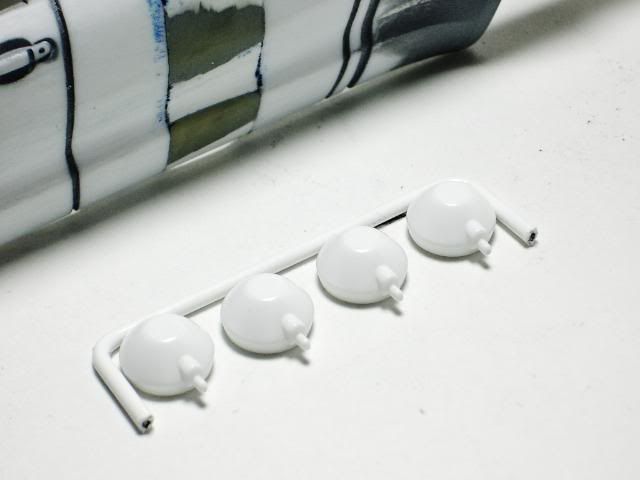
__________________

|
|
#36
|
|||
|
|||
|
Putty.
 Update: Mock up of the Baja style light bar! 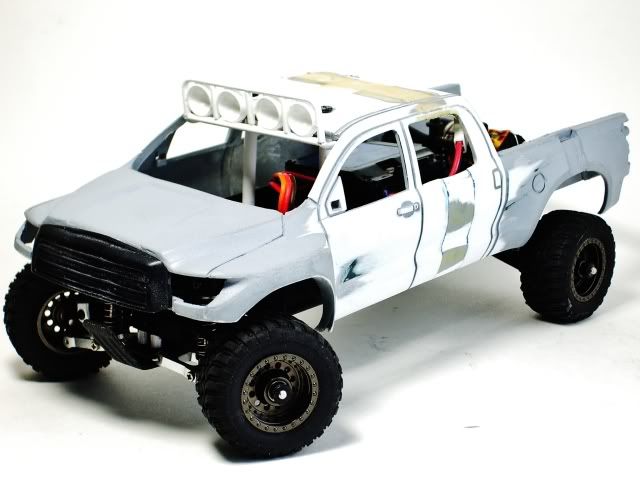 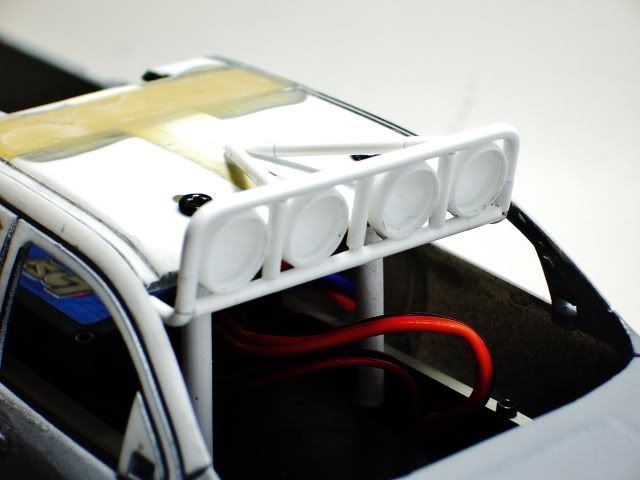 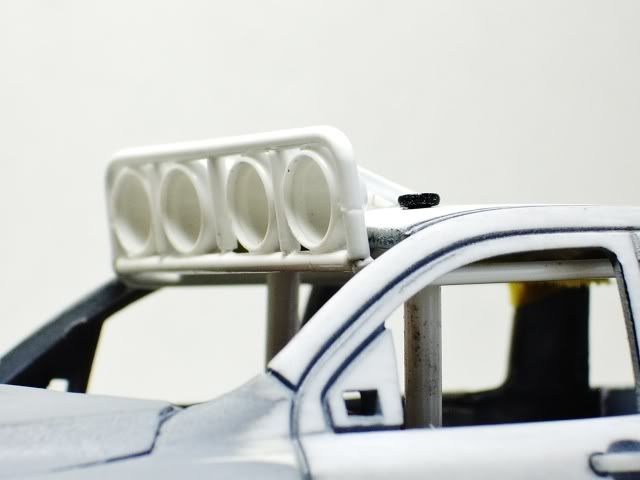 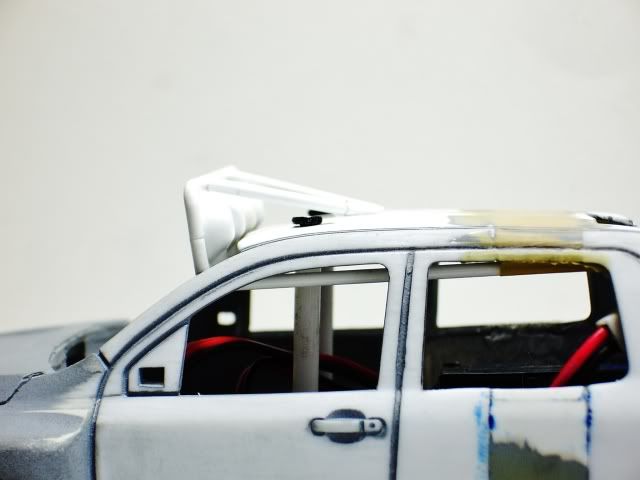 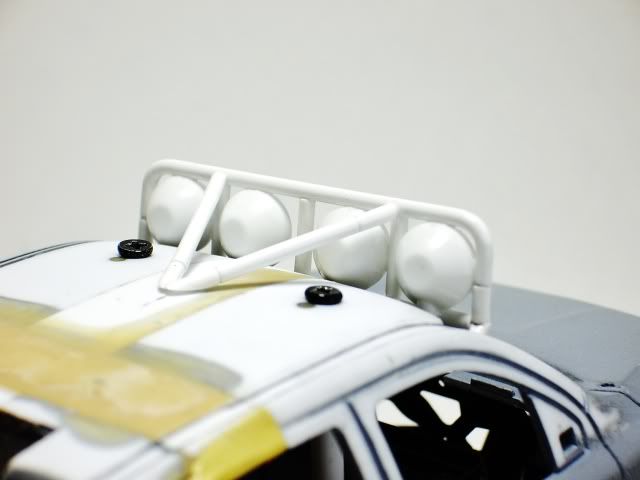 Then took it out for another run, spend rest of the night cleaning it all up! 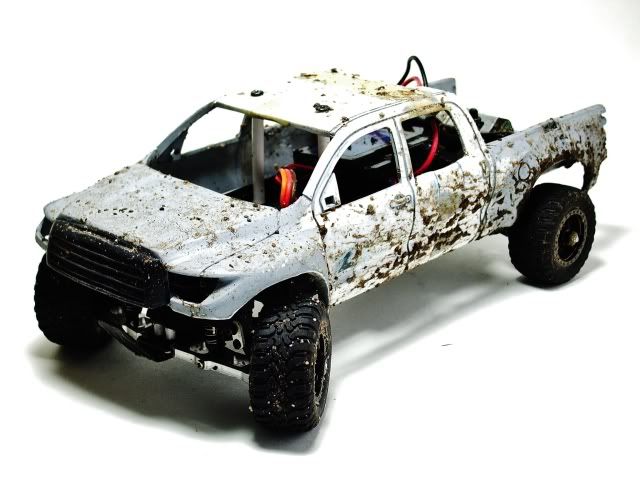 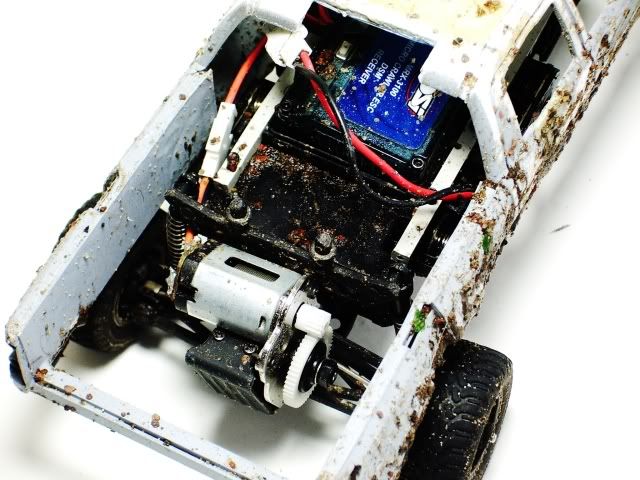 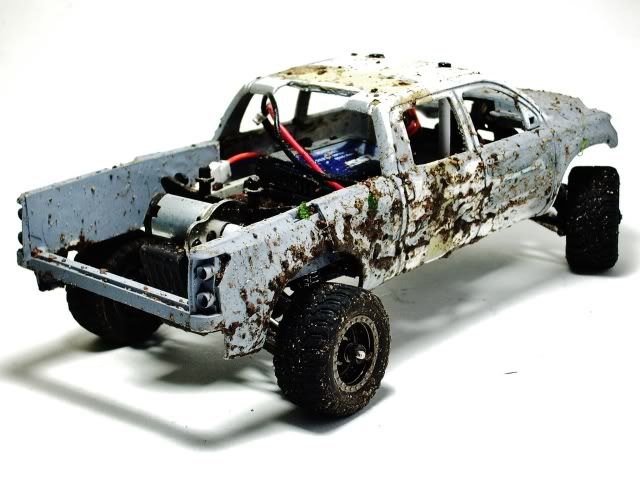 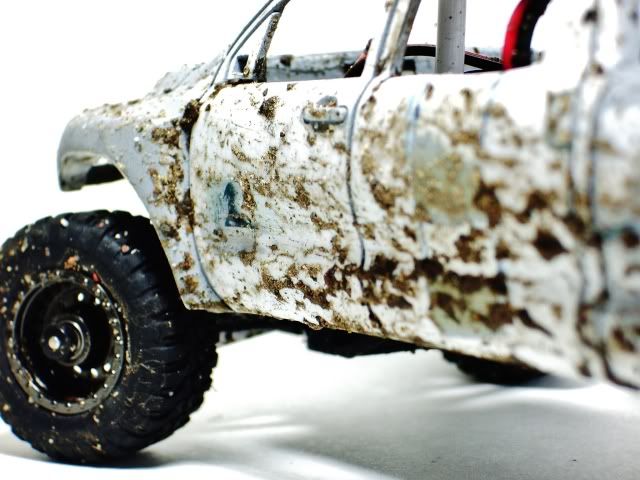 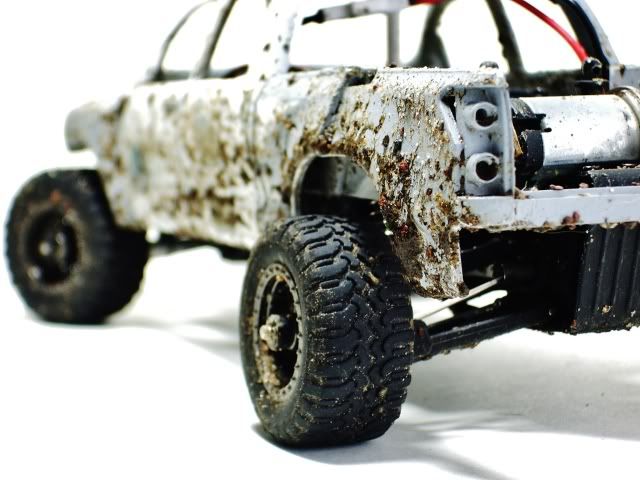
__________________

|
|
#39
|
||||
|
||||
|
I've been following this thread for a while and you do some of the most amazing work that I've ever seen in the xmods community. Your level of skill and your patience are awesome and I'm curious to see what you'd do with a 1:1 project.
|
 |
| Currently Active Users Viewing This Thread: 3 (0 members and 3 guests) | |
|
|