

|
|
#1
|
||||
|
||||
|
Hey this is my first tutorial so yea.... at least i tried. Well any how in case you guys havent read my sig it says 7mm suspension travel out of my EVO, in this tutorial i will show you how. Note this is only for the EVO generation not the gen 1, but it could be done to the trucks too. Ever notice the stock EVO front suspension has barely even done its job? How stiff the suspension seemed no matter what spring you put in? How minute the travel is compared to the rear? Here's a mod to make all that better!
Difficulty Rating out of 10: 3/10 PROS+ 1. much more travel 2. Very realistic driving 3. Very realistic look when accelerating, the front can actually lift and the suspension decompresses giving it the torqeuy look. 4. Always reversible 5. Exploits lots of new tuning possibilities! Cons- 1. The camber is all over the place when going up and down, but it ops for a realistic look. The items required are a click pen, some wire snippers, stock shocks (the ones on your car are fine) it is recommended that you haven't shaved the burrs off but its ok if you have done it, stock springs or preferably the "hard" blue springs from the EVO suspension and tuning set and your xmod of course. Mods, feel free to move this anywhere. Heres a pic of all the items besides the snippers. 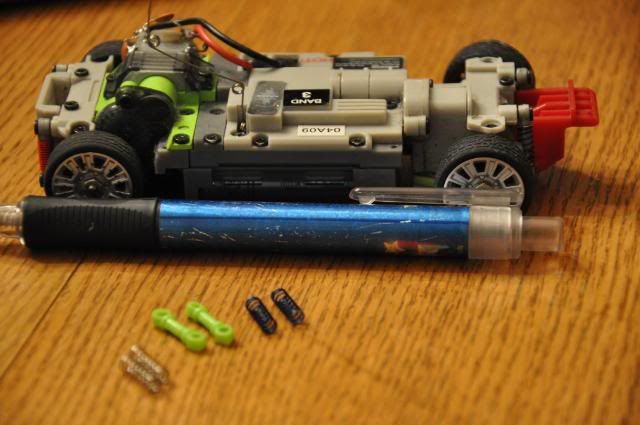 Step 1: REMOVE the screws holding in the lower part of the shock piston. 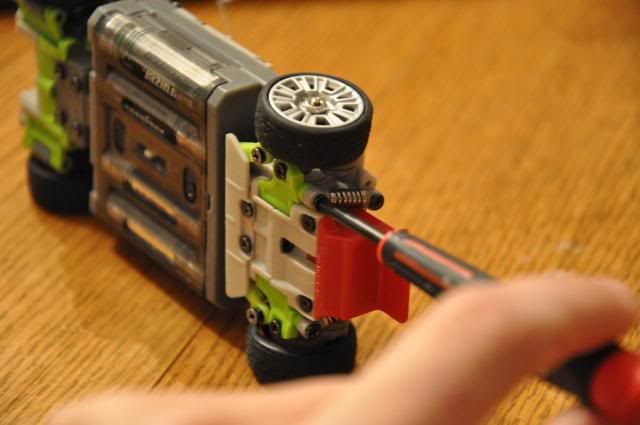 This is what you should have when the screws have been removed. 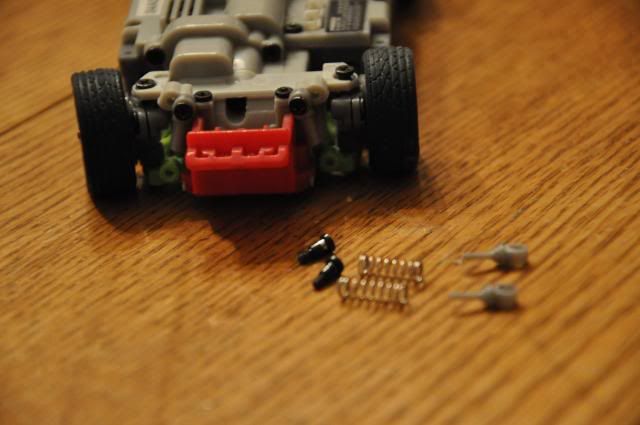 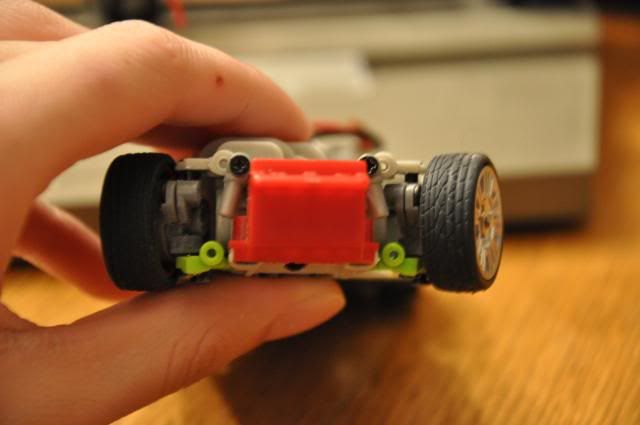 Step 2: Now you can put the springs and piston that you just disassembled to the side, we will be using the pen now. First of all remove the screw-on portion of the pen so you can access the "guts" of it. Like so 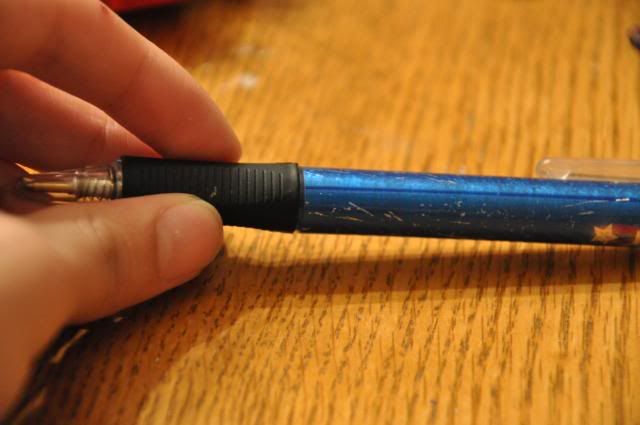 When opened this is what you should get, 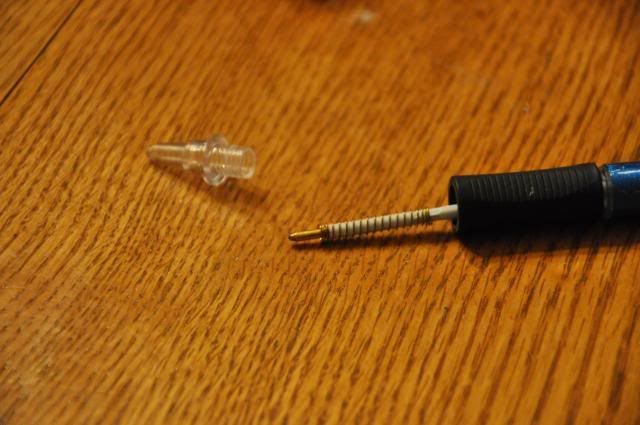 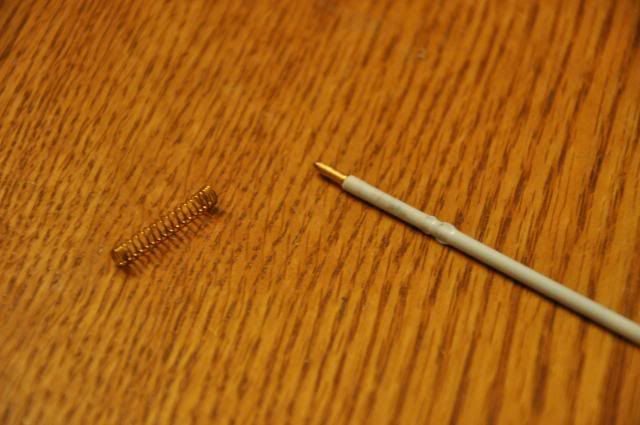 the spring is really the only thing you need so the rest can go into the trash or parts bin. Step 3, cut the spring from the bottom "flat" coils, 2.5 coils up from the end. There should be 3 flat coils and then move onto the stretched coils so you want in all 3 flat and 2.5 stretched coils, if you pen spring only has 2 or 1 flat coils go up around 1/2 a coil per every flat coil that it is missing, vice versa if you have 4 or more flat coils. *note the process will be harder if your pen has less flat coils because the flat coils act as a base an hold the spring flat on the piston. If you are doing this mod for trucks add 2 stretched coils to the cut. Here is a pic of the cut, remember to cut two of these, ONE ON EACH SIDE OF THE SPRING, if this is done wrong one spring will be way to unstable. IF CUTTING FOR AN AWD CAR CUT ONLY 1 COIL!!!!! 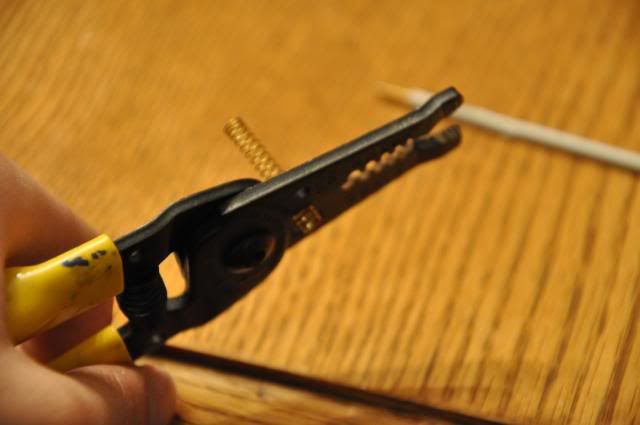 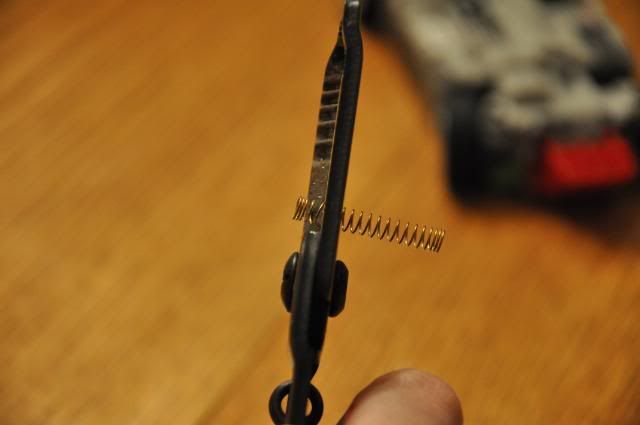 Once you have the two cut they should be relatively the same height, the only look different in this pic because one of the cut springs rolled exposing the "shorter" side of the spring. Here is a pic compared to the "stock xmods spring. 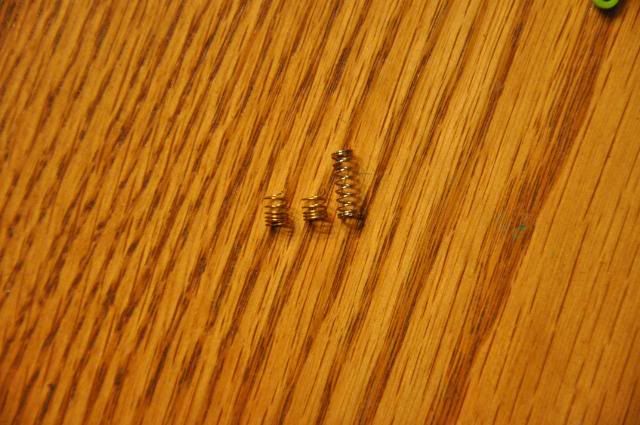 Step 4, Now it is time to bring out the parts you disassembled earlier! slide the cut spring onto the piston first, then slide the stock or in this case the "hard springs" because they look cooler and provide a stiffer ride. Try to align them as best as you can. 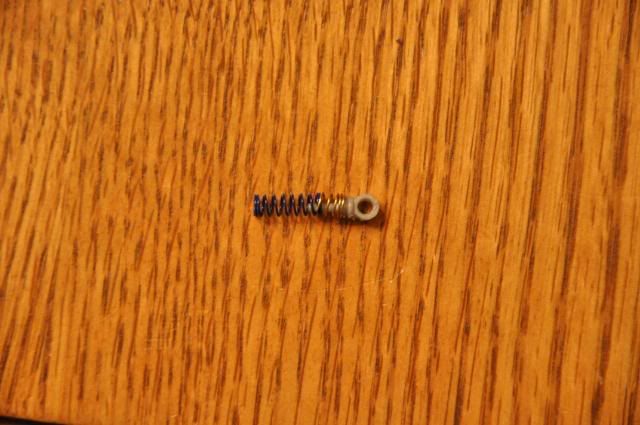 Step 5, now it is time to fit the spring and piston back onto the cylinder. This is the tricky part and this is also where the stubs are very helpful because they keep the springs from flying across the room when you try to squeeze them on. If you cant get it to slide on then try putting the stock spring on the cylinder and putting the cut spring on the piston. Once you have it on it should look like this, 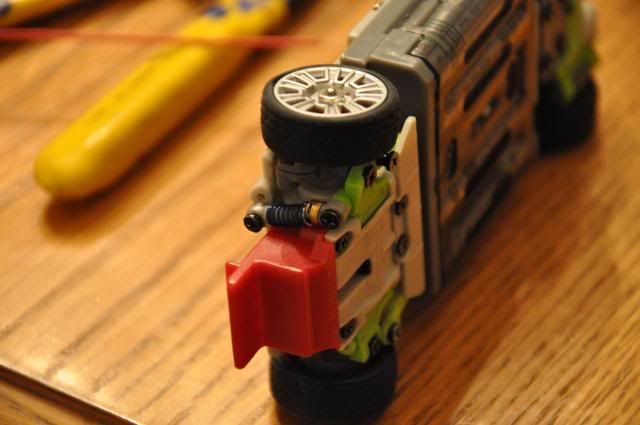 Note that the spring is kind of un-even, you dont want that so in order to make it more even and aligned just rotate the spring on the piston and it should even out, rotating the spring can also be done to tune the suspension later on with the spring angles on the piston. Here are 2 pictures of both shocks on and well aligned and evenly put on. 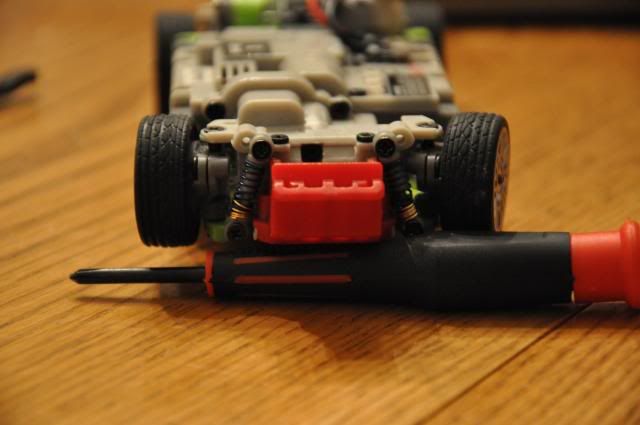 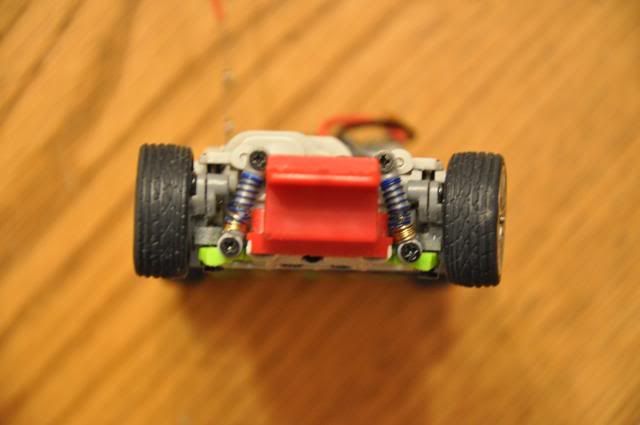 Step 6 when all the shocks are put back on, remove the two screws that hold the knuckle in place on the top strut bar. 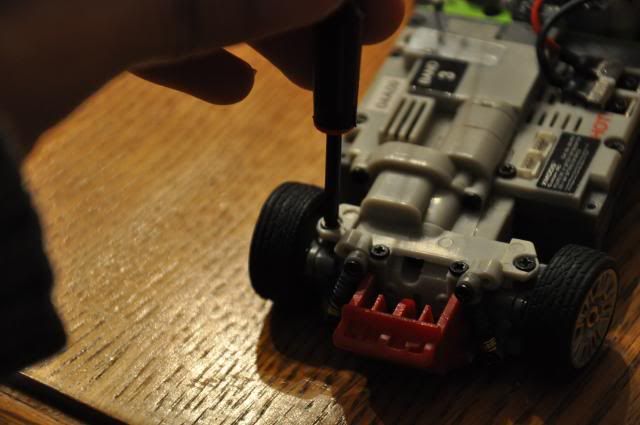 You should now notice a very dramatic effect on the front suspension, it will now flex much easier. Note that if you piston falls out of the cylinder when the suspension compresses, this means that you need to re-adjust and align the spring, it has to be VERY well aligned for it to work well and if that doesn't fix it then repeat step 3 but cut 1/2 less a coil. Check out this comparison picture, the left side is modded and the right side is not, look how much droop there is now and how much travel there is!!! Might be a good setup for rally cars? 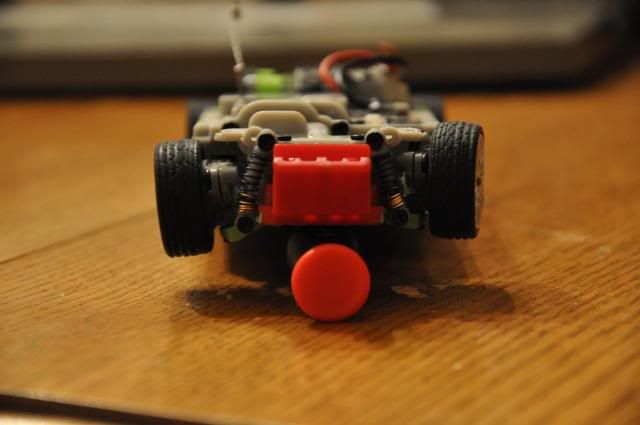 Modded sway- 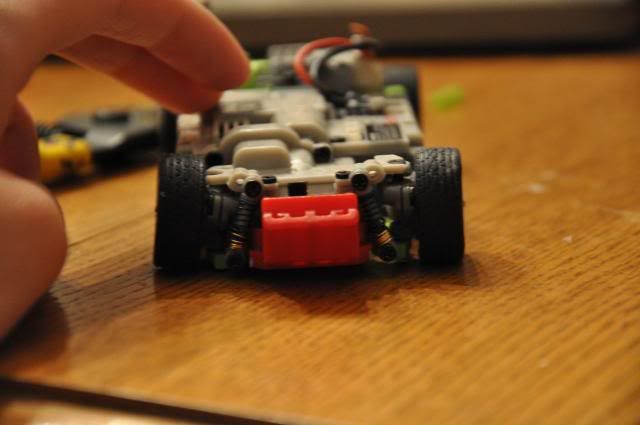 Stock sway- 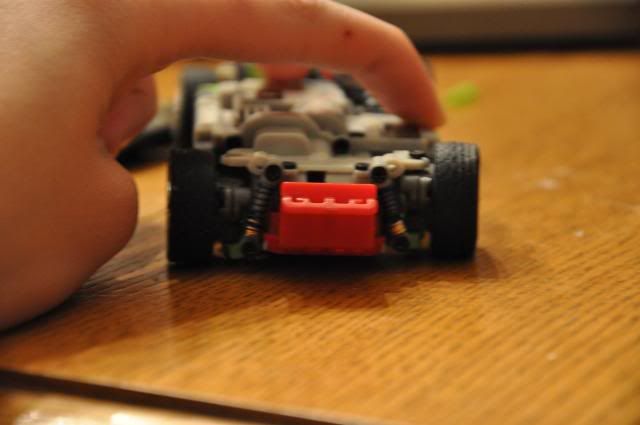 Modded both sides- L 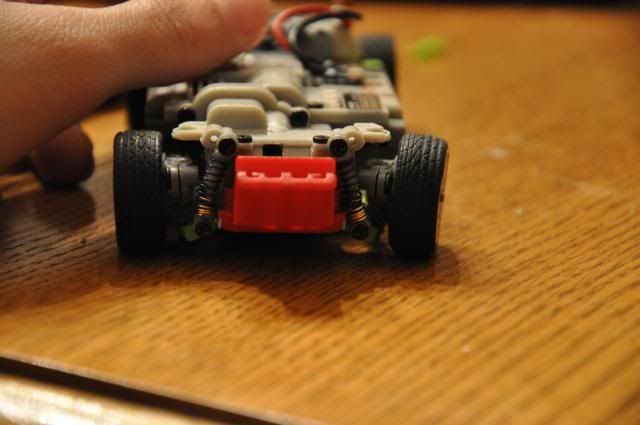 Full compression 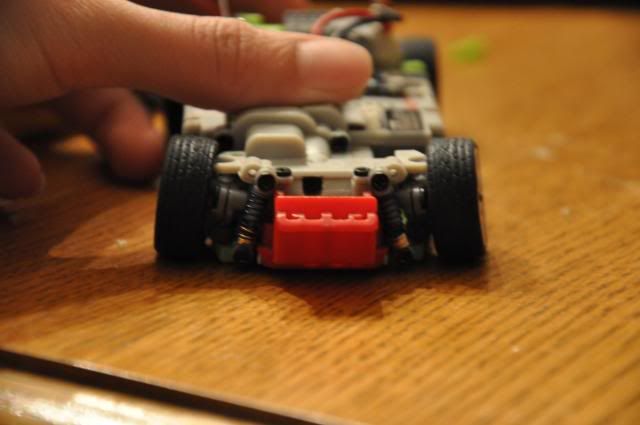 Fully modded sway, left and right 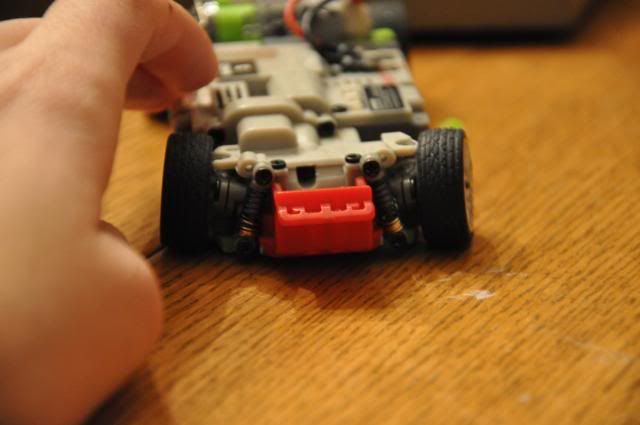 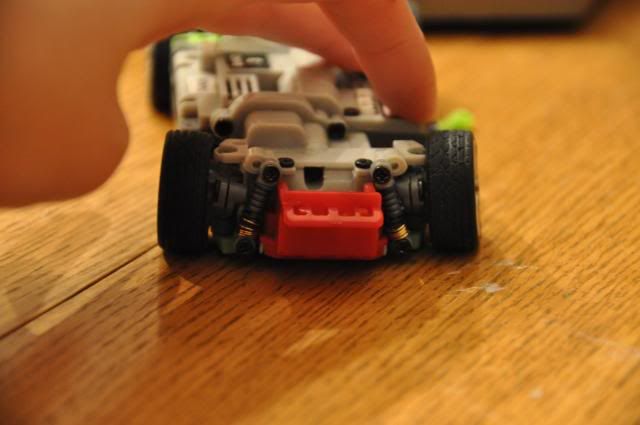 Some Eye candy with the body on the chassis, like my ghetto brush guard? Long story short i was tired of the scratches i got from hitting things and well i got carried away with the foam when i tried to make a shock absorber bumper.... 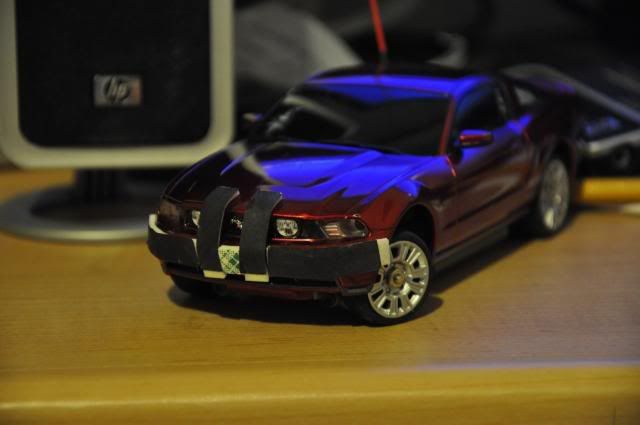 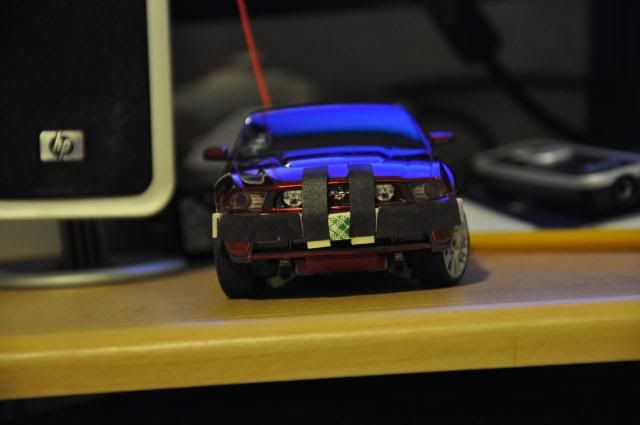 Full body compression 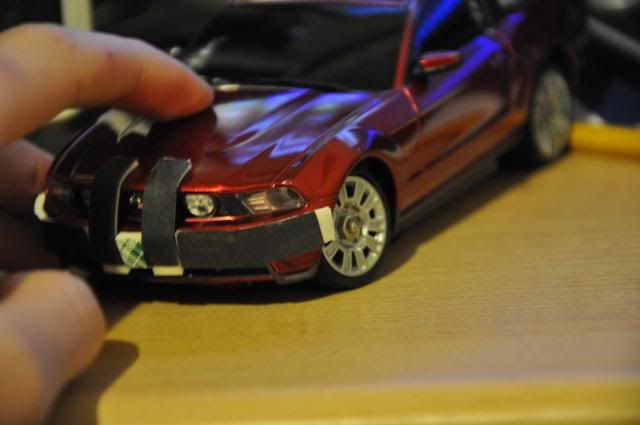 Like the articulation? BTW its real articulation not that cheap "pivot" stuff on the trucks 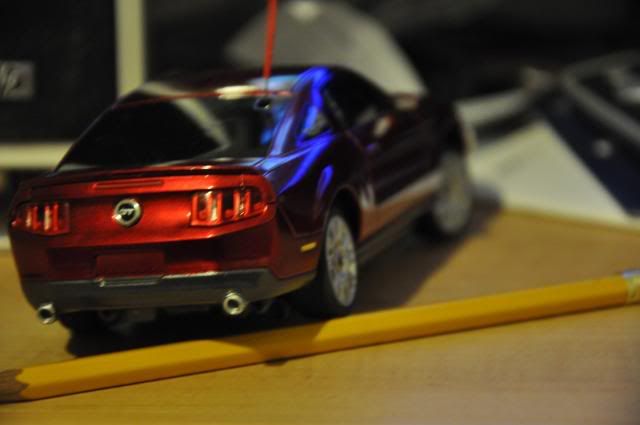 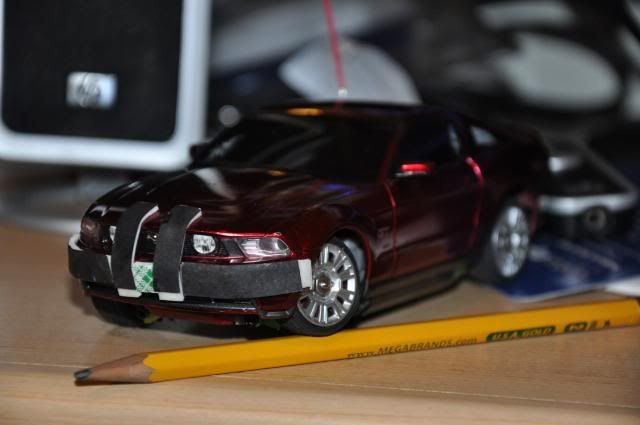 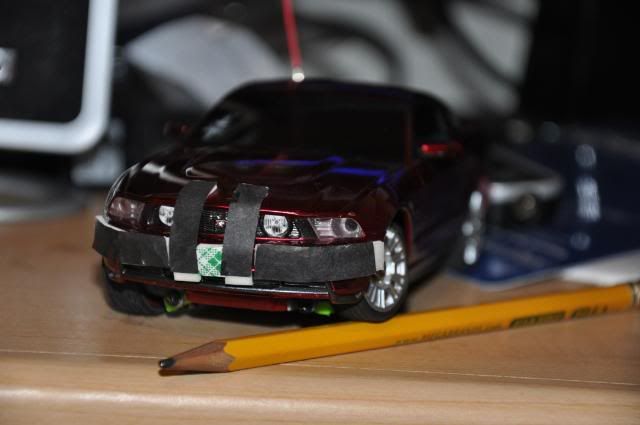 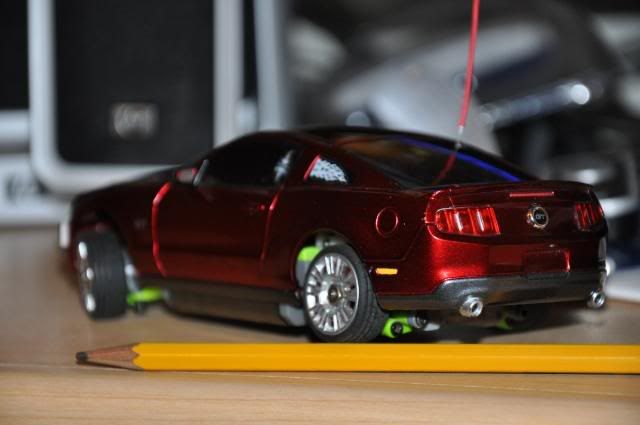 Later mods?? can anyone say 24mph stock motor? 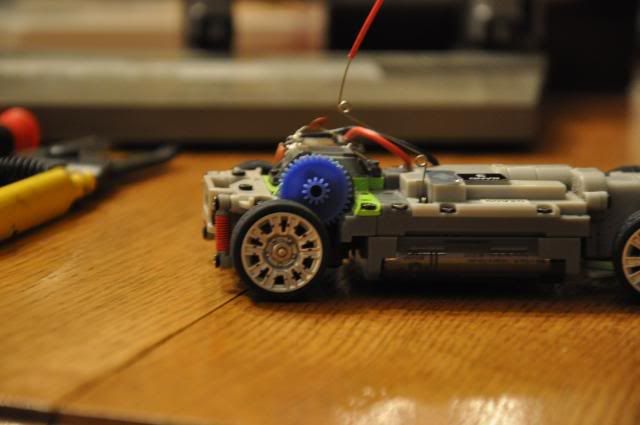 Tips and Tricks 1. If you rotate the springs while they are on the shock they will fine tune the car, but only a slight rotation otherwise too much will make the piston fall out. 2. Now the front mounting positions make a HUGE difference compared the the stock setup, set in the center holes for a track setup with more turns it also slightly lowers the center of gravity, and use the outer holes for a better dampening effect, good for drag, drift or longer tracks. 3.Use the stock springs for a softer setting and the "blue" spring for a firmer but yet still soft setting. 4. If you add just a tad bit of grease to the steering screws it will make the steering very smooth. 5. If you align everything very well you can get up to 7mm+ travel measured at the lug nut. FAQ 1. Why don't you use the yellow or red springs instead of the blue spring? *The answer is simple, the red spring is waaay to soft and is only considerable for the stock or rear suspension setup not to mention the coils are too close together for any travel, same for the yellow ones, just too soft unless youw ant your car bottoming out a lot, go ahead and use them. 2. What mods do you have on your car, you have some things that my car doesn't? *Only minor mods have been done to my car, the only real noticeable ones are metal lug nuts, suspension+tuning upgrade "hence" my silver piston and cylinders along why I have blue springs, bearings and rechargeable AAAs, the motor also has a custom "silver" can but it has no real performance effects. 3. Doesn't this put a lot of stress on the bottom screws that hold the knuckle in place? *Not really I have been using this setup for about half a year now and nothing has broken, and the hole doesn't seem to be deforming either, it's all good. 4. How well does the steering work with this mod? *Surprisingly the steering works flawlessly with this setup, since the screws have slide points on them they allow the suspension to move and steer. Trouble shooting 1. This is a totally safe mod and you can always go back to the stock setting if you don't like it. 2. Make sure to check on your springs every once in a while, hard crashes or just a long time of driving will sometimes knock the piston out of the cylinder, bu no worries the spring wont fall out. To fix this just press your finger against the side that is popping out and it should pop back into place. -------------------------------------------------------------------------- Good Tut. YES, NO????? Good rating ?/10 ???? Any questions "yes you over there, yes?, no?, yes? no?"
__________________
7mm front suspension travel from my EVO!!! see how I did it here! http://www.xmodsource.com/forum/show...342#post249342 Last edited by dreamingISdrifting; 02-04-2010 at 11:07 PM.. |
|
#3
|
||||
|
||||
|
Except that removing the top spring creates all sorts of play in the steering and the car's handling.. Just put longer screws in top to keep things aligned.
You can also just stretch the stock springs by hand.
__________________
You know what I'm gonna do? I'm gonna get myself a 1967 Cadillac Eldorado convertible, hot pink, with whale
skin hubcaps and all leather cow interior and big brown baby seal eyes for headlights. Yeah! And I'm gonna drive around in that baby at 115 miles an hour, getting 1 mile per gallon. I may be king of the idiots, but my kingdom is vast and my subjects are everywhere |
|
#7
|
||||
|
||||
|
It just looks like slop but then again that is just the droop, when the car is on the ground the suspension is more level.
Longer screws for travel help its travel but it isn't half as smooth, due to the setup of the suspension it is not in its nature to move directly up and down, that is the reason why the suspension barely moves in the first place it was designed to move in an arch pattern.
__________________
7mm front suspension travel from my EVO!!! see how I did it here! http://www.xmodsource.com/forum/show...342#post249342 |
|
#10
|
||||
|
||||
|
Thats what xmoding is all about lol
__________________
7mm front suspension travel from my EVO!!! see how I did it here! http://www.xmodsource.com/forum/show...342#post249342 |
|
#12
|
||||
|
||||
|
Nope, you don't have to buy an upgrade kit, the stock springs will work just fine.
__________________
7mm front suspension travel from my EVO!!! see how I did it here! http://www.xmodsource.com/forum/show...342#post249342 |
|
#13
|
|||
|
|||
|
the only thing i really dont like about this mod is that it messes up the steering alignment and causes positive chamber which causes the car to trip over the outside wheel in a turn. its a good concept, and with a little bit of improvement could work great for running on a rougher tarrain surface.
__________________
 XBL Gamer Tag : Roar Pants |
|
#14
|
||||
|
||||
|
But then it's just more realistic haha. But if only xmods had dual A-Arm setup it would be really nice.
__________________
7mm front suspension travel from my EVO!!! see how I did it here! http://www.xmodsource.com/forum/show...342#post249342 |
 |
| Currently Active Users Viewing This Thread: 2 (0 members and 2 guests) | |
|
|