

|
|
#1
|
||||
|
||||
|
These are my favorite threads to write but seldom get a good new tutorial to write up. The Zmod is a very popular mod but a Mini-Z board is very expensive. There are 2 other alternatives to the Zmod and that's using the RV Projects board or an iwaver board. All 3 are very similar but have a few difference. You can find the Zmod Tut on atomicmods.com so I won't re-do that already very easy to follow instructional. I am putting up here now the imod and in a week or so ill post the RVmod Tut. I will also go a little into installing on a stilletto chassis as well. You will notice a huge performance boost when using either of the 3 boards listed above (Mini-Z, iwaver, RV Projects) Let's get started...
First off the big difference between the Z board and the iwaver board is that the iwaver servo uses 5 wires just like the Xmod which will make the install a bit simpler. Here is the wire hook up diagram. This is all you really need to know, for the install to the stock tray just follow this Tut, but use my wiring diagram. http://www.atomicmods.com/Categories...oject-X-Z.aspx iwaver to Xmod wiring diagram 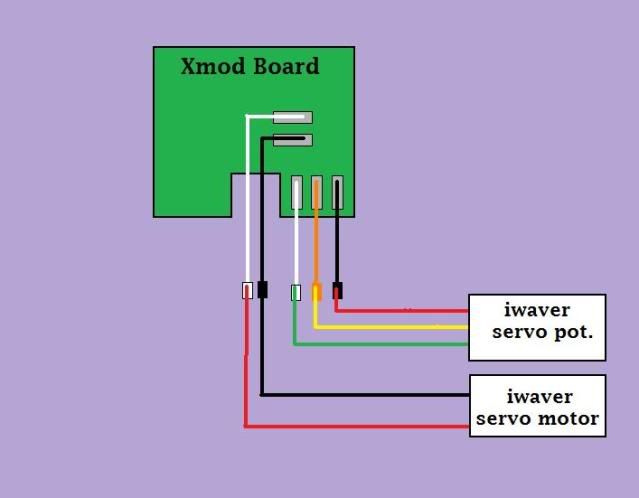 Ok, here are some little tips for installing onto a Stilletto chassis. 1. The first thing you will have to do is spin the Cap in the first photo to the orientation in the second photo. You will actually have to snip off the top leg, turn it and then re-solder it. You need to do this mod, so the board will be able to center on the chassis. Without doing it it is in the way of the Stilletto top mount. Before 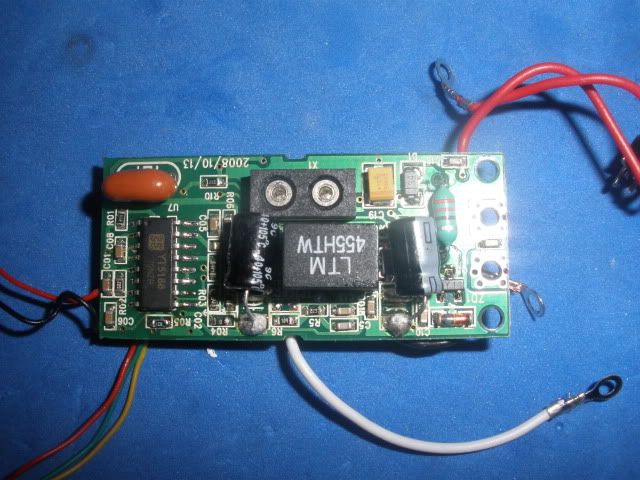 After 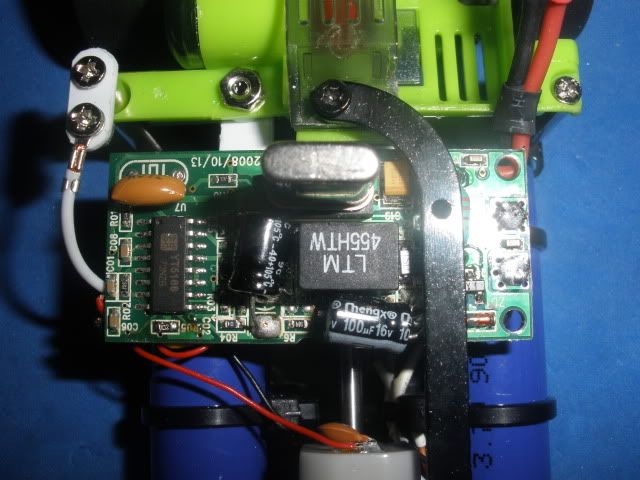 2. Antenna isolation. With the stilletto on it will leave you know where to mount your antenna. There are several ways of doing this, but here is how I do it. Use your imagination and keep it clean. Using an extra stand-off, nut and screw from ebay Stilletto hardware (there usually are extra in the pack) 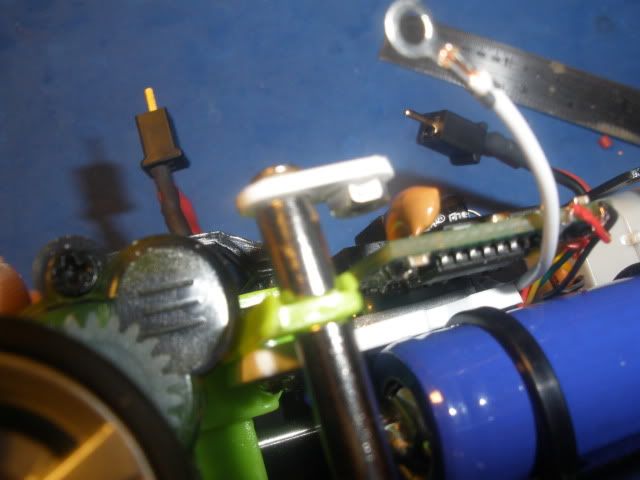 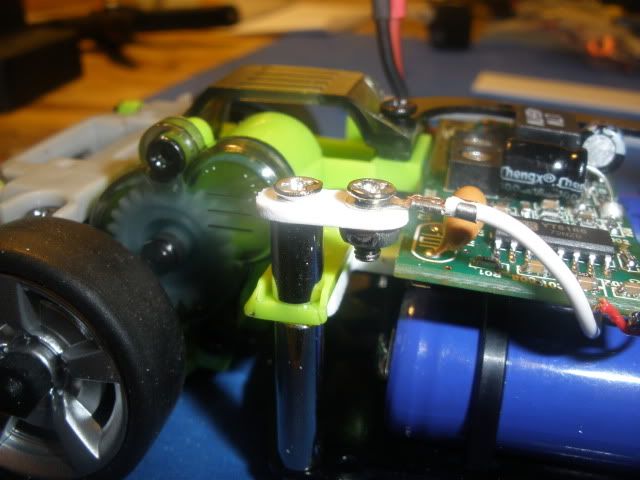 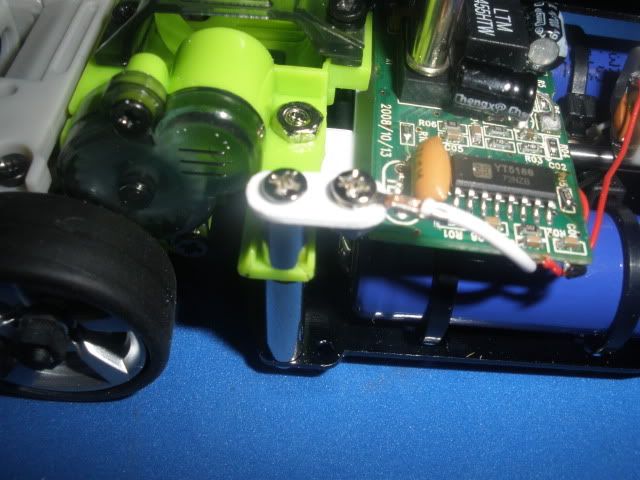 3. This is important if you like your wires to be neat, and without careful thought in how you are going to do it, and measuring appropriate lengths of wire, you end up with long frantic wire everywhere. This is how I think is best and will match up to a correctly assembled EVO Lith pack (From atomicmods, TrixMiniGarage.com or DIY) Notice the Lith pack has the wires directed around to the driver side. 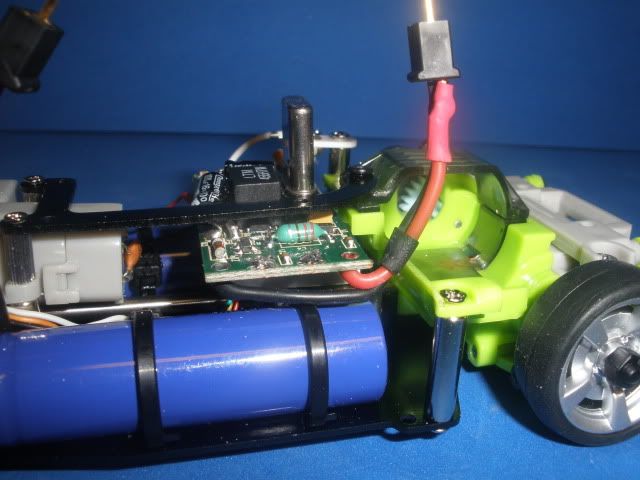 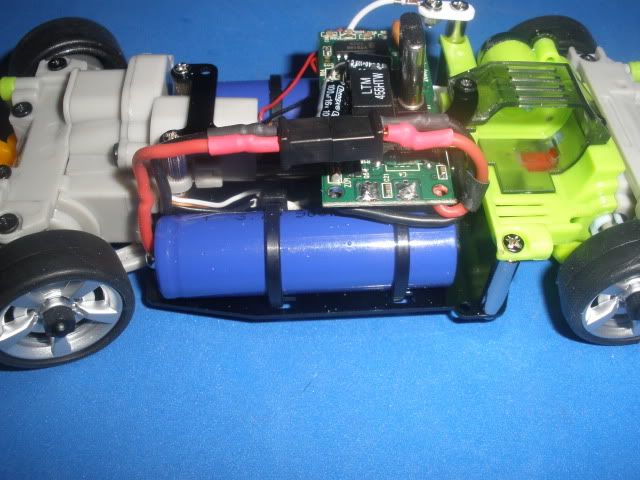 4. Here is a nice clean way to mount a Z, iwaver or RV board on your stilletto chassis. Make this plate from styrene and use servo tape to secure board and RS 2/56 nut and screw to mount to the rear motor pod. 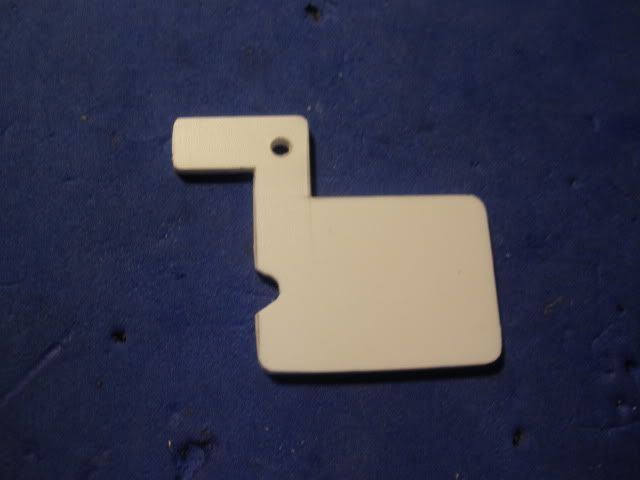 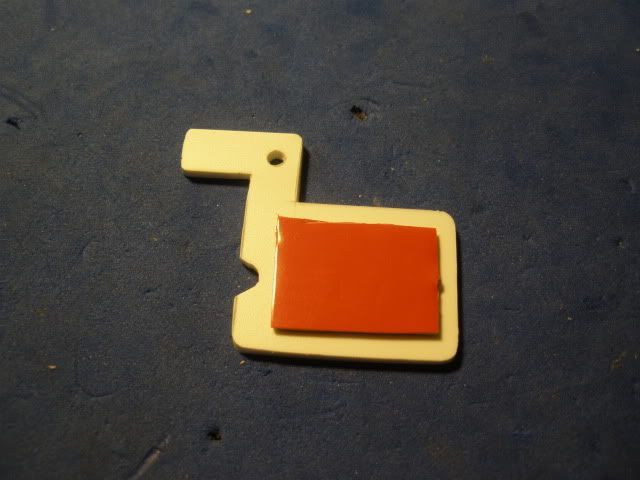 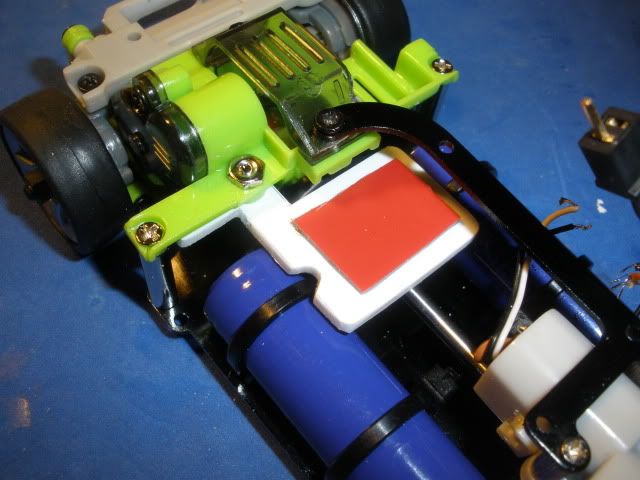 4. Measure wiring and plan. You should be able to conceal all the wires for the servo underneath. 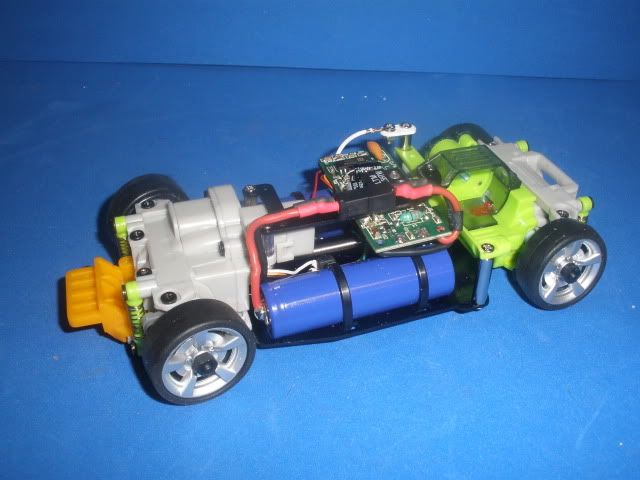 Here's a little video.  Well that's about it. Remeber take the time to measure and plan your electronics swaps, so they look nice and clean without wires flopping everywhere. Thanks for viewing and I hope it helped you out.
__________________
 XXX FREE modding Service: http://www.xmodsource.com/forum/showthread.php?t=17800 PM me for a quote or any questions. HAPPY MODDING 100% Positive Itrader feedback http://www.xmodsource.com/forum/itrader.php?u=6901 |
 |
| Currently Active Users Viewing This Thread: 1 (0 members and 1 guests) | |
|
|