

|
|
#1
|
||||
|
||||
|
Well time for another tutorial. A few members on XMS had asked me about doing this, and at first I was very stumped on how to get a servo arm to work in the truck chassis. Later after hours of thought and cutting, I think I figured it out. Let me know what you think and/or if you think there is a different or better way of doing this. Okay enough with the intro, let's get right into it.
SORRY, some of the pictures came out a little blurred and I can't go back and take new ones without cutting up another piece. *** Special thanks to: Everyone who requested this Tutorial *** *** SAFETY FIRST *** Wear saftey goggles when using drills and a dust mask when cutting Carbon Fiber. TOOLS YOU'LL NEED: You don't need everything here but this is what I used. You can substitue or even get away without some of this stuff. You be the judge of what you'll need.  The faithfull Dremel and accessories  Materials: Chassis, Servo and stuff for mounting it and wiring it.  You will also need an extra swing adapter and the screw from another xmod truck servo. If you can't get one, you can make one with some plastic. And a long screw (nut optional)  STEP 1 - Okay, take the front end apart just like on the car Tut, by starting with pulling out the servo motor. Then unscrew everything.    Pull the back part open like this. (these will be the parts we are modding)  STEP 2 - Pull out all those little gears and rods. We won't be needing those anymore. Put those in your extra parts bin.  We should now have this.  STEP 3 - Now time for some chopping, mmmmm my favorite part. Cut out the RED part. Make note, you will have to probably come back later on to trim it up some more. DO NOT chop the whole servo casing off, and chop as little out as possible.  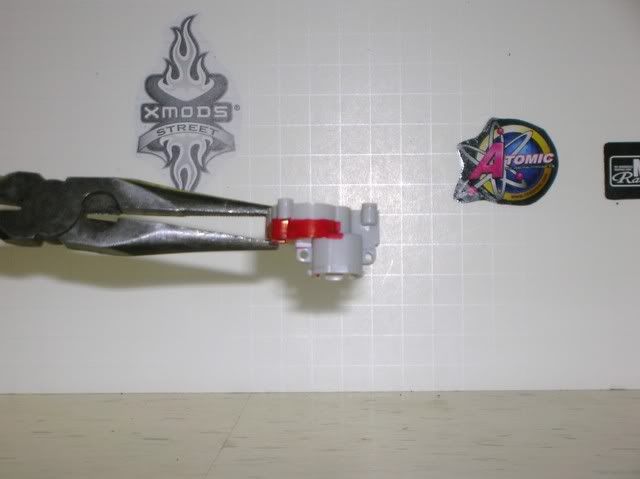 I like to use this attachment. Just go back and forth slowly shaving the plastic down. 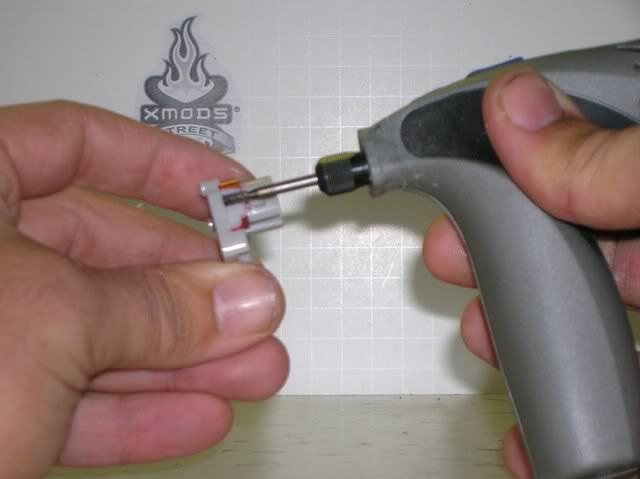 As hot melted plastic builds up, stop and scrap it off with your exacto knife. 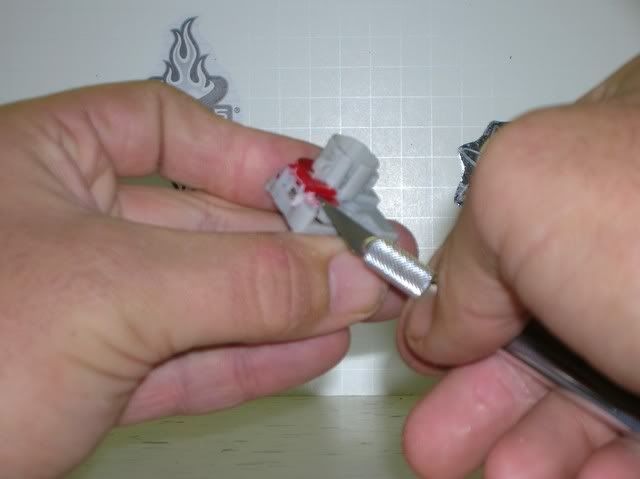 Now we should have this. 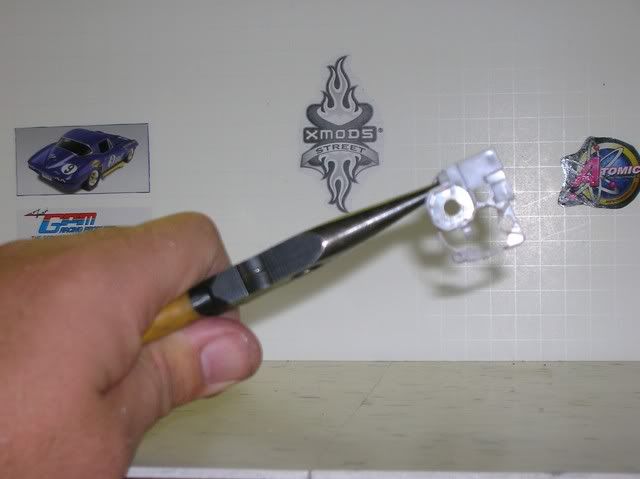 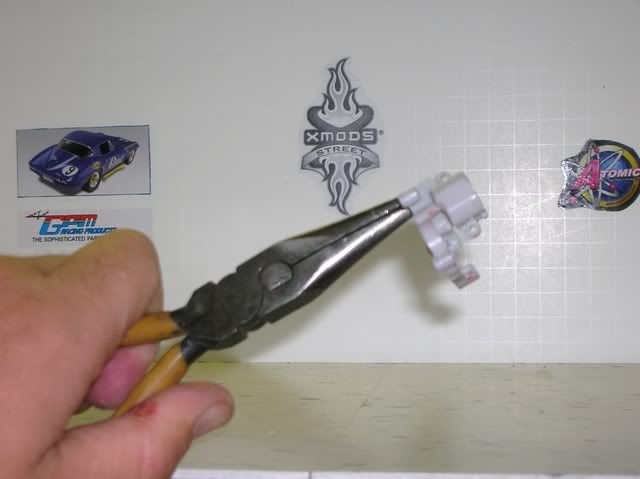 STEP 4 - Using your snips, cut the screw hole extension and the little peg out.  STEP 5 - At the XXX shop we like it to be Purrrrrrty. Get out the file and some sand paper and smooth that puppy up. 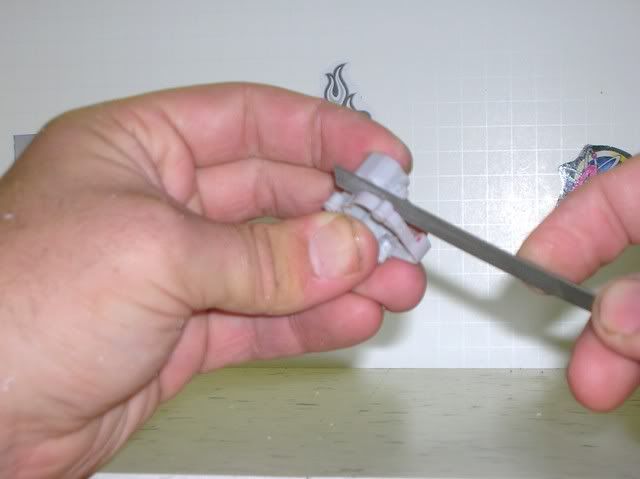 STEP 6 - On to some mechanics. On the little half gear connected to the POT, there will be a little circle dead center on the edge of the gear. Using your SMALL Xmod drill, drill a hole.  STEP 7 - Now take that extra swing adapter and screw it into the hole. Be sure to line it up with the little notch on the opposite end. sand them a bit and put a little super glue between them to make it one solid piece. (NOTE: If the screw is sticking out of the under side, you will have to cut it or dremel it down to be flush). Should look like this. 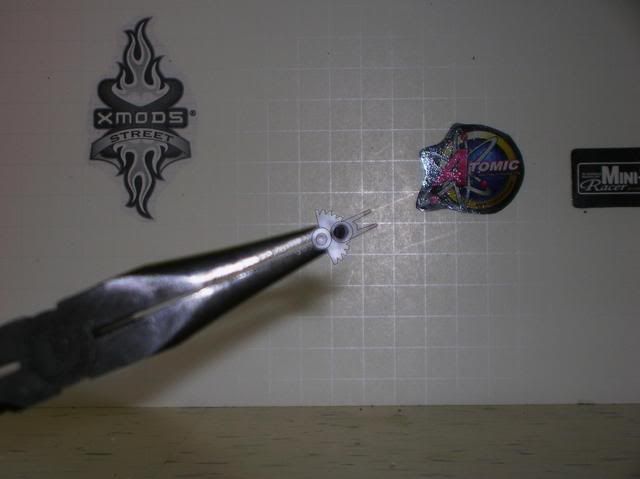 STEP 8 - Again with our snips, cut both sides of the gear off flush with the extension we added. We should now have a straight piece like this. 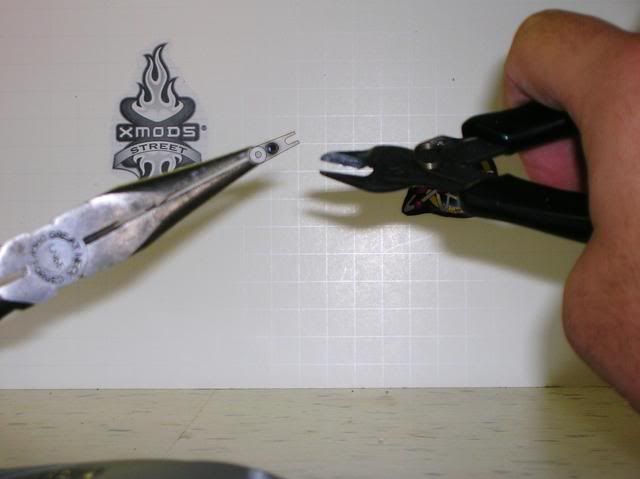 STEP 9 - Set up your servo arm with the screw like on the car Tut. I actually would find one of the longer screws and don't use the nut. (I used one of the screws from that RS assorted pack) 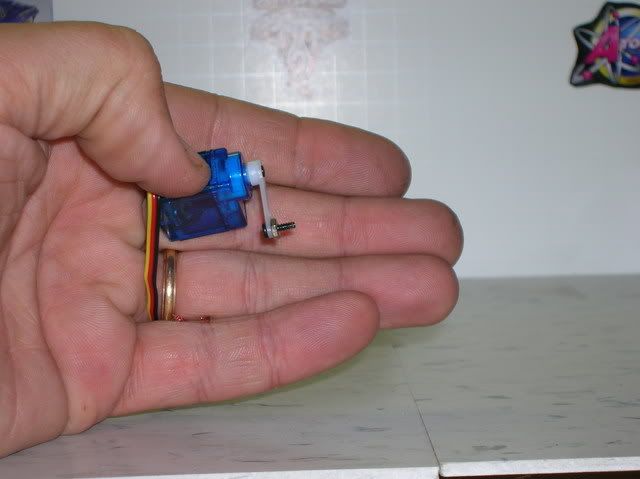 STEP 10 - Put everything back together like it was before. Connect the other swing adapter from our original chassis like normal, and it should make a double ended swing arm. Make sure everything swings fully both directions and make any neccessary trims. Should look and work like this. 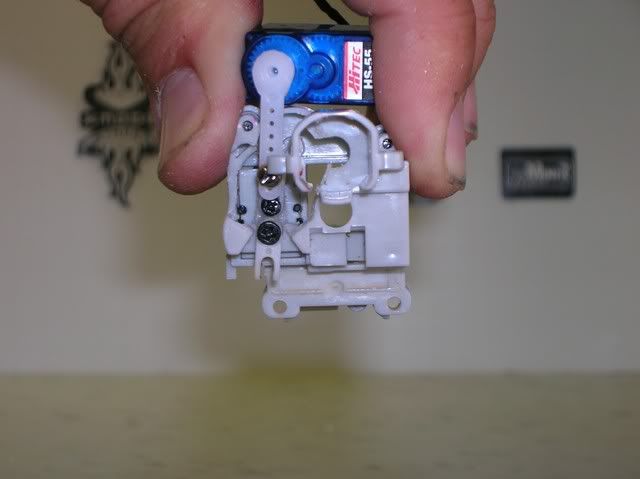 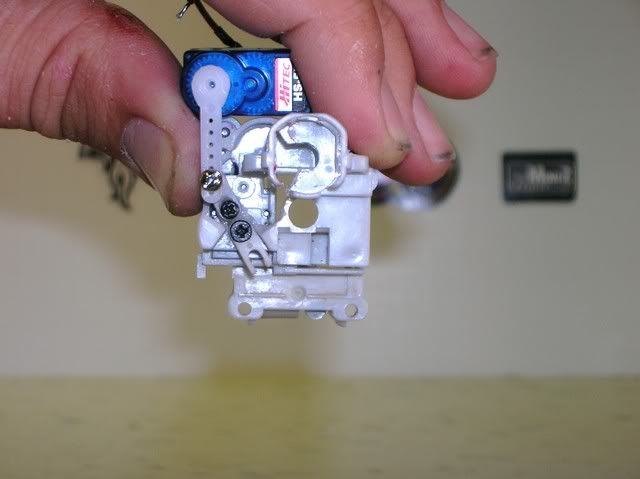 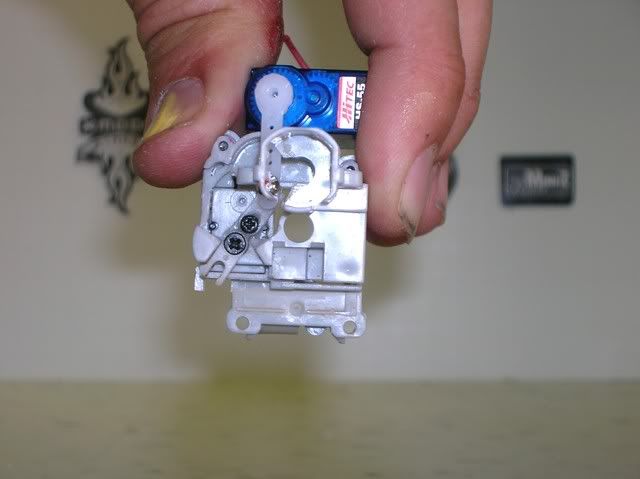 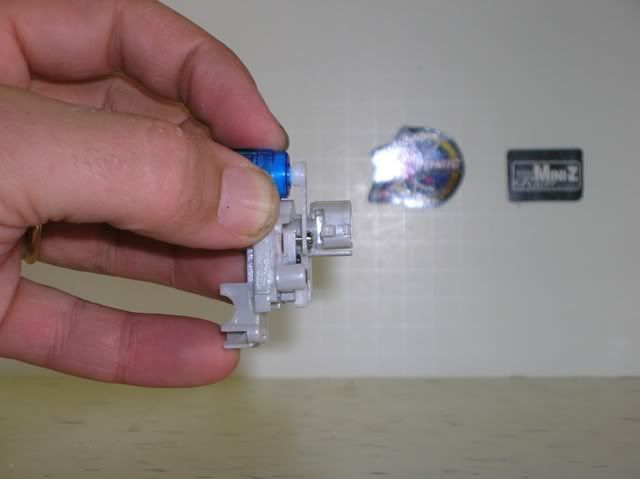 TA-DA, that's the meat of the project. 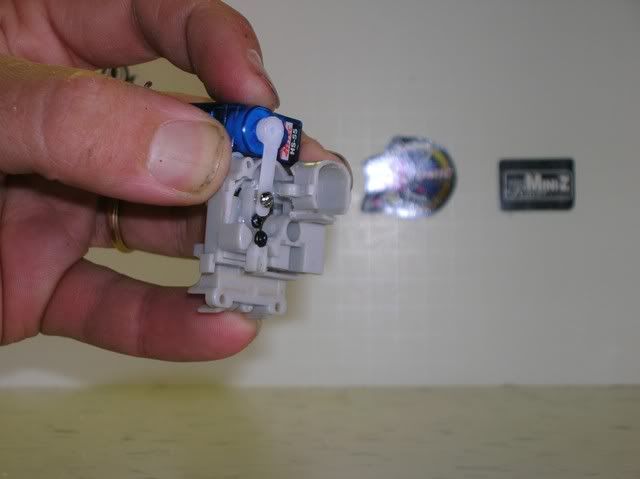 STEP 11 - Re-assemble the truck. And this is why we didn't chop the whole servo case off, we need to have a stong Xmod so let's keep that to mount it back together. 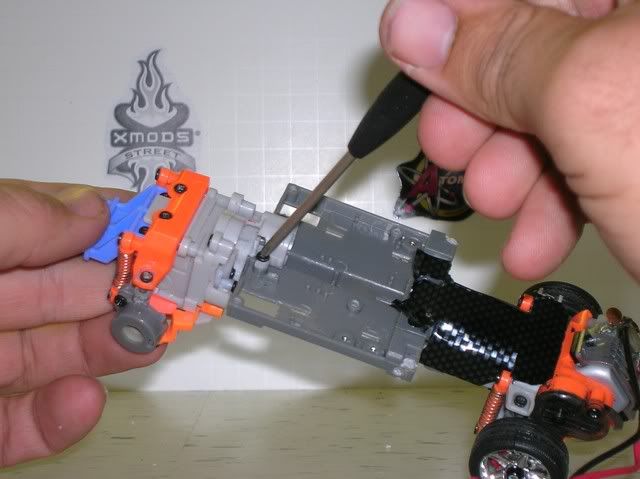 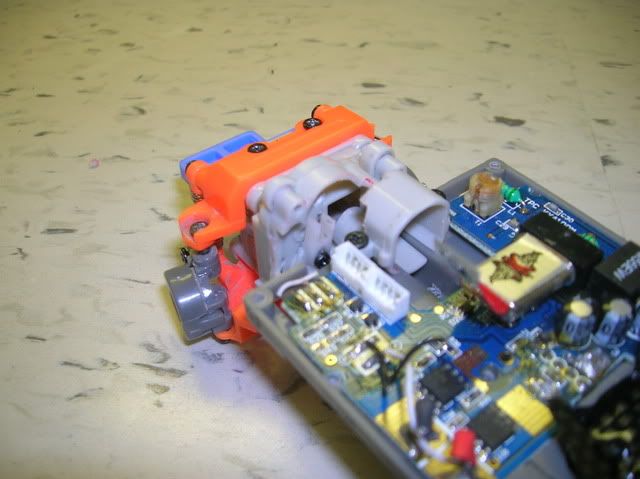 STEP 12a - Mounting the servo 1. You have 2 options here. Mounting it forward, over the front end. Or mounting it rearward over the PCB. Checkout this cool comparison picture. 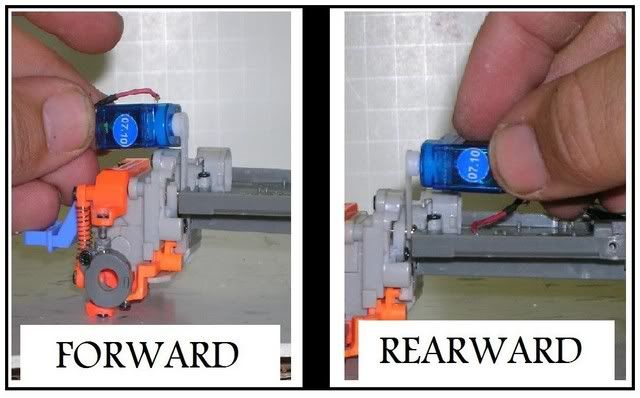 Mounting it rearward is what most will do I guess. You will probably have to be able to put the cover back over the electronics and use some putty to make a nice solid mount. You could also use some good double sided tape. Keep in mind with the tape ... where this servo sits is not flat and it makes for a wobbly servo. It isn't like a 1/18 scale car where the servo mount surface is flat and smooth, so I advise against the tape. 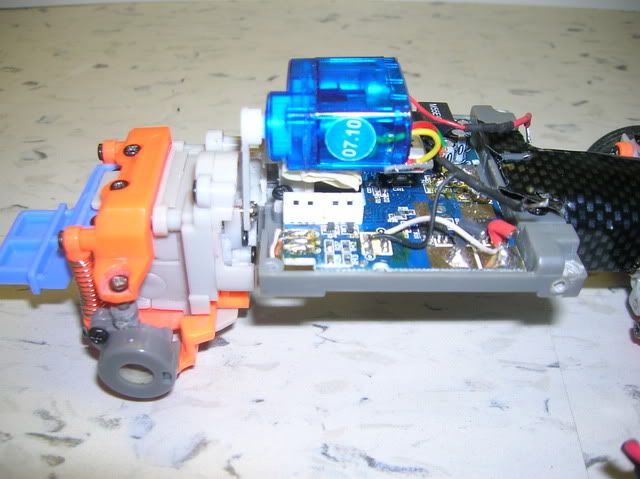 STEP 12b - Mounting the servo 2. I decided to mount mine forward so that's what the Tut will show. I am doing it forward because my truck is a crawler so the body is lifted pretty high and if I mount it rearward it is in the way of the mounts. I used a piece of Carbon fiber some putty and super glue (I am posting a TuT next about how to make the Red servo strap I have on mine) Doing it forward is very clean in my case and fits perfectly under the hood. Just check it out. 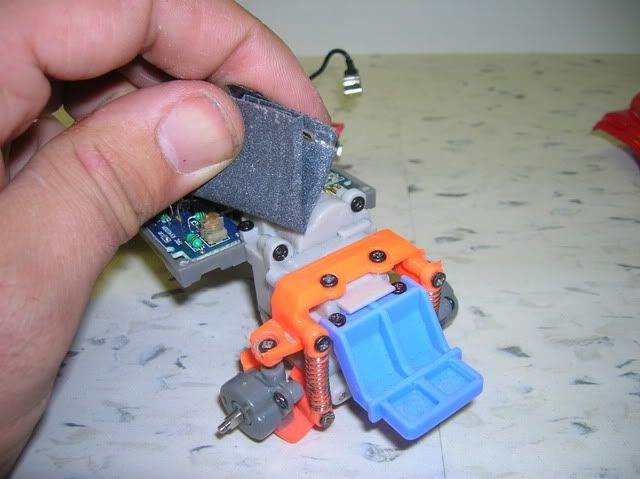 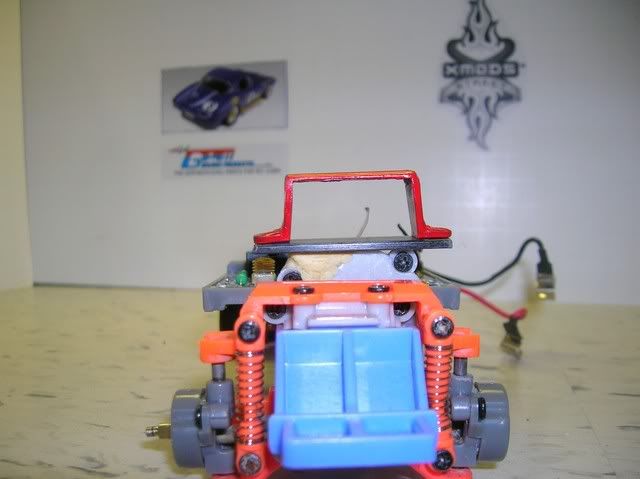 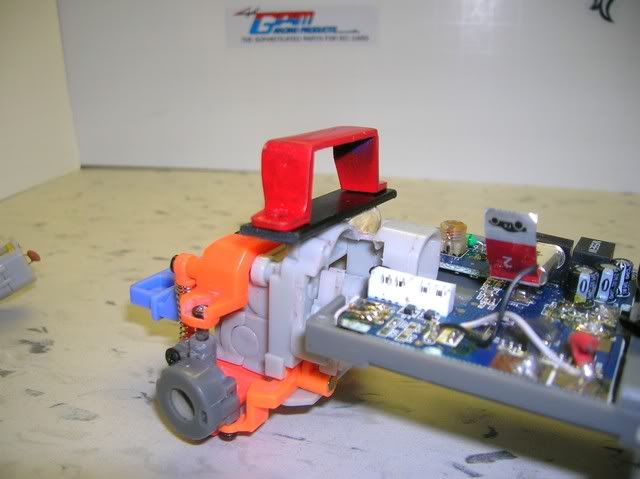 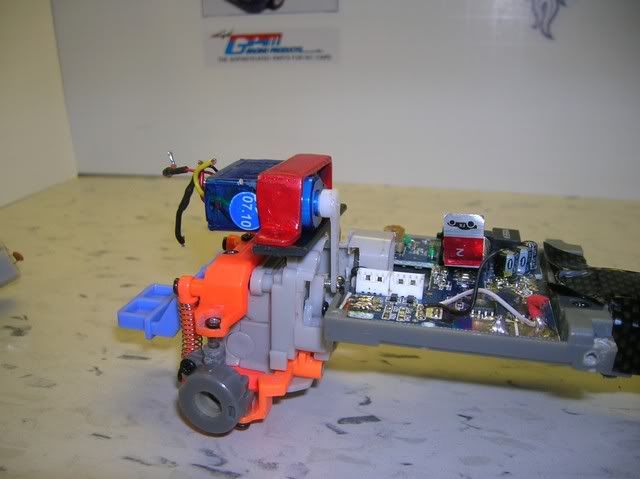 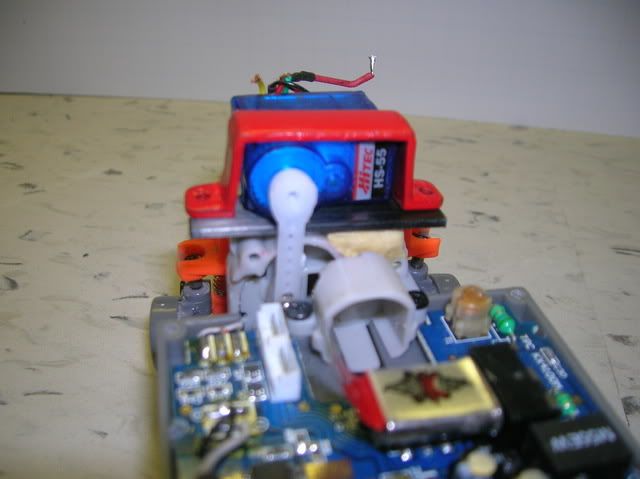 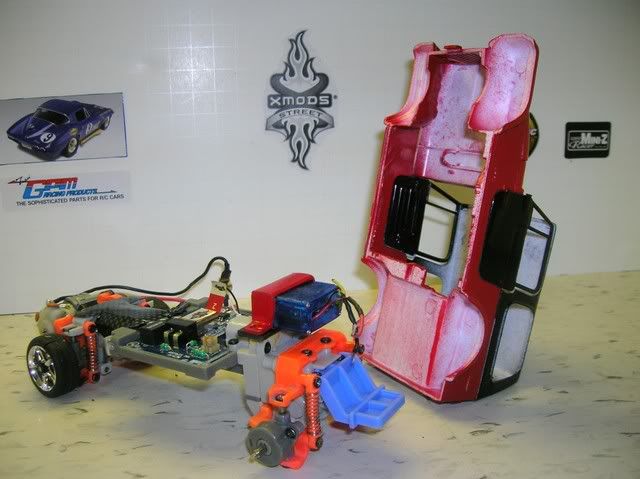 Here is how snug and Purrrrty she fits. 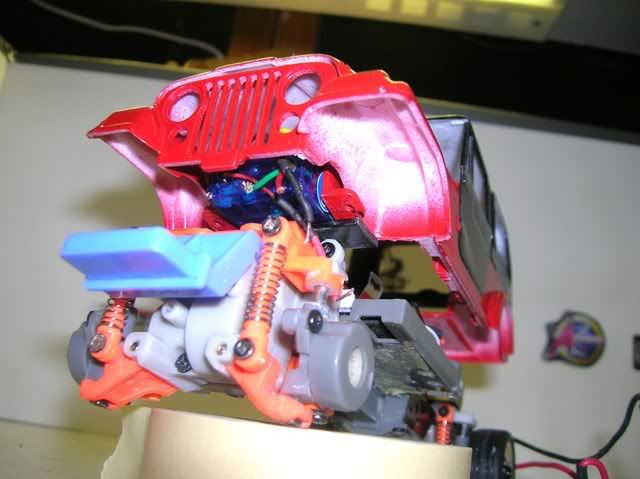 STEP 13 - Okay, now thats done on to the electronics. (Remember to note where all wires go before cutting them off) Take out the 4 screws in the Micro servo (HS-55 for tutorial) 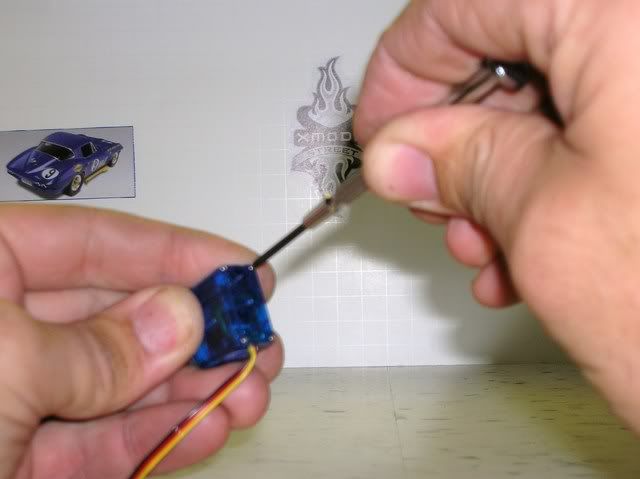 Gently pull out the board and stretch out the wires inside. You should have this. 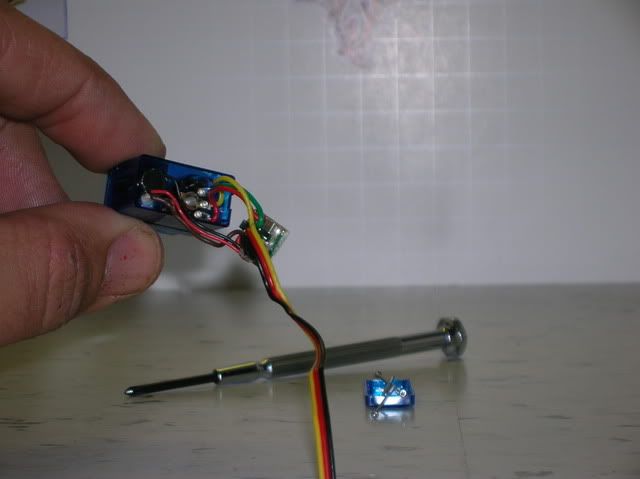 STEP 14 - Cut the 3 POT wires from the board, just like this. 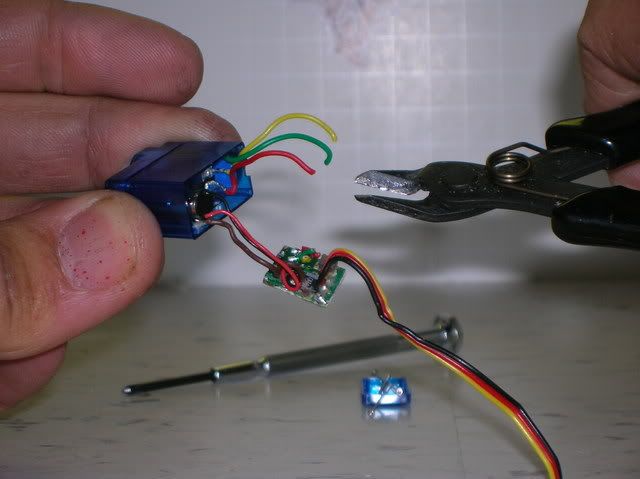 STEP 15 - Cut the Black and Red motor wires from the board, just like this. 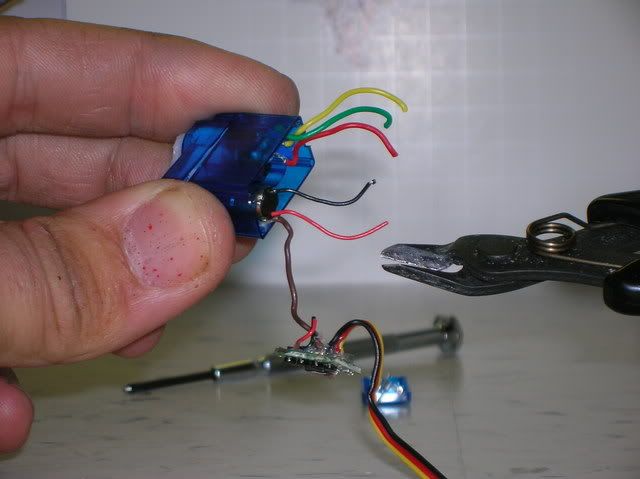 STEP 16 - Cut the brown wire off at the motor (you should desolder it, but snip it as close to the motor as possible if you cut it). Like this. 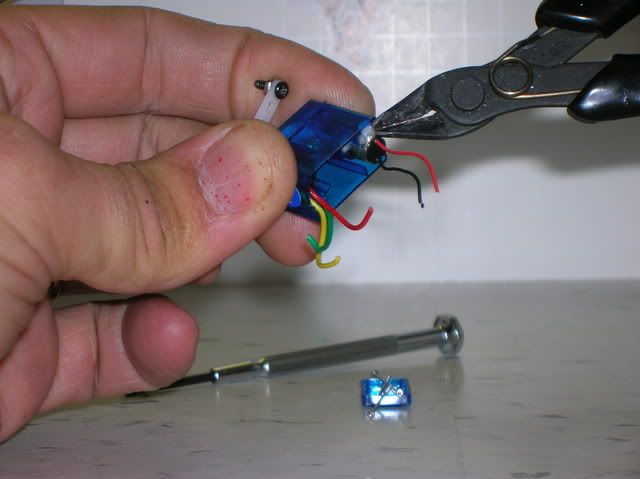 STEP 17a - Okay, now connect the servo to the board like this. You can decide to use all new wires or splice, just becareful and don't be sloppy. 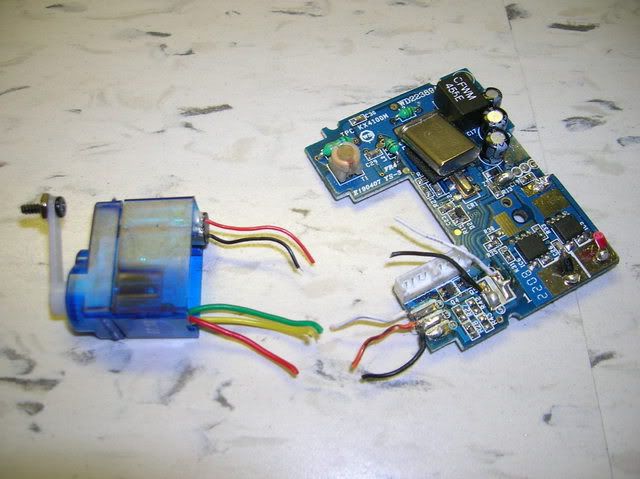 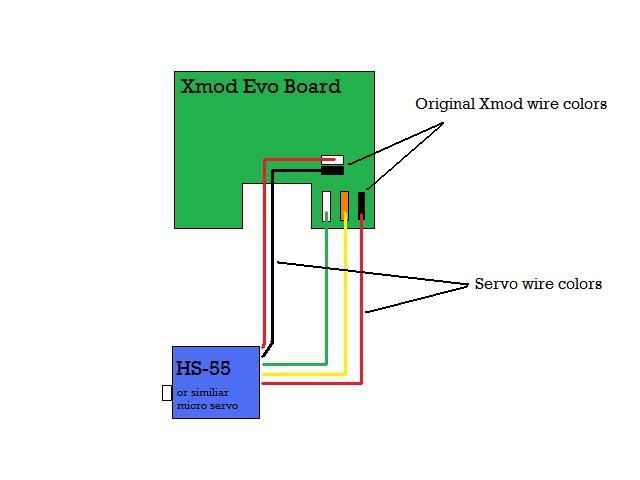 STEP 17b - Make it clean and cool. Drill 2 holes in your servo cover. Slide the cover over the wires before you solder them to the board. Just like this. 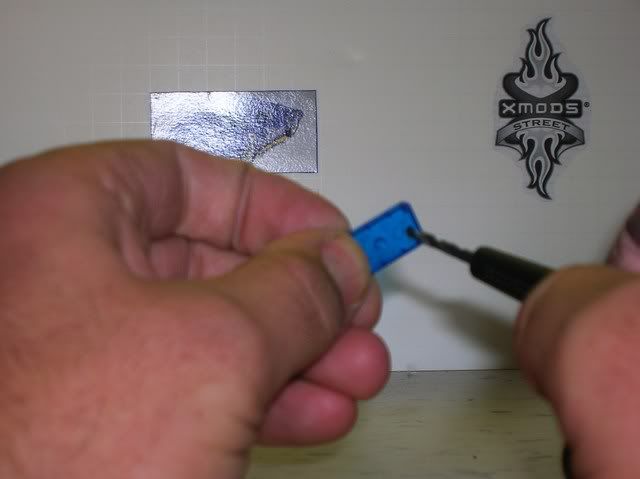 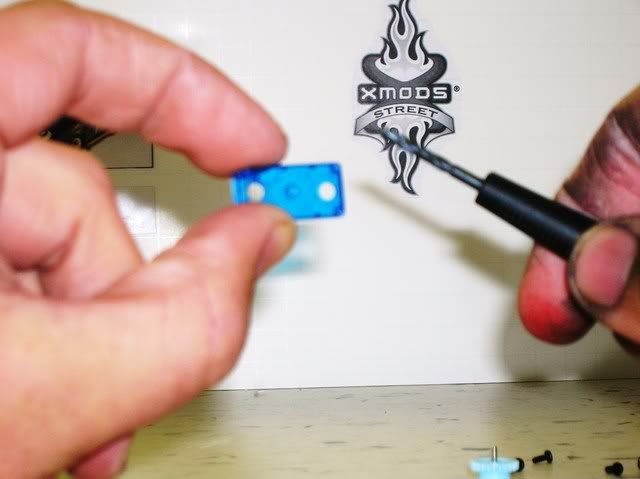 Mmmmmm, that's purrrty. 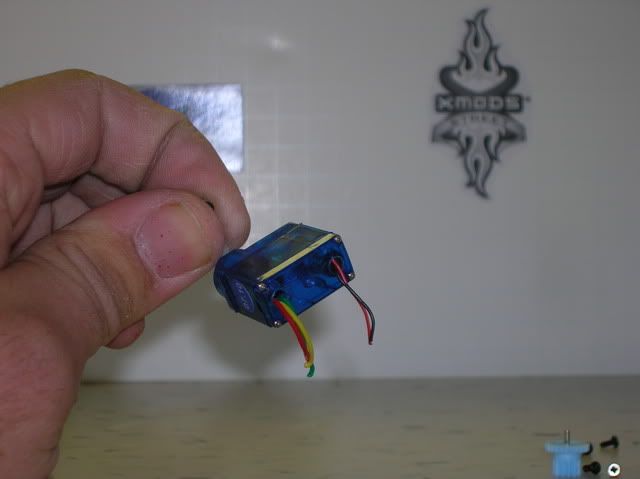 My daughter Joins the modding family: 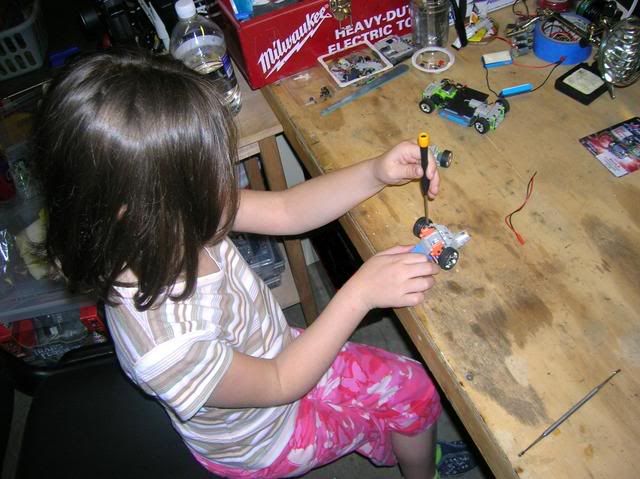 Please enjoy, and post any other options for this mod here. ALL ideas are welcome, KEEP MODDING and PM me to request a Tutorial. Thanks again everyone.
__________________
 XXX FREE modding Service: http://www.xmodsource.com/forum/showthread.php?t=17800 PM me for a quote or any questions. HAPPY MODDING 100% Positive Itrader feedback http://www.xmodsource.com/forum/itrader.php?u=6901 Last edited by TripleXmodder(akaXXX); 01-11-2009 at 11:44 PM.. |
|
#2
|
||||
|
||||
|
Awesome write up!
However, I would suggest posting the wiring from the servo to the PCB here as well, just so members won't have to switch between the tutorials and potentially get lost. Just my $0.02. Cheers, Kyle.
__________________
XMS Rules & Guidelines | B/S/T Rules | How To Post Pictures Greyscale Racing Member
 The Collection: Mitsubishi Pajero | AE RC18MT TLMicroCrawler | Xmod ShowRoom | 'Yota XTruck "The fun begins when the pavement ends." |
|
#3
|
||||
|
||||
|
Cool, I will do that tonight.
__________________
 XXX FREE modding Service: http://www.xmodsource.com/forum/showthread.php?t=17800 PM me for a quote or any questions. HAPPY MODDING 100% Positive Itrader feedback http://www.xmodsource.com/forum/itrader.php?u=6901 |
|
#5
|
||||
|
||||
|
Quote:
I added it, lots o' cut n' paste. That will make it easier. Good idea, I was just being lazy.
__________________
 XXX FREE modding Service: http://www.xmodsource.com/forum/showthread.php?t=17800 PM me for a quote or any questions. HAPPY MODDING 100% Positive Itrader feedback http://www.xmodsource.com/forum/itrader.php?u=6901 |
|
#6
|
||||
|
||||
|
UPDATE.
I have a new swing adapter that is even smoother and is easier to install. Here are some photos and a video. I did this mod for 123vette's truck. (a very cool truck at that to, I enjoyed working on it) 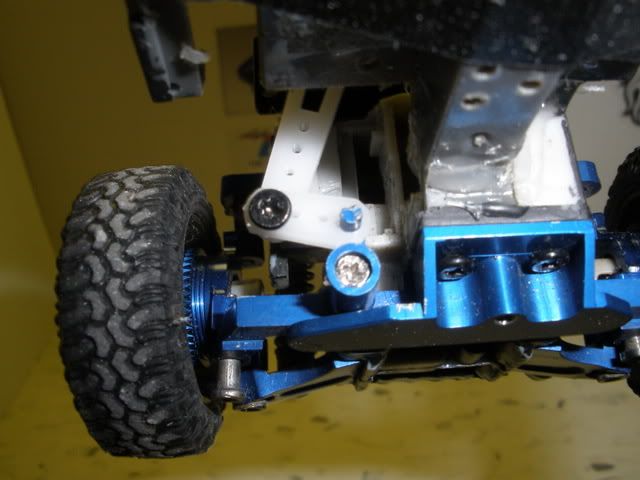 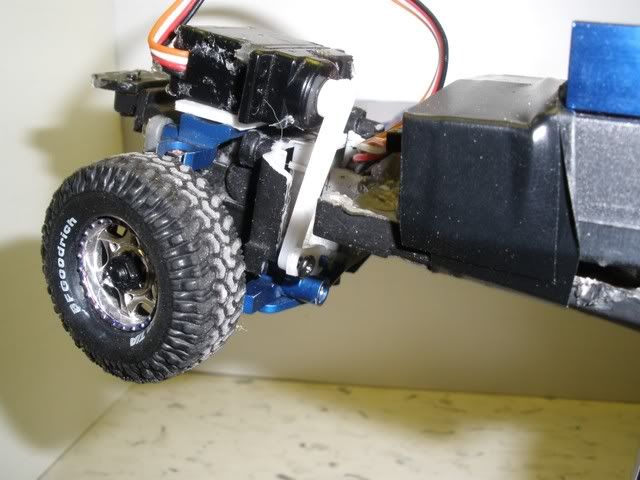 VIDEO 
__________________
 XXX FREE modding Service: http://www.xmodsource.com/forum/showthread.php?t=17800 PM me for a quote or any questions. HAPPY MODDING 100% Positive Itrader feedback http://www.xmodsource.com/forum/itrader.php?u=6901 |
| Currently Active Users Viewing This Thread: 16 (0 members and 16 guests) | |
|
|