

|
|
#1
|
||||
|
||||
|
Yep pulsing neons, like on my "saleen makeover and track car thread".
Materials: -Soldering Iron (i used a 15w but now i use a 40w so whatever works,30 is the best) -Solder -Barricade Flashing Police Lights -Cutters(optional) -3mm Leds(color of your choice) -Neon/underglow -Resistor(i used a 100ohm, but anything can be used, the higher the ohm's the slower the leds blink and the less bright the leds are) -hot glue gun -hot glue -Wire (thin and very flexible, unlike the wire i used, lol, you will need 5 wires of any length, i have about 2-3inches) -electrical tape or heat shrink -hobby knife/xacto -pliers -wire strippers -you chassis and body Neon/underglow(very similar to the first couple of steps in Noturday's tut): You want to grab your underglow or neons and cut the silver tape off. Now that the tape is off grab you pliers and take the leds off from the battery cover.You can approach this different ways, cut the neons off the board, unsolder the neons from the board or like i did use the pliers. You should have the battery cover with nothing else on it, set this aside for future use. Modifying the Flashing police lights: Grab you Flashing police lights form the barricade body kit. Carefully cut the Heatshrink off with the x-acto Knife 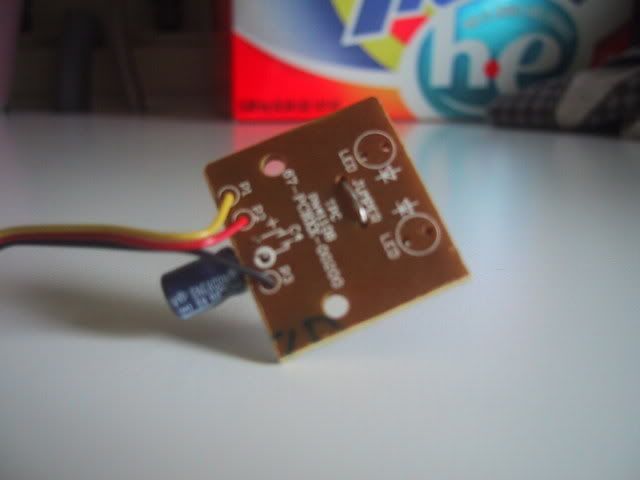 (leds are off in this picture) (leds are off in this picture)Next is to remove the leds(both leds) from the Police lights. Using the Soldering Iron and pliers you can unsolder the the leds off(both). However you approach this is fine just don't ruin the board or take off the solder points. Strip all ends of all the wires to about 5mm Grab one of the leds. Solder wires( i have about 2-3inches in length) on to it, on each leg or prong.(positive and negative). Solder the wires from the led to the Electronics side(blue) to where on of the leds used to be. With the capacitor and the plug facing you, the positive is on the top and the negative is on the bottom, like so: 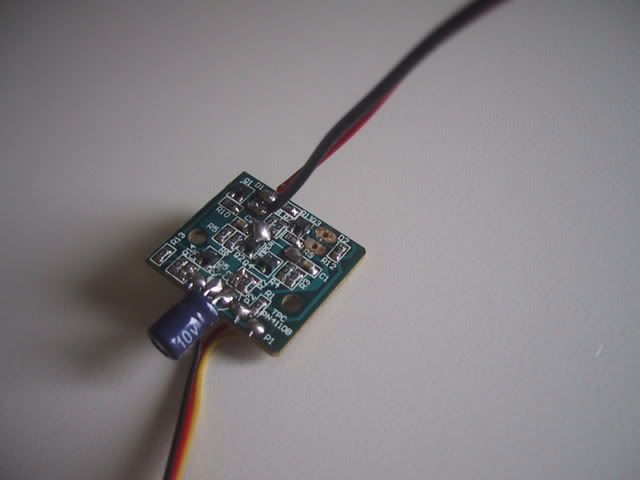 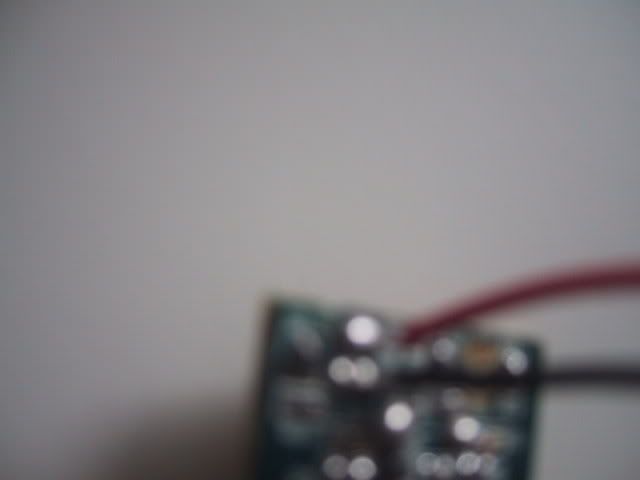 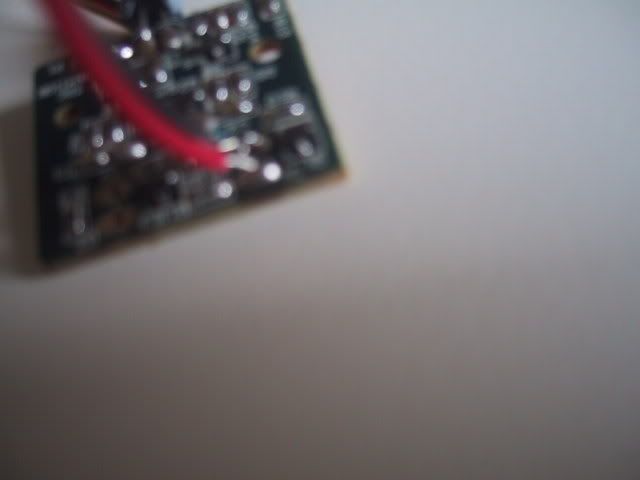 Now that was the easy part. Grab you other led and solder 2 wires onto the positive prong and one wire to the negative one. 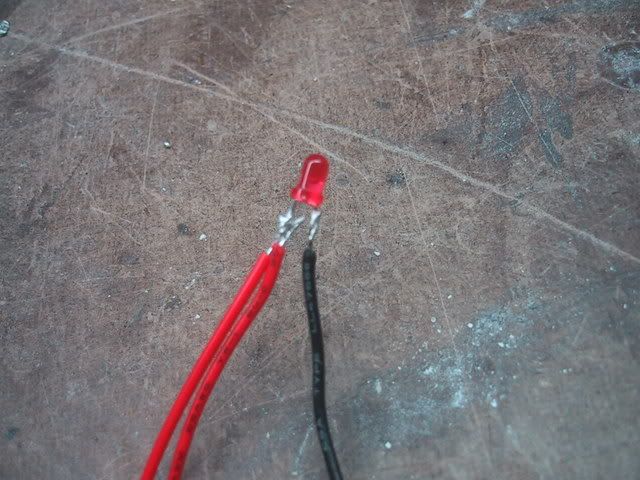 You want to solder the 2 positive wires top where the red and yellow wire come in from the plug: 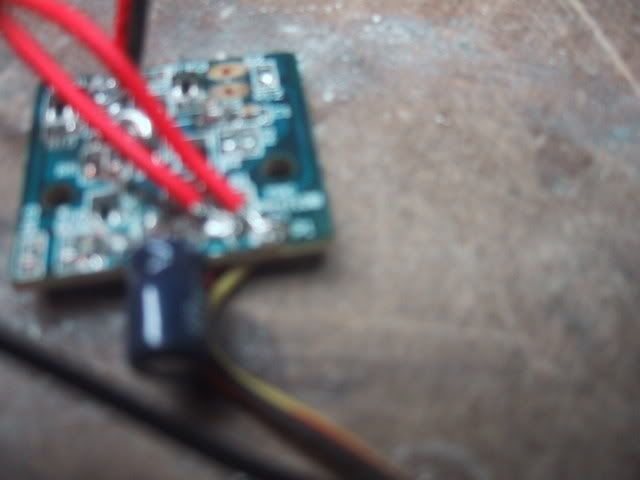 With the capacitor facing you again, look at the top left corner of the Police lights. There is a black box with 3 prongs, 2 prongs closest to you, on one side, and one prong on the other side, you want to solder the negative wire on that one prong facing away from you.  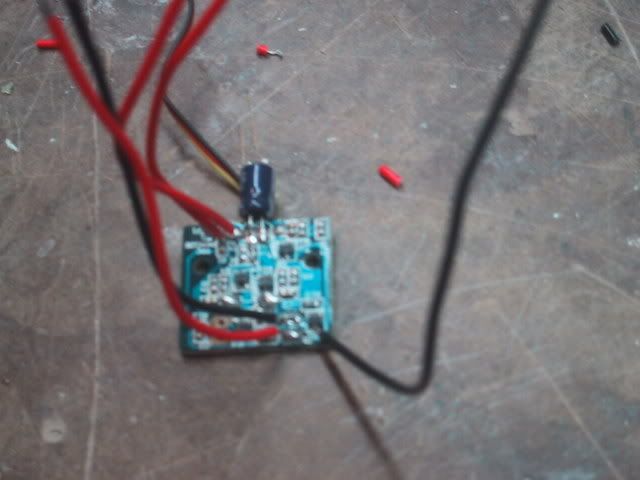 You can test lights now, to make sure hey work. If they work Use the hot glue gun the glue all the wires you soldered down to the board, it relieves stress on the joints. Using the resistor(100ohm or size of you choice) solder it in between(splice) the black wire on the plug. 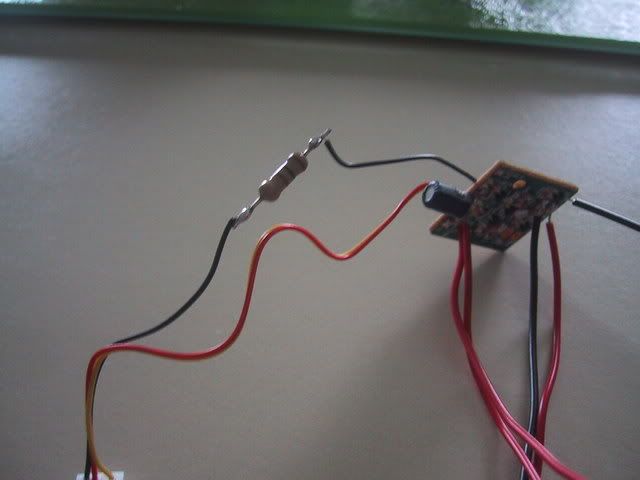 Use electrical tape or heat shrink to cover the solder joints. With the underglow battery cover on your chassis, you can install the light kit and make sure it works. Find a mounting place for the Pulsing neons or just set them on the chassis somewhere, bend the wires(with the leds) between the wheels and connect it the battery cover, you can glue or tape the wires in place. 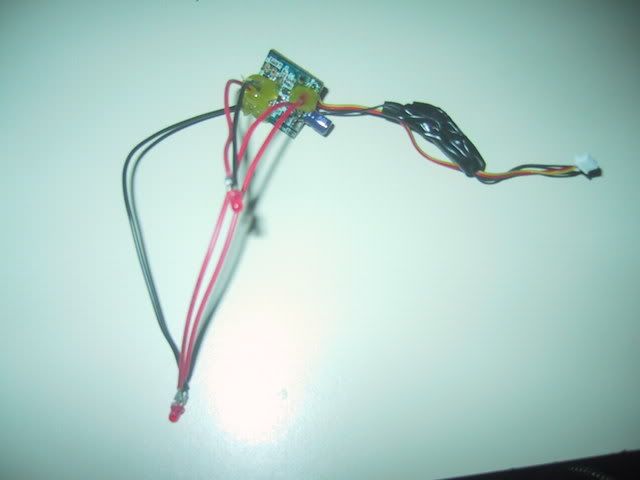 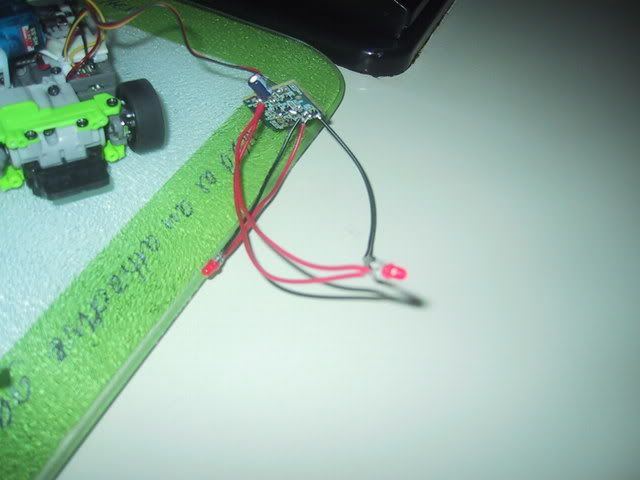  That is it. have fun. If there are nay mistakes please say so. I will be trying to get some more pictures for places in the tut and as for the quality of the picture i did the best i could with a 7year old camera and i new video. the only downside is that one led blinks a little brighter than the other. Thanks.  Fieldfairy2
__________________
Track car v2.0 fieldfairy2's mini late model Operation black widow H-Crawler 
|
|
#2
|
||||
|
||||
|
Very good tutorial. A lot of people have been wondering this and its never been covered. LEDs are simple but most people are too lazy, and skip over making these tutorials. A+++ Man.
__________________
Feel free to ask me anything Xmods related. Chances are I know the answer, or can tell you someone that does. Mercedes Track Car v2 (50% finished) : http://www.xmodsource.com/forum/showthread.php?t=18360 Comeback Supra Project (trust me tune in): http://www.xmodsource.com/forum/showthread.php?t=20546 |
|
#5
|
||||
|
||||
|
Quote:
Most people see LED and they just think it's something stupid. Truthfully they can learn like me.. I always wanted to know how to make a flashing underglow. Now next you should try to make functional turning signals.
__________________
Brushless RC18T, Brushless Micro DT, Midwest AeroStar .20, SCX10 Honcho, Duratrax 1/5 Firehammer MT, Traxxas Nitro 4Tec 3.3 |
|
#6
|
||||
|
||||
|
Quote:
Quote:
... what does that have to do with my tut..  jk. lol go for it. jk. lol go for it.Quote:
Let me Just say Threaded/stranded wire is better than solid, the solder actually stick to it, just a thought.
__________________
Track car v2.0 fieldfairy2's mini late model Operation black widow H-Crawler 
|
|
#8
|
||||
|
||||
|
I'll try, since i am not going to use the chassis anymore and possible selling my xmods...(not the track car though), I think all i have to do is hook it up to the pot. And my soldering iron is broken too like Spr's just got it too.
__________________
Track car v2.0 fieldfairy2's mini late model Operation black widow H-Crawler 
|
|
#9
|
||||
|
||||
|
Good tut.. This will help alot of newbies out too.
__________________
My youtube channel! |
|
#12
|
||||
|
||||
|
no because the regular light kit doesn't blink. On the normal light kit it would make the lights less bright or dimmer.
__________________
Track car v2.0 fieldfairy2's mini late model Operation black widow H-Crawler 
|
| Currently Active Users Viewing This Thread: 1 (0 members and 1 guests) | |
|
|