

|
|
|||||||
| View Poll Results: Was this a helpful tutorial? | |||
| Yes |
|
14 | 93.33% |
| No |
|
1 | 6.67% |
| Voters: 15. You may not vote on this poll | |||
|
|
Thread Tools | Display Modes |
|
#1
|
||||
|
||||
|
Hello folks:
I received my Aoshimas a while back and read up on some of the ways of mounting them up. I tried a few of the methods, and none of them worked really well for me because the parts I attempted to use were too thin, and therefore, broke easily. I found that I could use XMods car rims, but these allowed the bead to slip around them at the first obstacle. In addition, they also looked funny. So I came up with my own, rather easy method, that has no thin, flimsy parts, and a nice beefy rim to grip the bead of the tire. This is also a very fast method. This design can be seen on my GMC. Materials needed: -4 Car rims of choice -4 Truck rims (Does not matter what kind) -Dremel or rotary tool/other material removal device -Paint of choice (optional) -CA/Super glue -Hand drill (optional) -Sand paper (one rougher grit, (150) and one smoother grit, (320)) 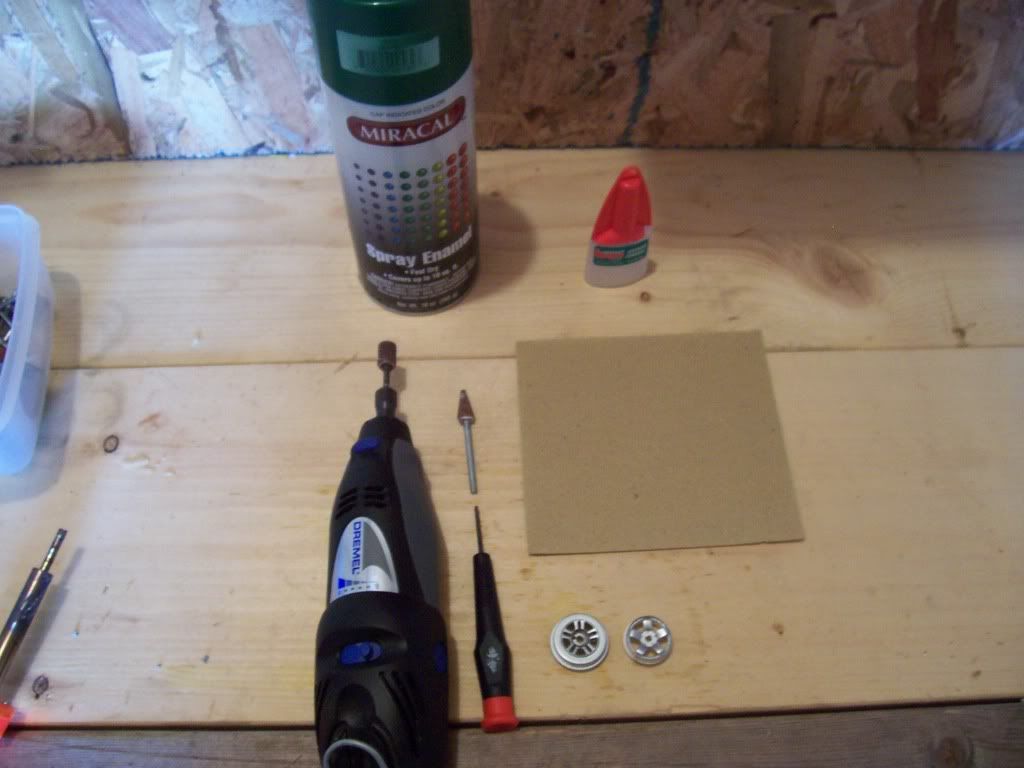 1.) First, after gathering all your materials, use a Dremel or rotary tool to remove the outer part of the truck rim. You will need to remove until you have this: 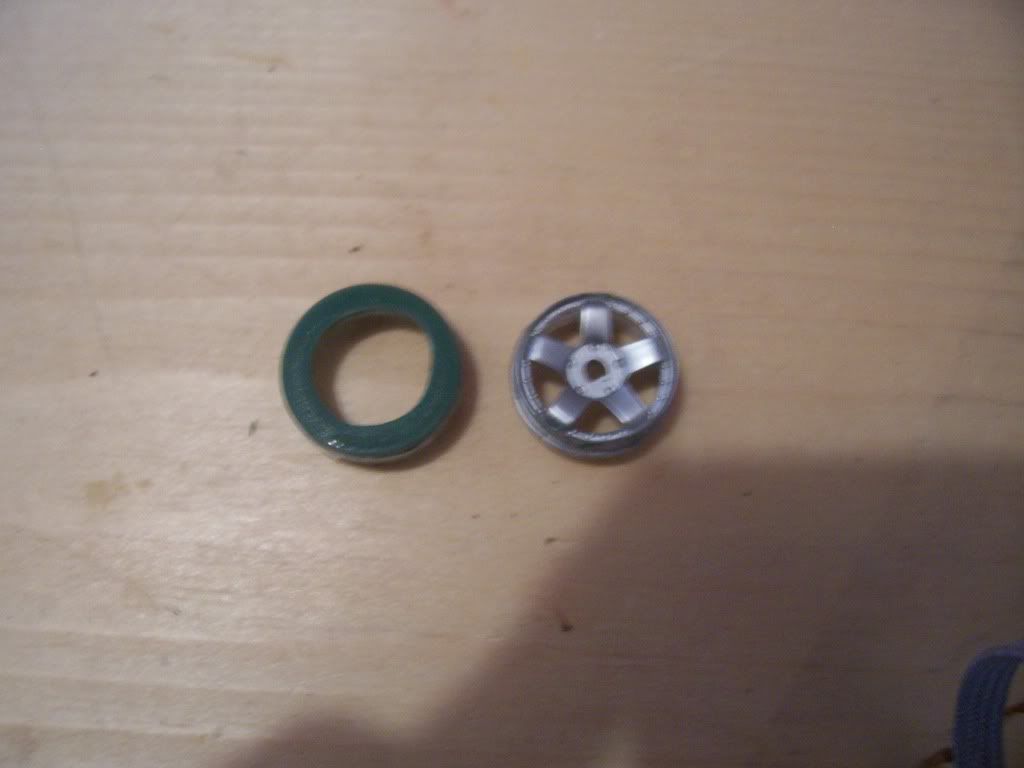 2.) Next, use your Dremel to remove the center part of the wheel. I used a grinding stone to start and clean up the hole. As you can see, I have removed almost all of the wheel. You can thin this part out if you like, or keep it large. It's all a matter of preference. You can also drill holes around the circumference, to create a "bead lock" look. NOTE: Be careful with the Dremel here, you can mess up the whole rim easily by dwelling in one spot too long. 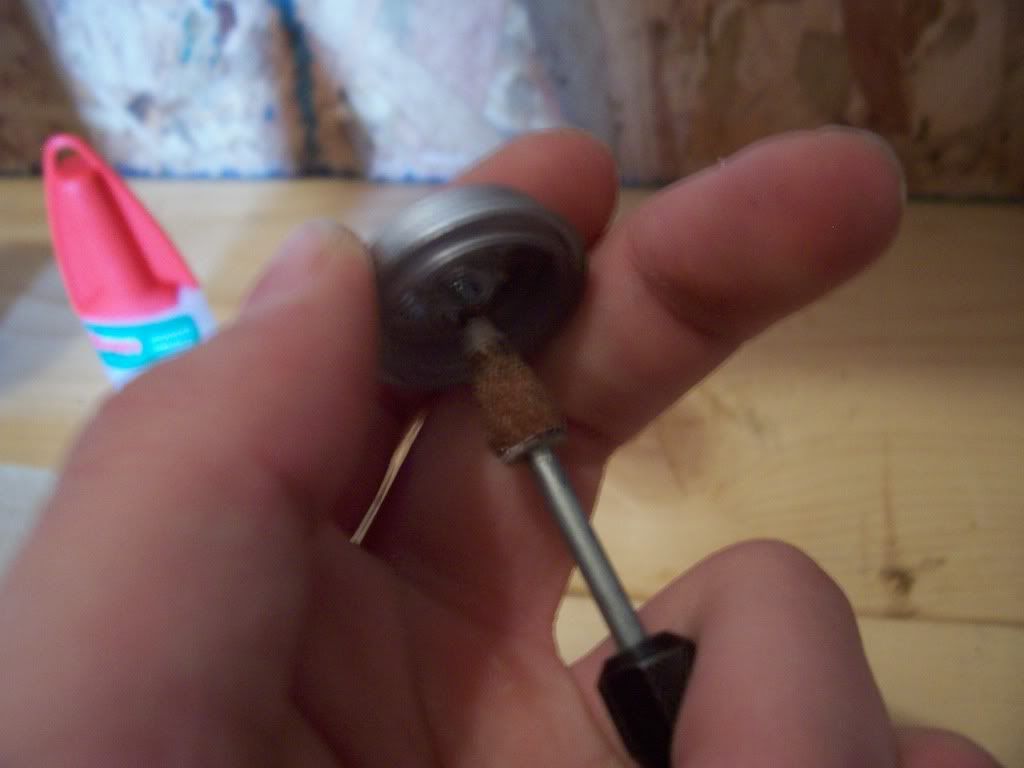 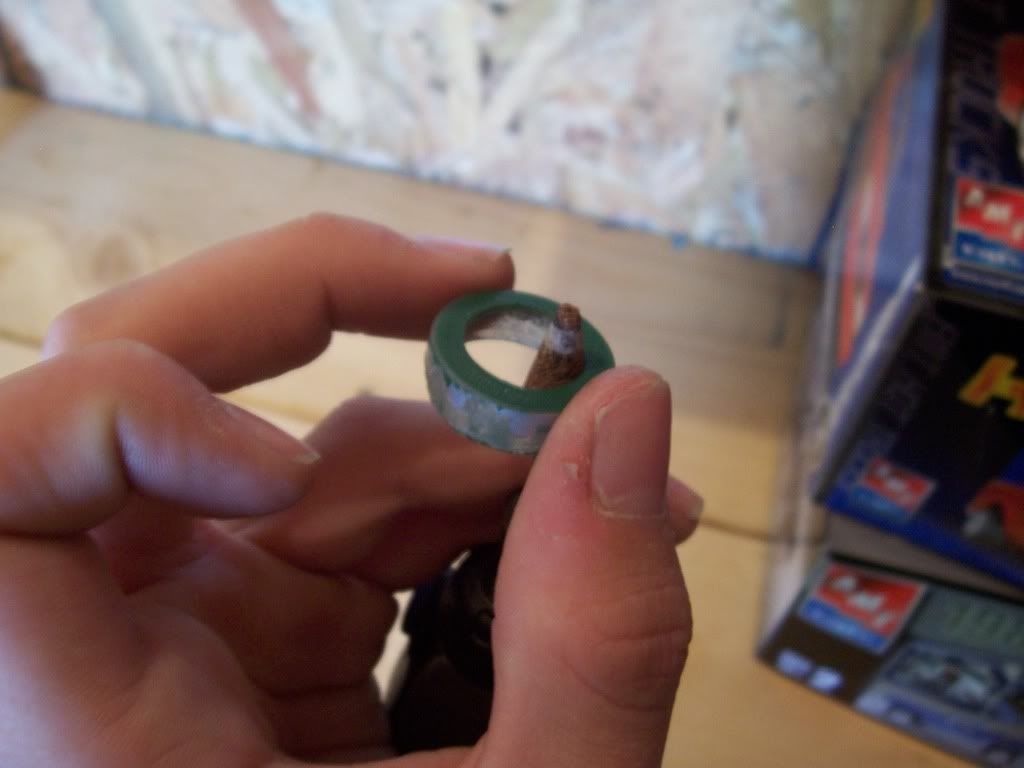 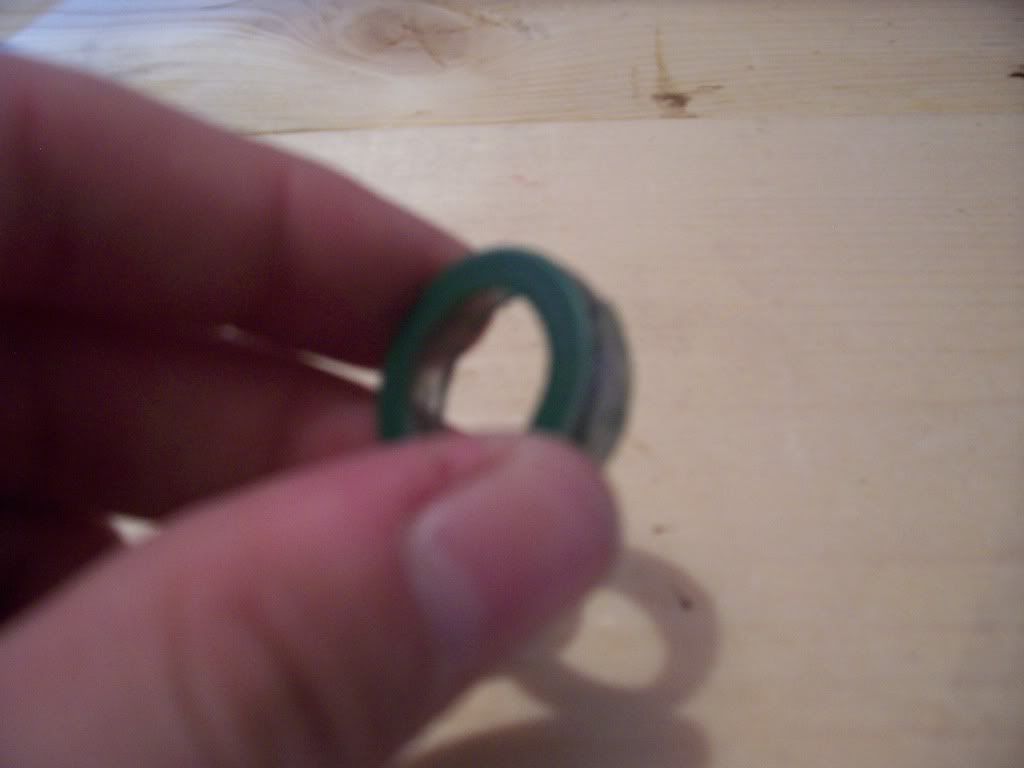 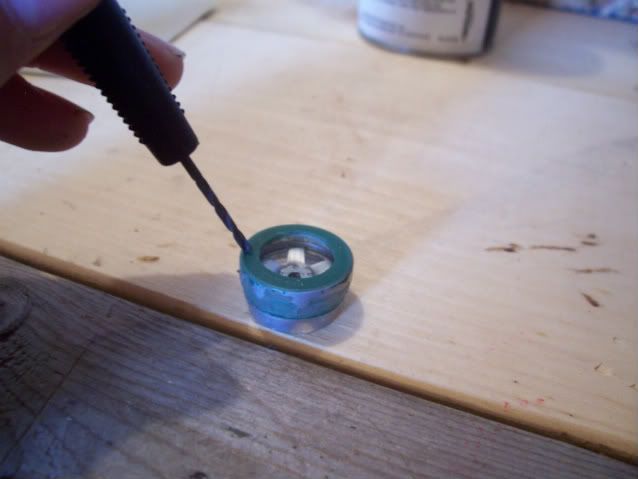 3.) Now, gather your car rims. You will need to trim the outside of these to make them fit into the truck rim remnants. You should only have to remove a little to make them fit in snugly. 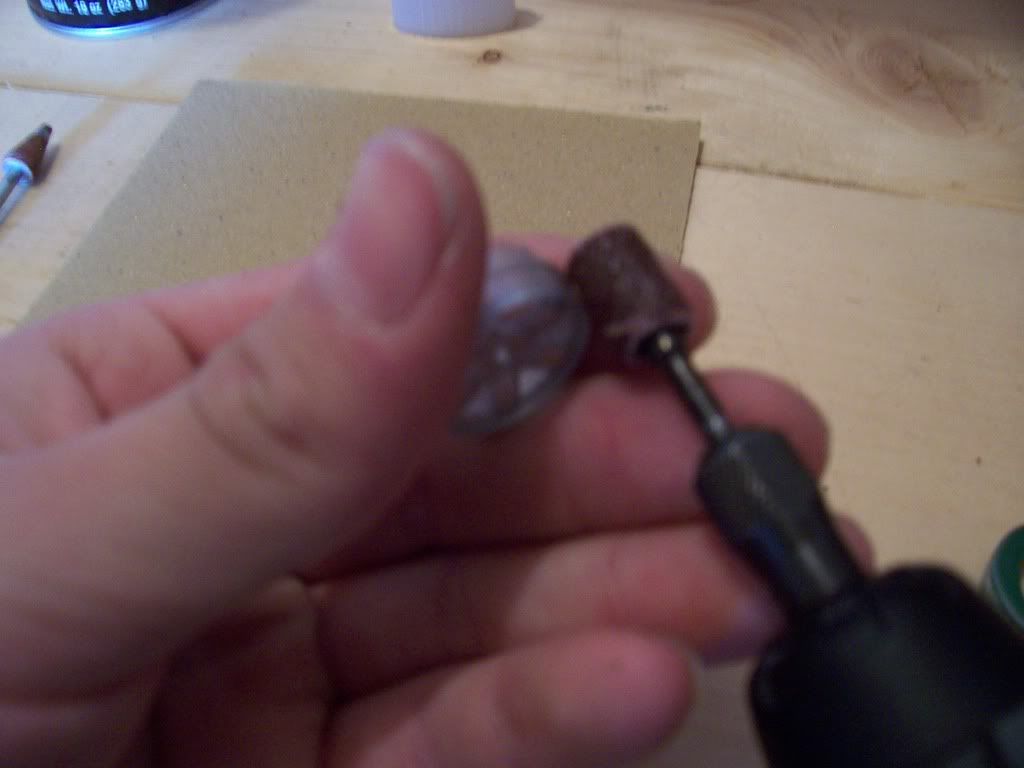 4.) Next, you will need to lightly sand the fronts of the truck rim shells so you can paint them. You need to remove the small lip before painting. I used the body color on my GMC rig. 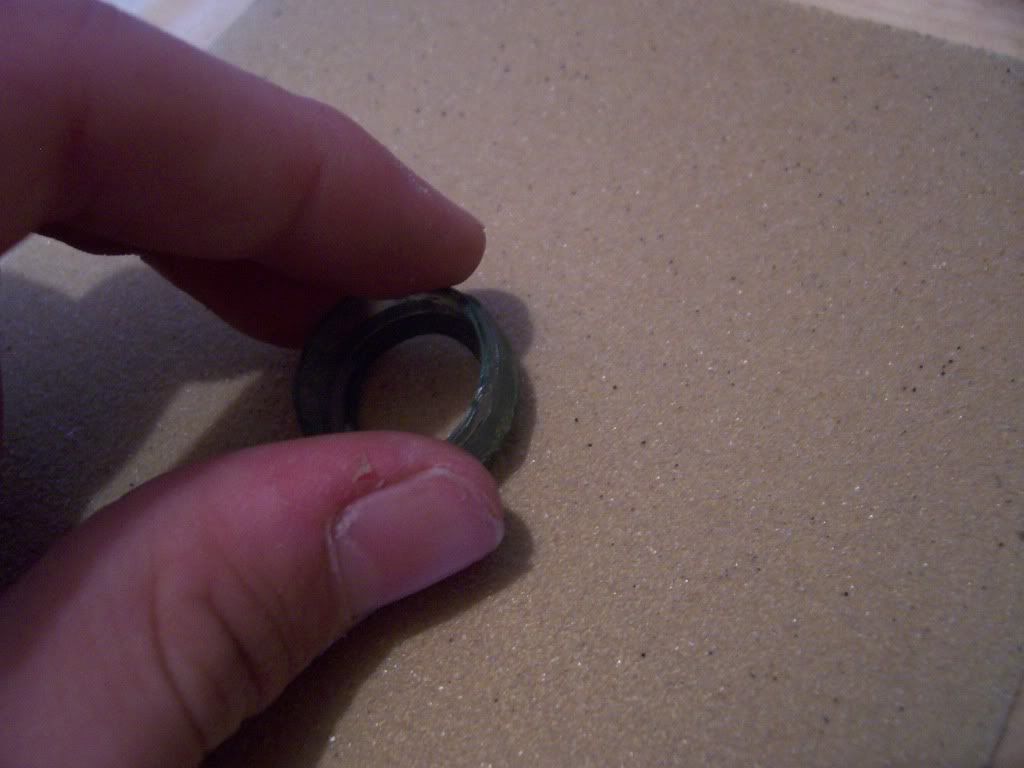 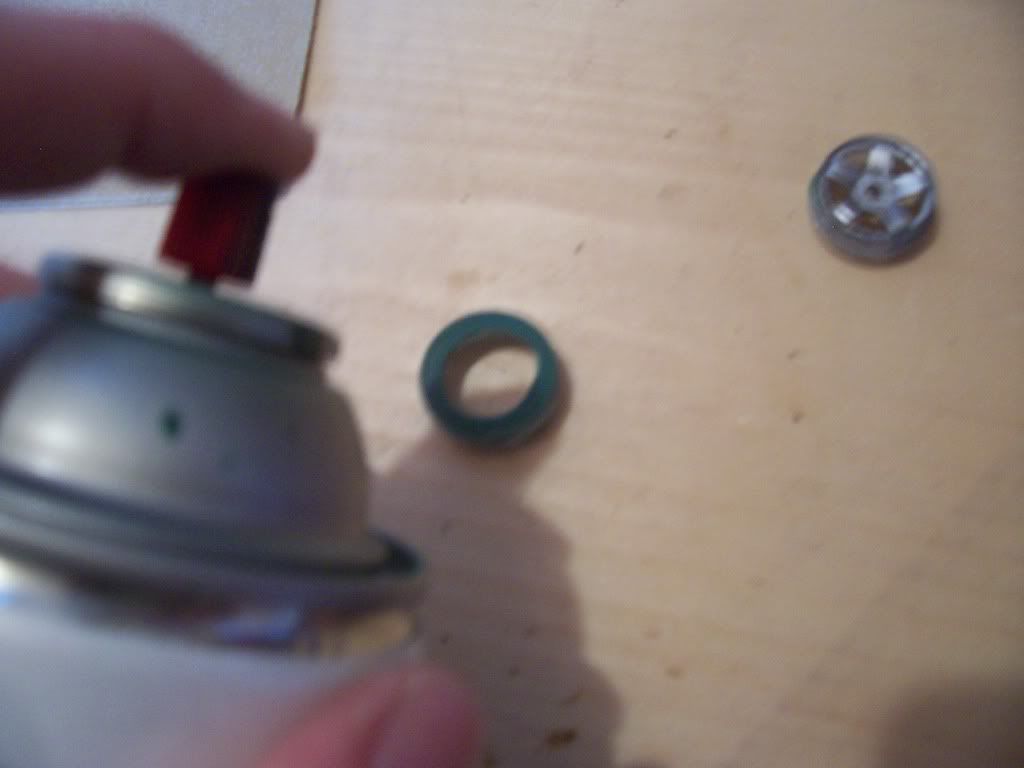 5.) For the final step, you need to lightly coat the two lips of the rims to be joined with some CA/Super glue. NOTE: I suggest press fitting to make sure they fit before gluing. Once you have allowed the glue to set up, you can press the custom rims into the Super Swampers. As you can see, you have a nice snug fit that does not slip around the bead, and looks trick as well. 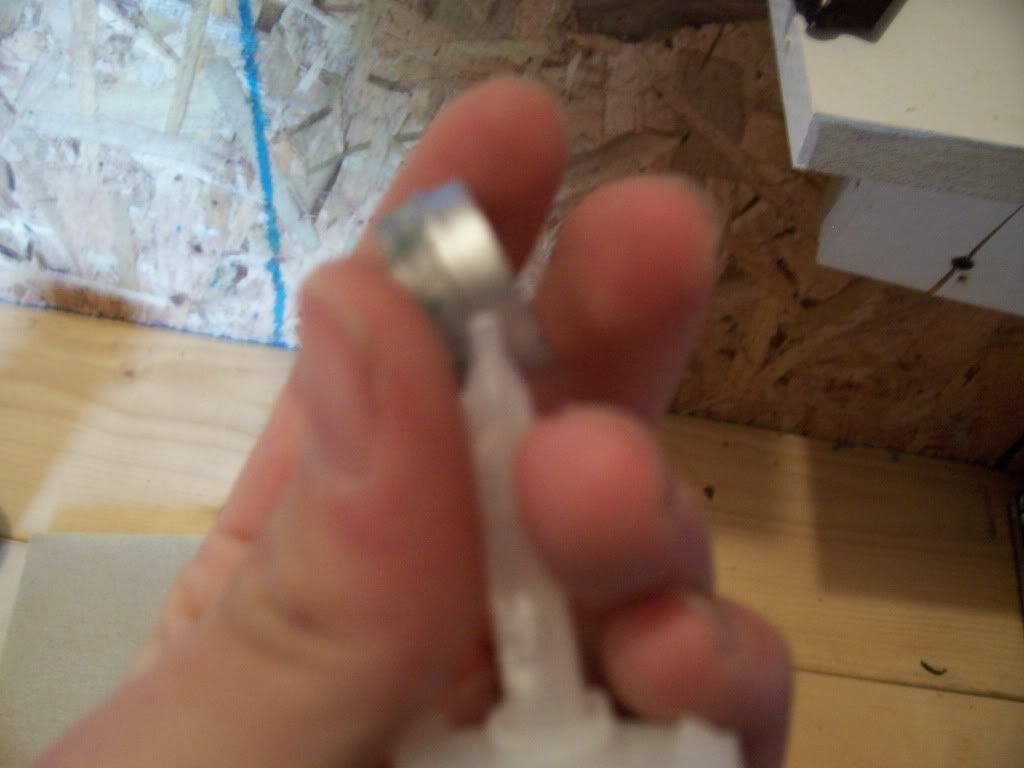 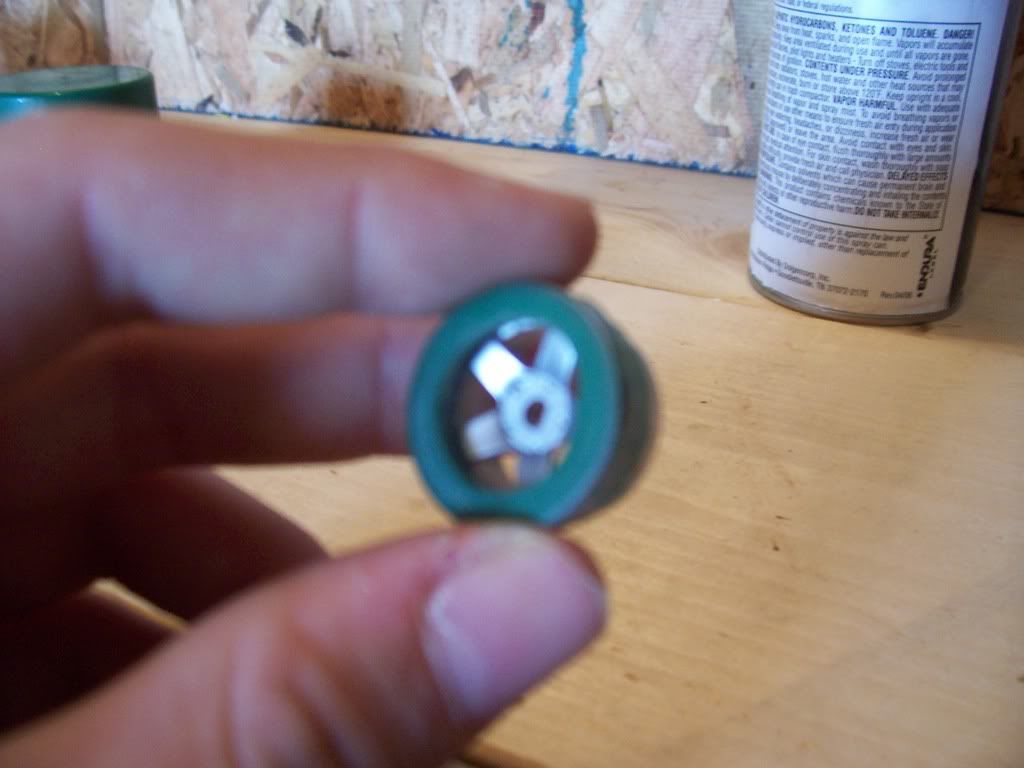 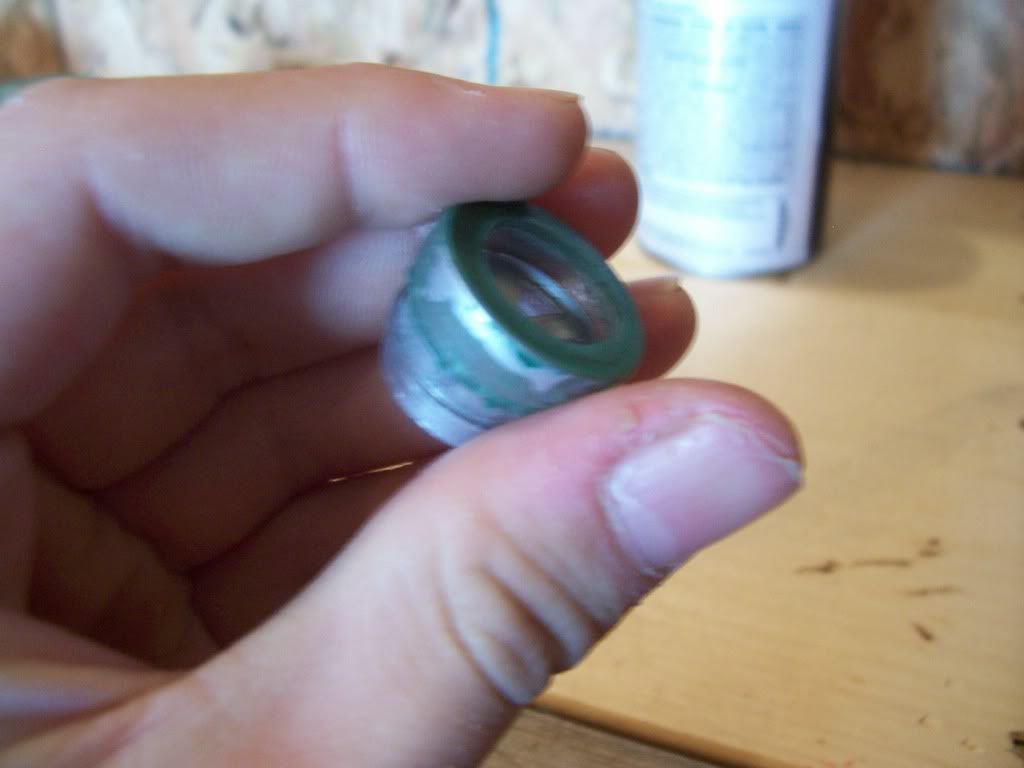 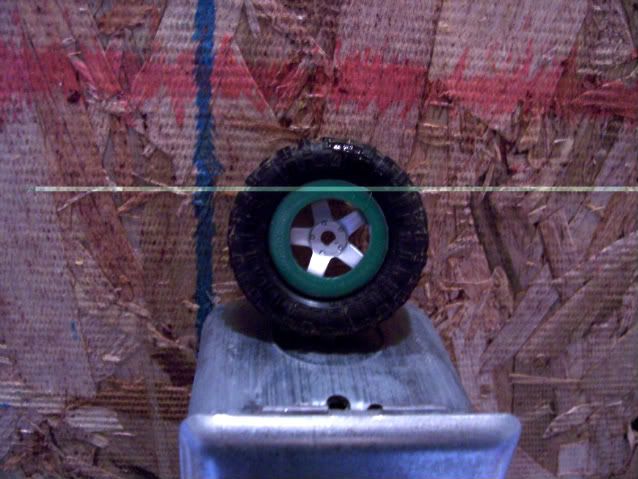 Sorry for the large pictures, Photobucket/Internet Explorer will not allow me to resize. Last edited by greenday; 03-16-2008 at 06:55 PM.. |
|
#2
|
||||
|
||||
|
Nice tutorial!
Good way of solving that problem. I think that you have a different picture for the first one - it's the same twice.
__________________
 I will not be able to visit these forums very much anymore. If you need to contact me, please e-mail me at [email protected]. I will finish up all bodies I have and get them shipped to each of their owners. Thank you. |
|
#5
|
||||
|
||||
|
Quote:

__________________
 I will not be able to visit these forums very much anymore. If you need to contact me, please e-mail me at [email protected]. I will finish up all bodies I have and get them shipped to each of their owners. Thank you. |
|
#7
|
||||
|
||||
|
Nice tutorial! I gotta go buy some Swampers now!
__________________
Brushless RC18T, Brushless Micro DT, Midwest AeroStar .20, SCX10 Honcho, Duratrax 1/5 Firehammer MT, Traxxas Nitro 4Tec 3.3 |
| Currently Active Users Viewing This Thread: 1 (0 members and 1 guests) | |
|
|