

|
|
#1
|
||||
|
||||
|
This thread covers the method on how to receive almost 360* articulation.
I know that Kyle already made a tut. But This method is a little different. Before the Modification: 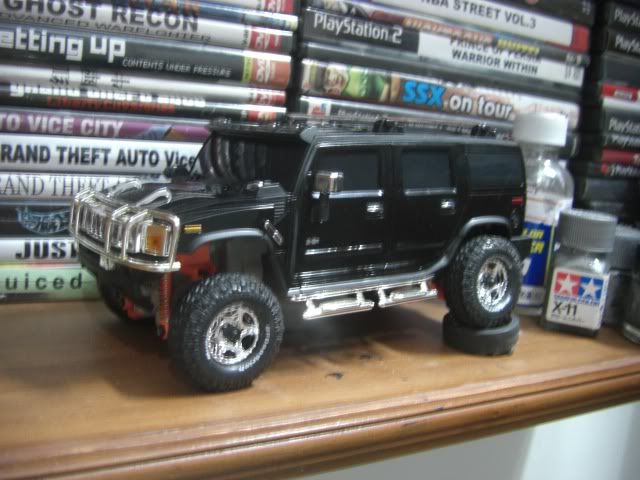 After Modification: 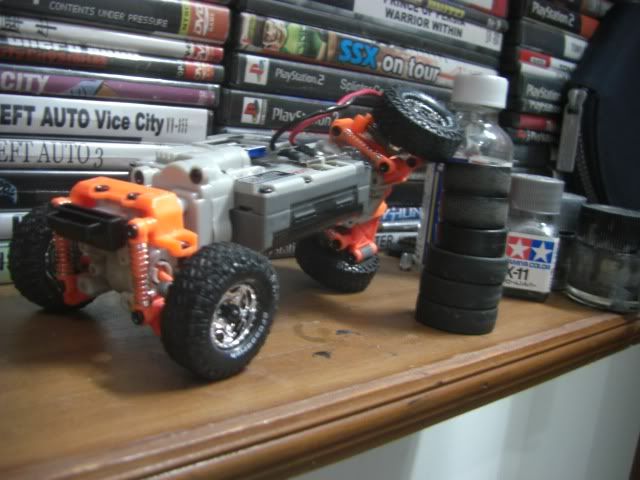 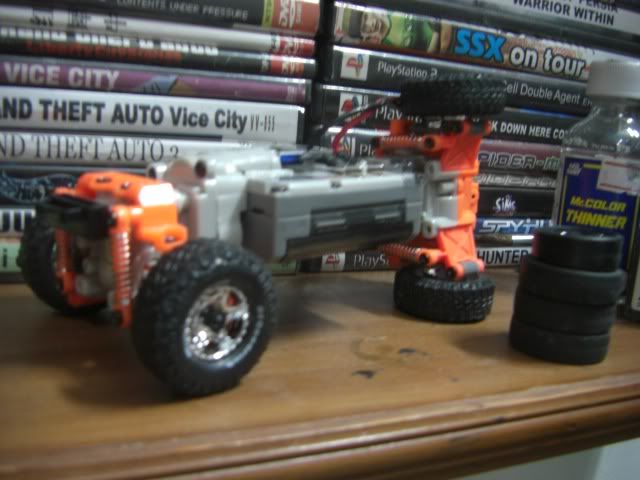 Ok, Tools/Items Required: 1) Hobby Knife with a new blade. 2) Sanding paper/Filer. Your choice of tool to shape the plastic. 3) Xmods Evolution Truck Chassis. 4) Screwdriver(Not Pictured) 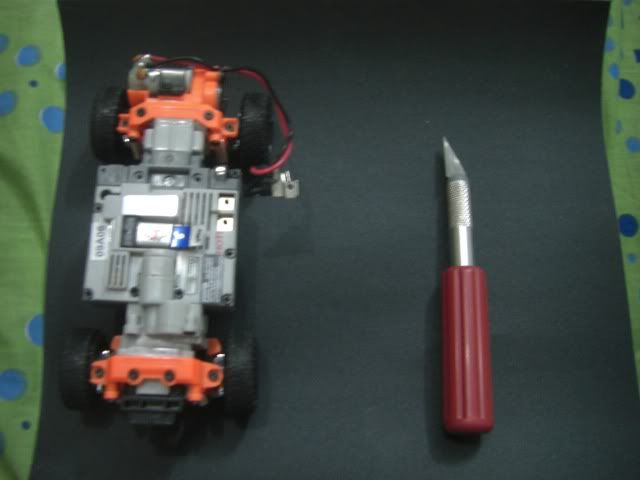 Skills Required: 1) Basic concepts on how to use a hobby knife/ how to shape plastic. 2) Some knowledge about your xmod. Step One: Grab your truck, find the part where the rear articulates, there are two screws: 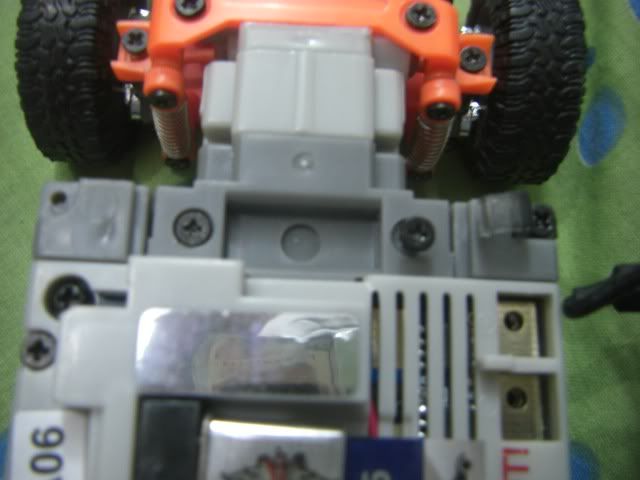 Look directly in the middle of the picture, those are the two screws. Remove them. Step Two: Flip your truck over, right under the part you just removed the screws from you should find this: 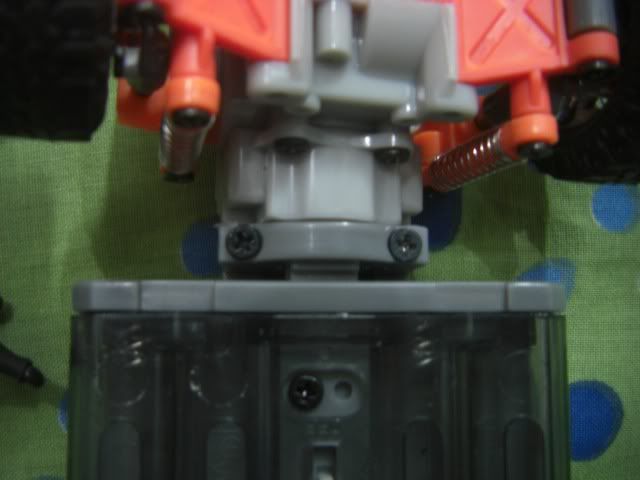 Once again, look directly in the middle of the picture, there are two screws right above the battery pack. Remove them as well. The piece should come off. Step Three: Ok, by now this is what you should have: 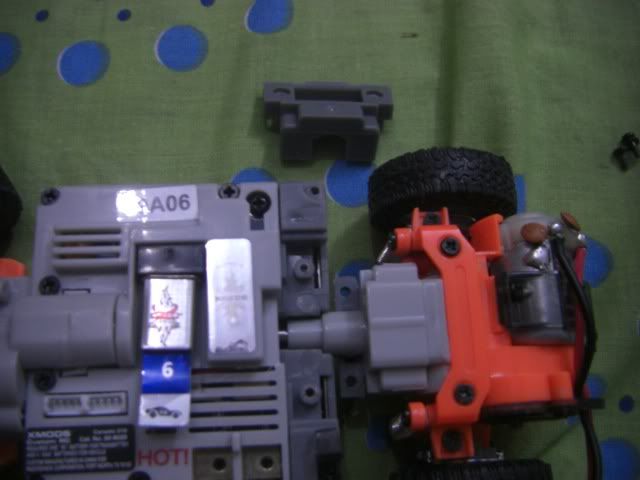 ^The piece on the side is the one you remove. Now, you see the grey part sticking out ans stopping the articulation?: 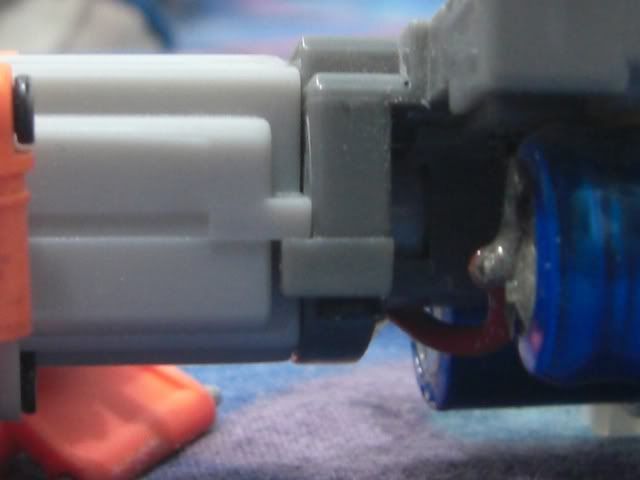 Cut them off. it is on both sides This is what you should have: 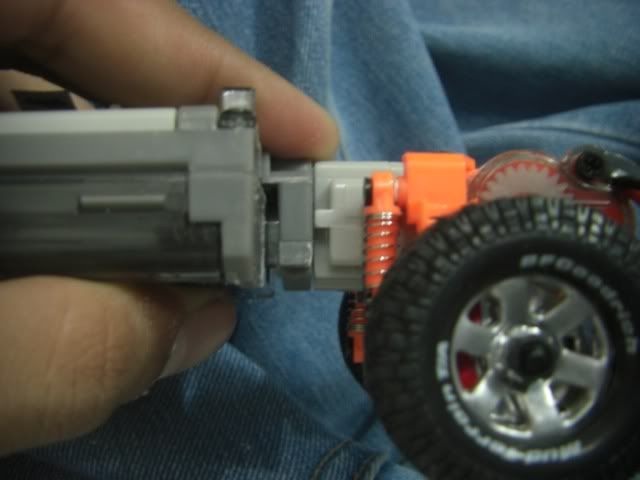 Step Four: Now remove the rear assembly from the main chassis, then remove the chassis extender, there are 3 screws in it: 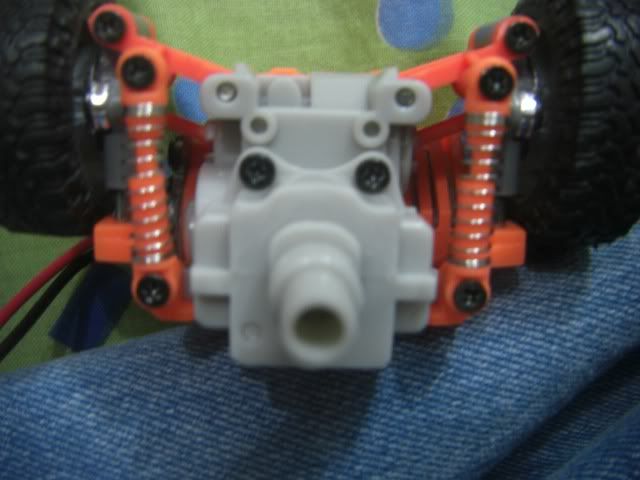 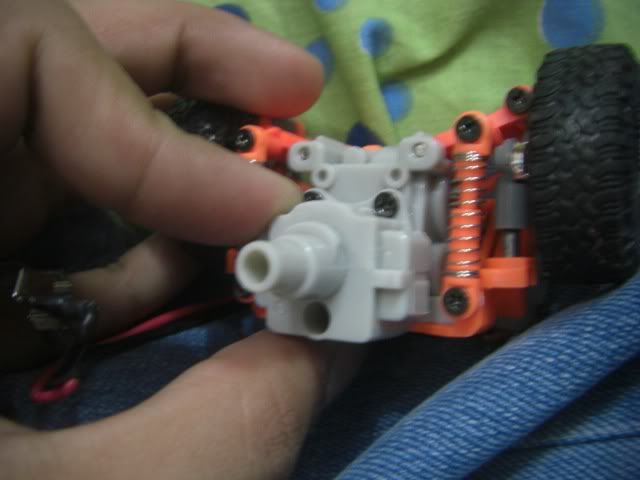 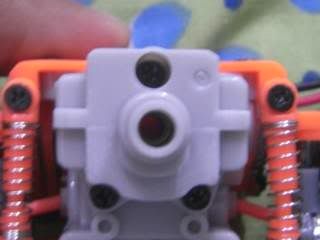 Remove them. Now you should have this: 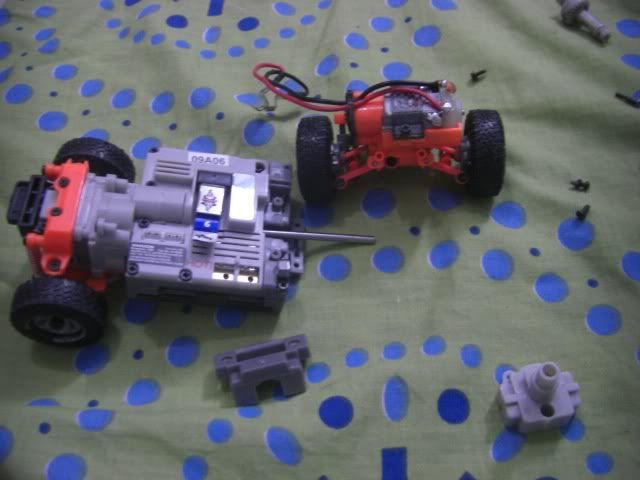 Step Five: Now, take the chassis extender: 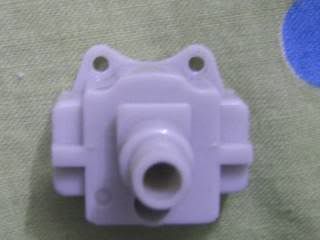 And this piece: 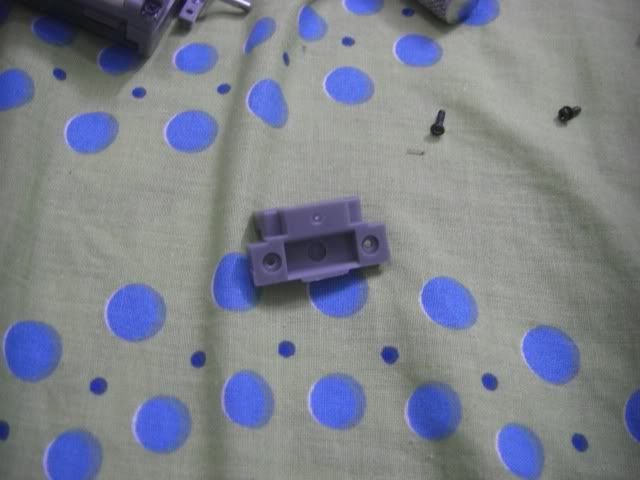 Place them together like this: 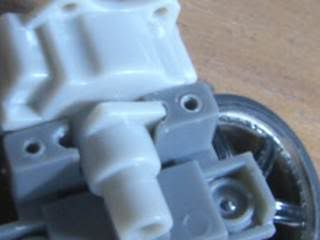 Notice how the 'square' part on the extender does not let the chassis articulate. Step Six: Now take your sanding paper/filer etc. and somewhat make the edges round, DO NOT CUT OFF THE WHOLE PART Or sand down the flat part decreasing the surface area. Simply file the edges into circles, like so:  Comparison between stock and modified one: 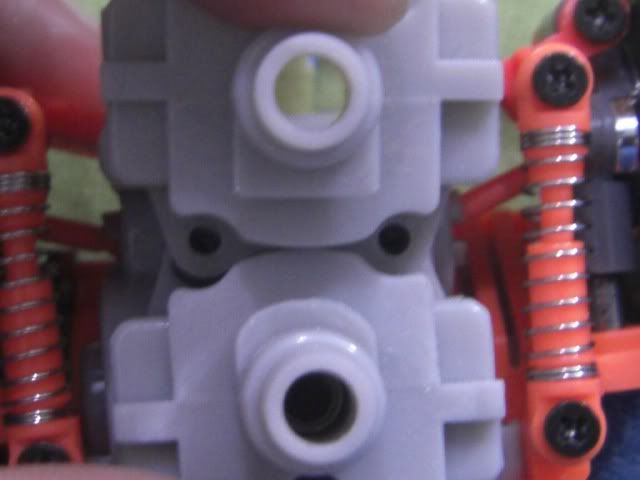 Get the picture? Step Seven: Now place the two parts like this again:  Notice how it articulates more? Now you have successfully completed the first major part of this tut. Step Eight: Take this part:  Now, grab your hobby knife. Read and understand this part carefully first, then attempt. Flip over your piece like so: 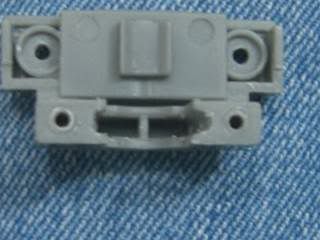 Now, in this same picture, on the right^ notice how the place where you insert the 'square' piece of the extender is a little off. You must scrape the inside of that place so that it becomes deeper: 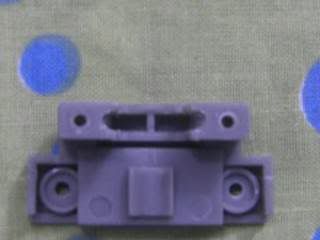 . .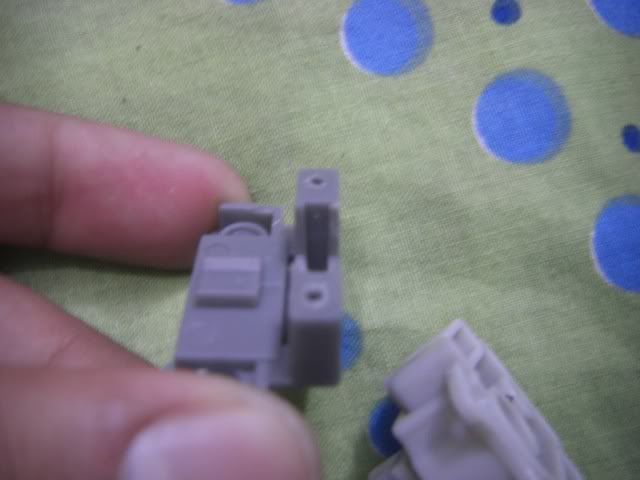 Basicly this is what is happening: The place where the 'square' rotates in order to achieve articulation is too small to allow articulation. We are just making 'room' to allow it to rotate. If you do not understand this part^ then ask in this thread or hit me a PM. I will explain it. Step Nine: Now once again place the extender and the grey piece like so:  Since you have now modified both parts needed to achieve articulation. Just mock it up to see how much articulation you have, if not enough as desired, them scrape the grey part from the inside a little more. DO NOT SAND DOWN THE EXTENDER ANY MORE. Step Ten: You can check like how much articulation you have like this: 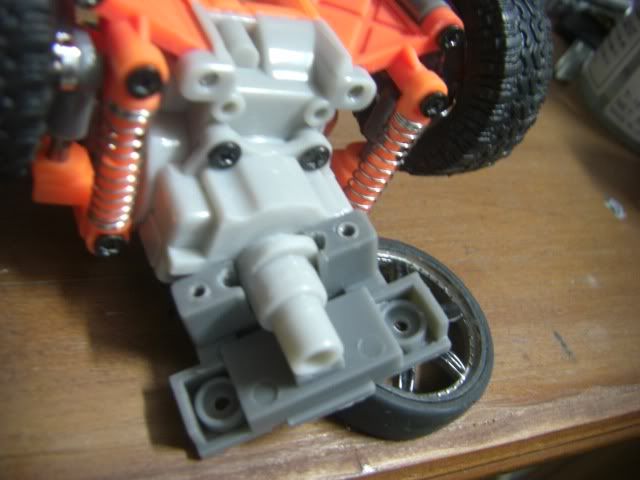 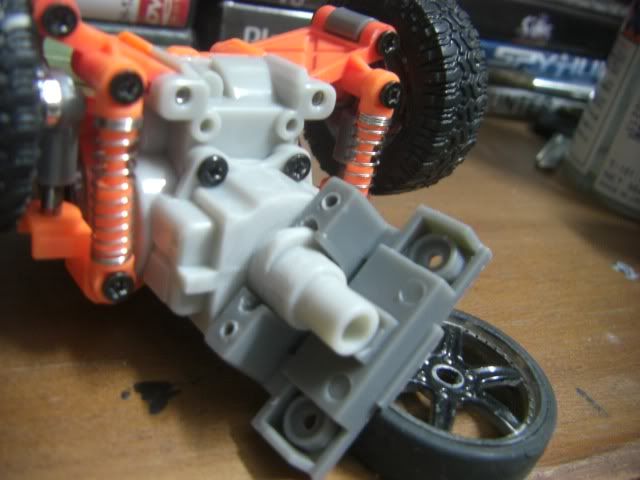 When you have the desired articulation, just put your truck back together. and that's it! your done! Now you should have a truck like articulates like this:   NOTE: If you feel that the truck is not articulating 'freely' then make the grey part sides a little more deeper. It should articulate freely. So what do you guys think? later T.I.M
__________________
"Where There's Will, There's A Way" "Many Of Lifes Failures Are Those People Who Did Not Realize How Close They Were To Success When They Gave Up"  |
| Currently Active Users Viewing This Thread: 1 (0 members and 1 guests) | |
|
|