We will be building adjustable shock for our Gen 1 cars today... These shocks will allow you to tune the handling for your car very precisely, especially with use in conjunction with the RS suspension upgrade.
What you need:
-One long xmods screw for every shock you plan on doing (If you dont not have one unscrew your antenna and take that one, replace it with a small one and it should work fine...

)
-One seperate complete shock assembly for each shock you plan on doing (Male end, Female end, and a spring)
-Your also going to need 4 of those 2/56 hex nuts from RS that people use as steel lug nuts (Theoretically any matching nut and screw should work but because this particular nut and screw is readily available for xmods modifications it is easiest to use).
-CA glue or some sort of hot glue gun or super glue.
-Something to bore out the female end of your shock (drill bit of the right size as long as you have a clamp works awesome...)
(Ok so the method above does work; however, you may want to use an even longer screw, for this I recommend taking the screws out of the front chassis cover)
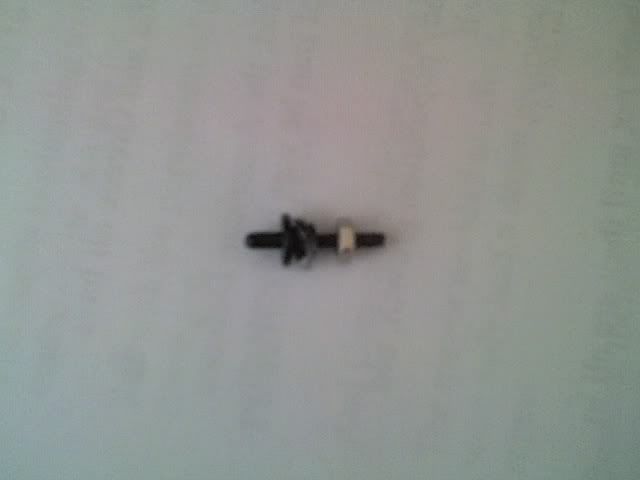
This is the best screw to use:
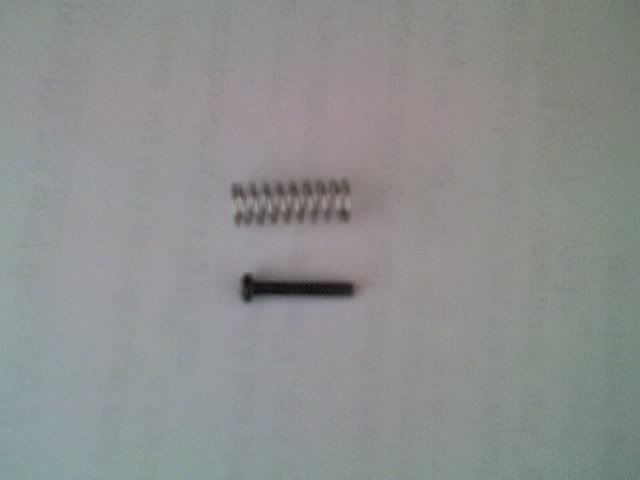
It is the screw off of the front chassis plate.
Also before you start i should warn you that if you screw up your shock assembly and it is your only one you are tuff out of luck...have extras as most of us probably do...(this isn't xmodsrc.com, we all have more than one car and plenty of parts dont we?)
Ok the basic idea of this modification is to create a shock like works like that of a bicycles back shock assembly...
1. Take apart your shock.

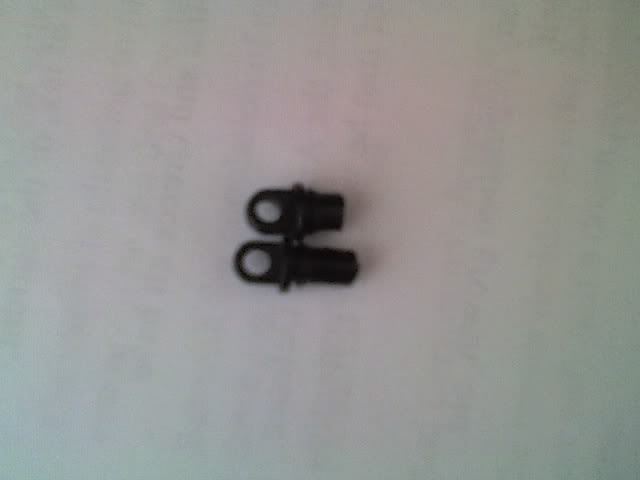
2. Drill out the female end of your shock, so that the long screw will fit into it and it will slide out freely.
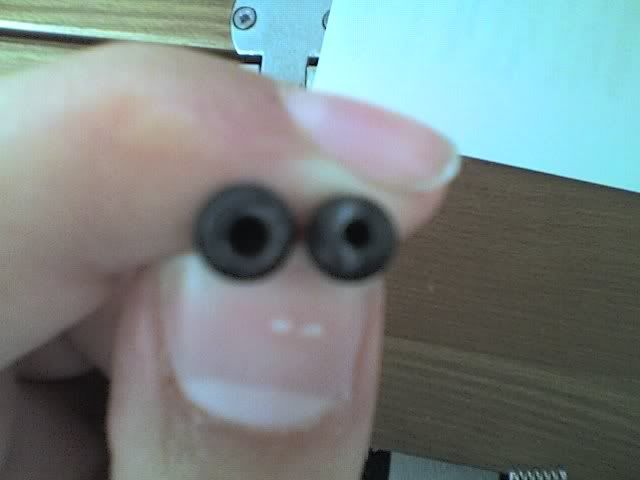
(stock is on right, drilled out end is on left.)
3. Cut the part of the male end that used to go into the female end.
4. now you have three options here:
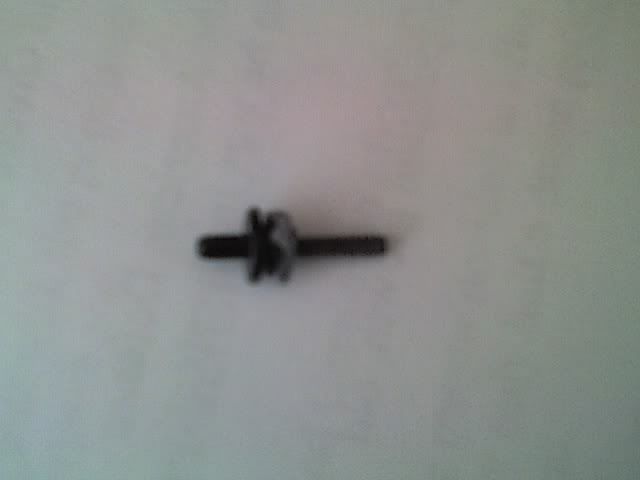
Subsection 1: Glue the long screw right onto the male end:
Subsection 2: Cut that second divet off your shock and glue the screw onto that. (warning this may ruin the structural integrity of the shock):
Subsection 3: Cut the end of the screw off and then glue that onto the male end of the shock. (warning this may not be enough surface area to glue the screw to the shock):
I recommend the first way...
5. Once your glue is dry you should make sure your nut screws freely in and out of the screw, i guess because of the size of these nuts the threads are inaccurately cut nonetheless because of their shallow threads they should be able to be twisted to match the thread of the screw...
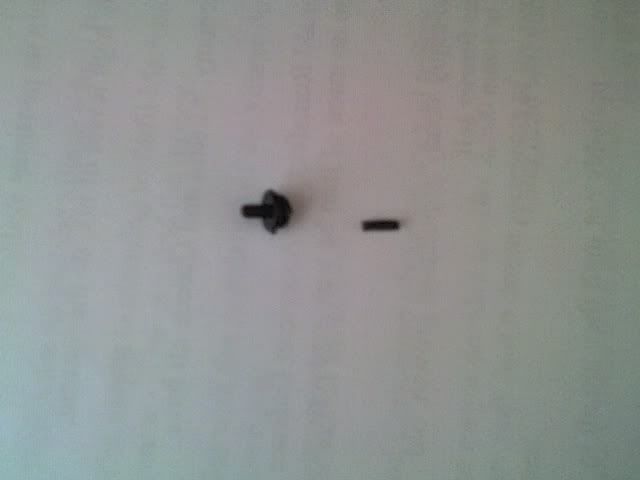
6. Cut a bit of the end of your female end off. This is to allow the shock to have maximum travel if you want to add another spring into the shock or if you want to tighten your nut a lot.
(Stock is on bottom, modified is on top. DO NOT CUT YOURS AS MUCH AS MINE IS CUT. Cut it a little less.)
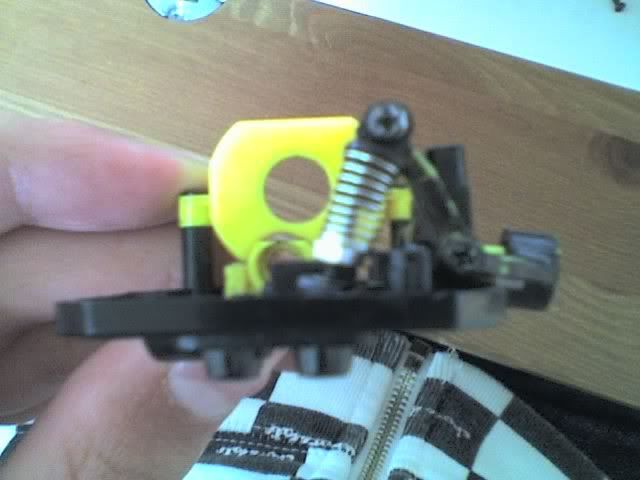
7. Screw the nut all the way into the screw, and reassemble the shock as normal.
Now you can tighten the nut to stiffen up your suspension or loosen them to sotfen it up.
TIPS:
-I suggest taking a credit card and cutting it in a circle with diameter just slightly bigger then the spring, and then cutting a hole in its middle to allow for it to slip onto the new shock assembly and rest up against the nut. This will give a bigger surface area for the spring to rest against (so it cant get lodged in some manner during a race), and it also gives a flat surface for the spring to rest against (more accuracy).
If I see this on any other sites, unless I say yes, or in another form I will flip out. DO NOT POST THIS ANYWHERE ELSE WITHOUT MY PERMITION